Drying Clothes in a Small Apartment: A Space Plan
A folded airer can slip into a cupboard and still take over half the living room once the washing is on it. Sleeves extend beyond the frame, the door stops opening properly, and the chair you need for dinner becomes the overflow rack. The problem is often the drying plan rather than a lack of clever equipment.
Drying clothes in a small apartment works best when you plan for the loaded rack, the room's moisture conditions and the moment everything gets put away. Start with a manageable wash load and a suitable place for it to dry. These six decisions help you compare positions before buying another airer or sacrificing the main walking route.
Measure the rack fully open
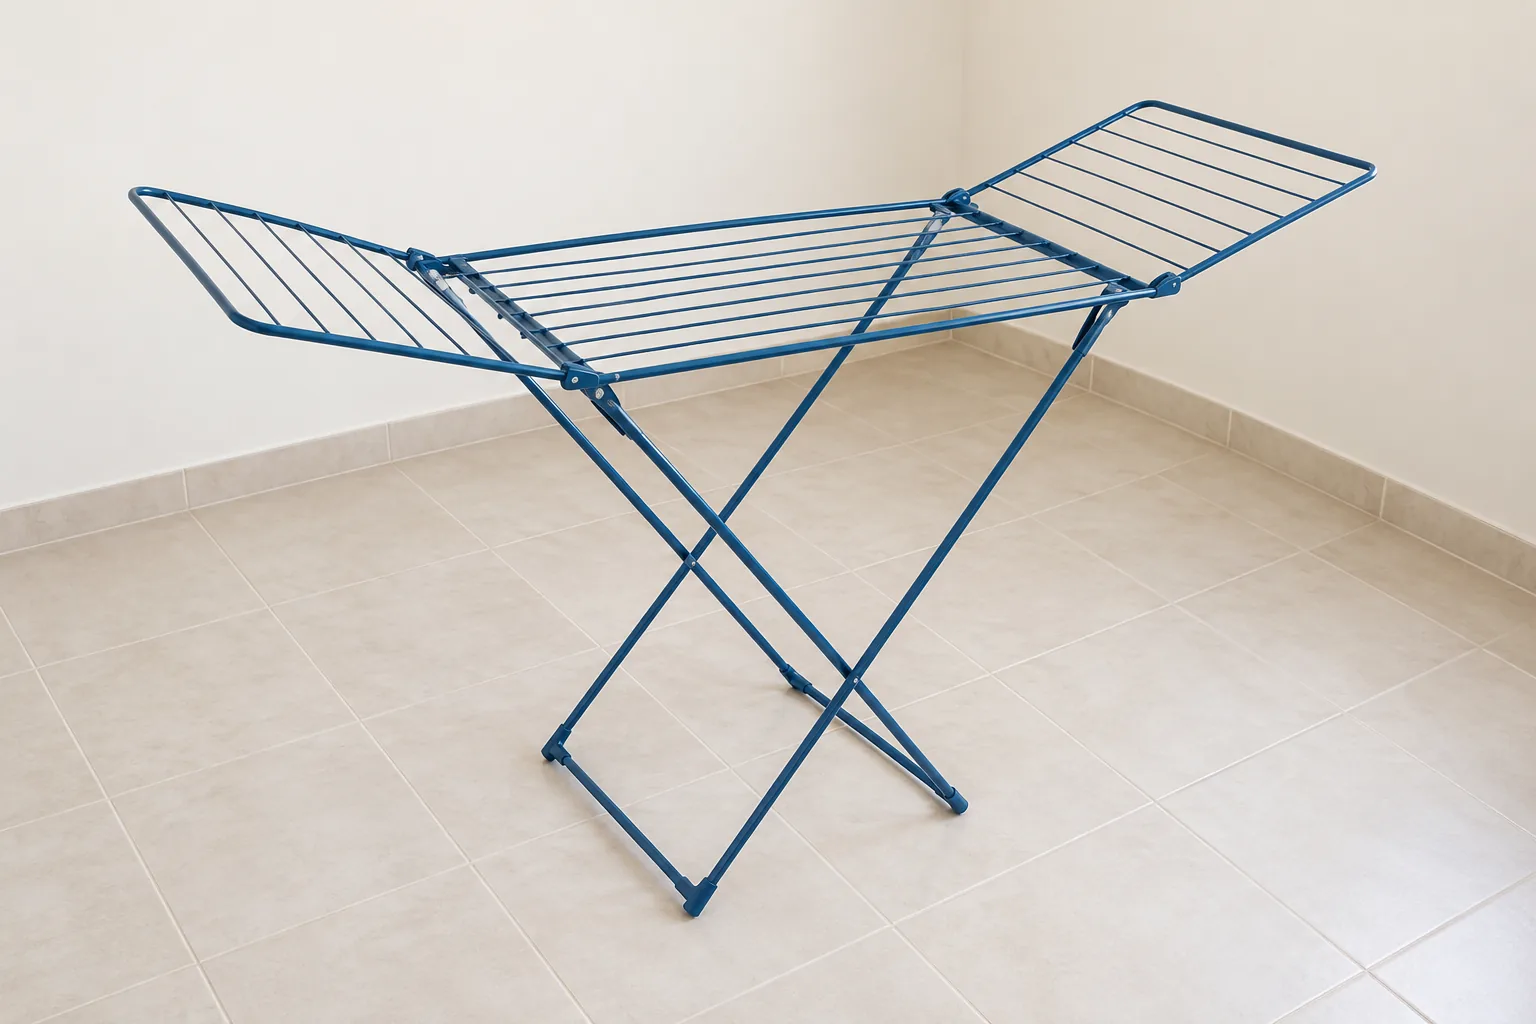
Open the rack exactly as you intend to use it, including its wings or extending rails. Check that the locks and supports engage as instructed and the feet sit properly on the floor. Measure the complete arrangement, not the narrow central frame or the folded size shown prominently on a product listing.
Clothing adds to that footprint. A shirt on a hanger can project beyond the bars, while a long towel needs enough height to stay off the floor. Think about the pieces in a typical load and where their hems and sleeves will fall. Check the rack's stated loading and hanging instructions rather than assuming every rail is designed for every item.
You also need room to load it. Stand in the proposed position with an empty basket and imagine reaching the far bars without twisting around furniture. Include the room door, wardrobe doors and any drawers that must open while the rack is in place. A position that fits the equipment but prevents you using the room is not a complete fit.
If you are comparing racks, record two sets of dimensions: open for drying and closed for storage. A taller shape might save floor width but be harder to load or store. Choose the form around both jobs, not just the one that looks smallest in the cupboard.
Keep garments separated
Use the garment's care instructions to decide how it should dry. Some pieces can hang; others need to be reshaped or dried flat. A single airer may not suit every item in the load. Put those different requirements into the plan before filling all the rails with the easiest pieces.
Give ordinary hanging garments enough separation that fabric is not pressed into a thick bundle. Keep sleeves from gathering together and avoid laying a second layer of washing over the first. Where the rack instructions permit, distribute the load evenly rather than weighing down one wing with several heavy items.
Work backward from your realistic drying capacity when choosing the wash quantity. If a full drum leaves half the load piled in a basket, a smaller compatible load or a different laundry day may be more useful than another improvised layer. Follow the washing machine and garment guidance for any spin setting; more aggressive extraction is not suitable for every fabric.
There is no reliable drying-time promise for an illustrated arrangement. Fabric, load, room conditions and the drying method all matter. Check thicker seams, cuffs and folded edges before putting things away. The useful aim is clothing that is ready for its next home, not a rack that looks full immediately after washing.

Use a room with appropriate ventilation
A sunny corner is not automatically a suitable drying area. The EPA identifies drying clothes indoors as one source of excess household moisture. The room needs a practical way to manage that moisture, as well as enough physical space for the rack.
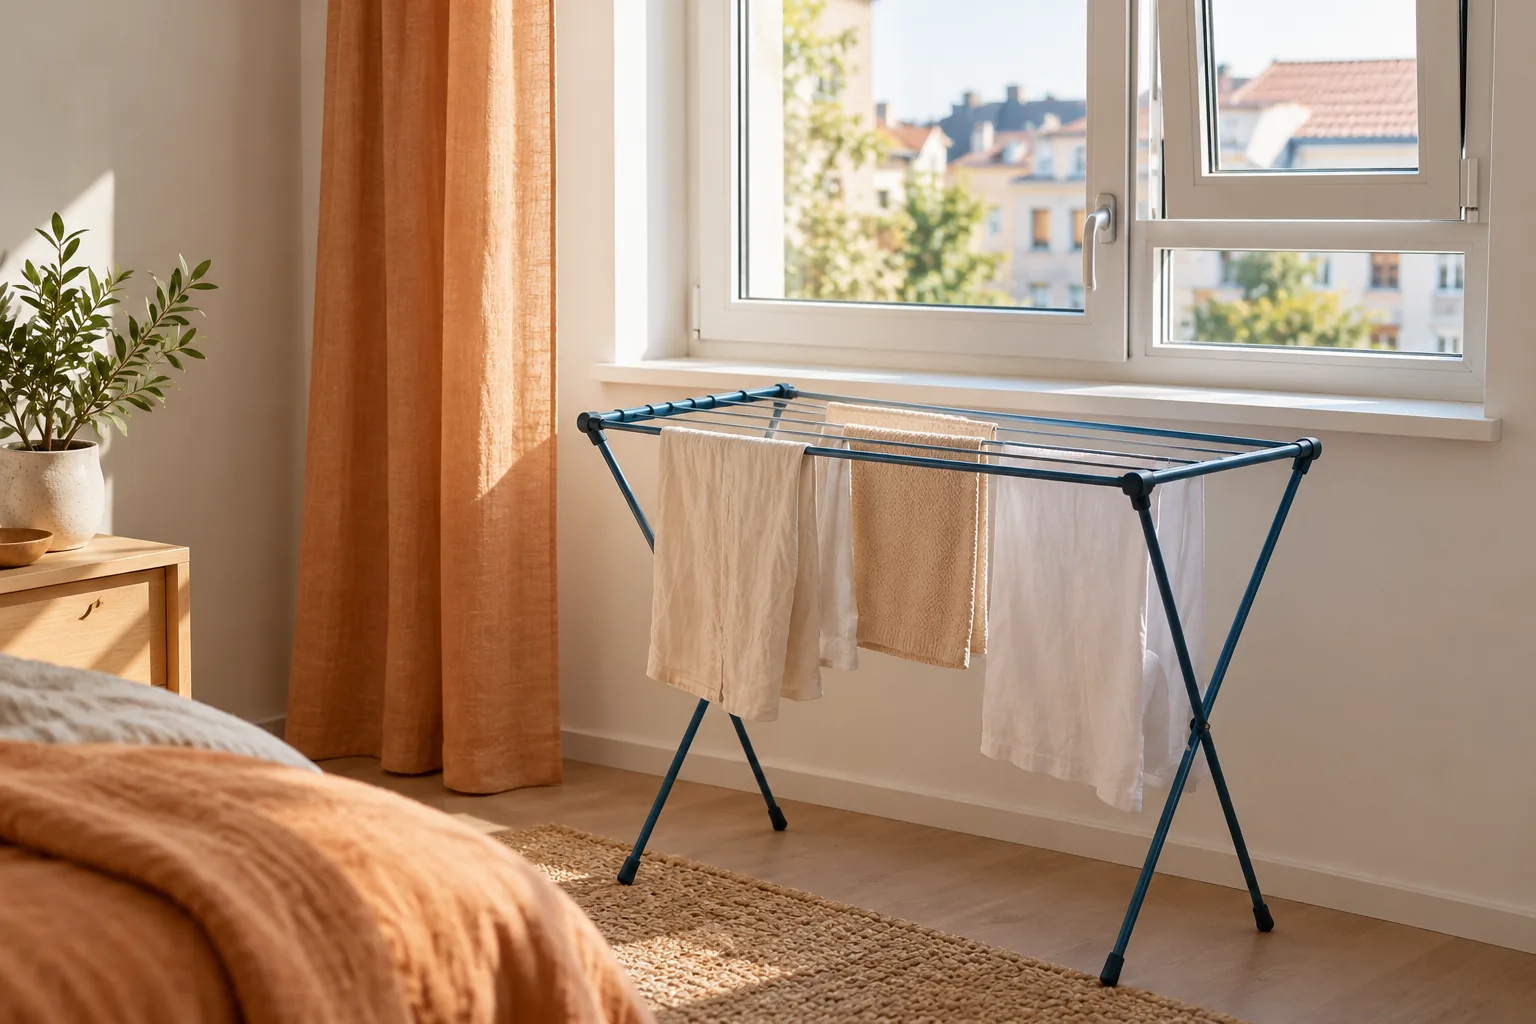
Look at the existing ventilation arrangements and keep openings and vents accessible. Where opening a window is appropriate to the building, weather and household, the rack should not prevent you operating it. A position near a window is an option to assess, not proof that one partly open window will deal with every load in every climate.
Notice what happens during drying. Condensation on windows, persistent damp surfaces or a recurring musty smell calls for attention to the moisture problem. The EPA's home moisture guide recommends keeping relative humidity below 60 percent where possible, ideally between 30 and 50 percent, and addressing moisture sources. A suitable humidity meter can provide more useful information than judging the air by feel alone.
If a dehumidifier is appropriate, choose and operate it according to its instructions, including clearances and maintenance. Do not drape washing over the appliance or let drips reach electrical equipment. Renters should report persistent moisture problems to the building owner or manager. Moving the rack behind a decorative screen will not resolve the cause.
Protect the main daily route
Choose a spot outside the route between the entrance, bathroom, kitchen and places people need to reach. Check it with clothing on the rack, since a clear gap beside an empty frame can disappear under a row of sleeves. Required exits and access need to remain available throughout drying.
Think about the room at its busiest ordinary moment. In a living room that may mean someone carrying a hot drink past the sofa; in a bedroom it may mean reaching the wardrobe and getting into bed. A rack that must be moved whenever those things happen can quickly turn laundry into a series of interruptions.
Compare the positions you already have before adding equipment. A manageable rack at the edge of a suitable room may work better than two smaller racks occupying separate passages. Do not assume a bathroom is suitable just because it has tile: include its existing moisture, ventilation, fixture use and electrical arrangements in the assessment.
Our small laundry-room organization guide helps with the surrounding sorting and supply-storage tasks. Keep those jobs separate from the drying footprint. The basket, detergent supplies and a pile of clean towels do not all have to remain beside the open rack.

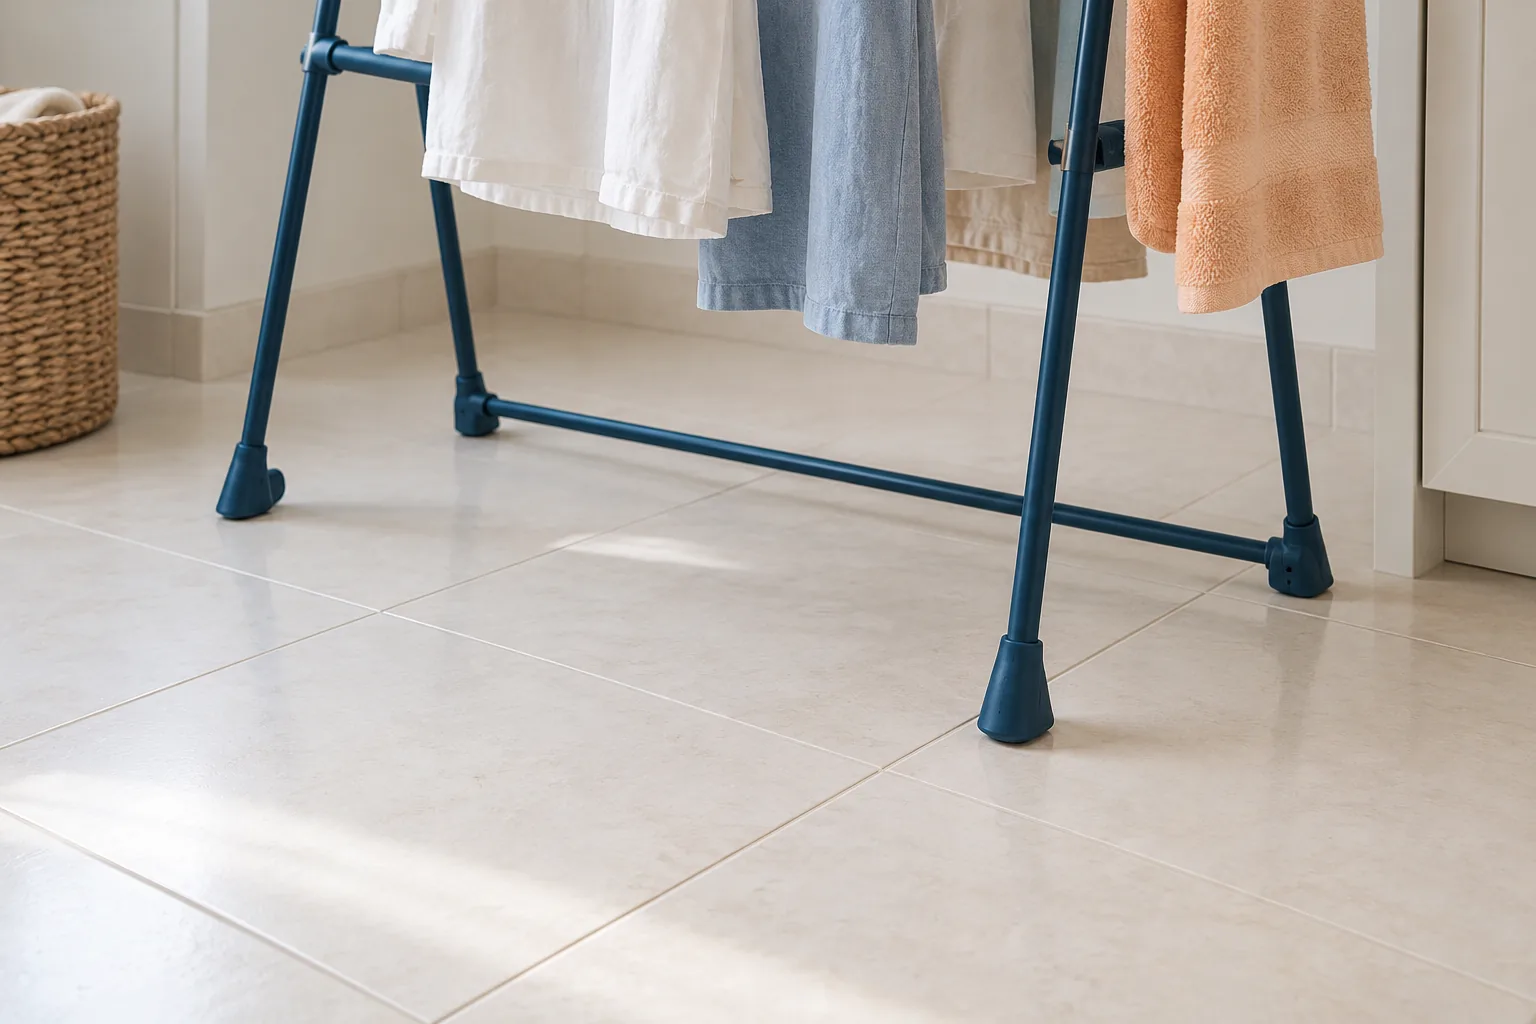
Give drips a suitable location
Check the washing before carrying it through the apartment. Ordinary machine-spun garments and hand-washed pieces that still release water may need different handling. Follow their care instructions and choose a position suited to any remaining drips. Do not turn an unsuitable timber floor or carpeted room into the default simply because the rack fits there.
A compatible washable floor can be easier to manage, but it still needs to stay dry and safe to walk on. Attend to water promptly using the floor's care guidance. Avoid creating a new loose, curling or slippery layer with an improvised sheet spread across the route.
Keep the garments clear of walls, furnishings and electrical equipment. Allow for movement while loading so a wet sleeve does not brush a socket or settle against upholstery. Check hems as well as the height of the rack; a long garment can reach much farther than expected.
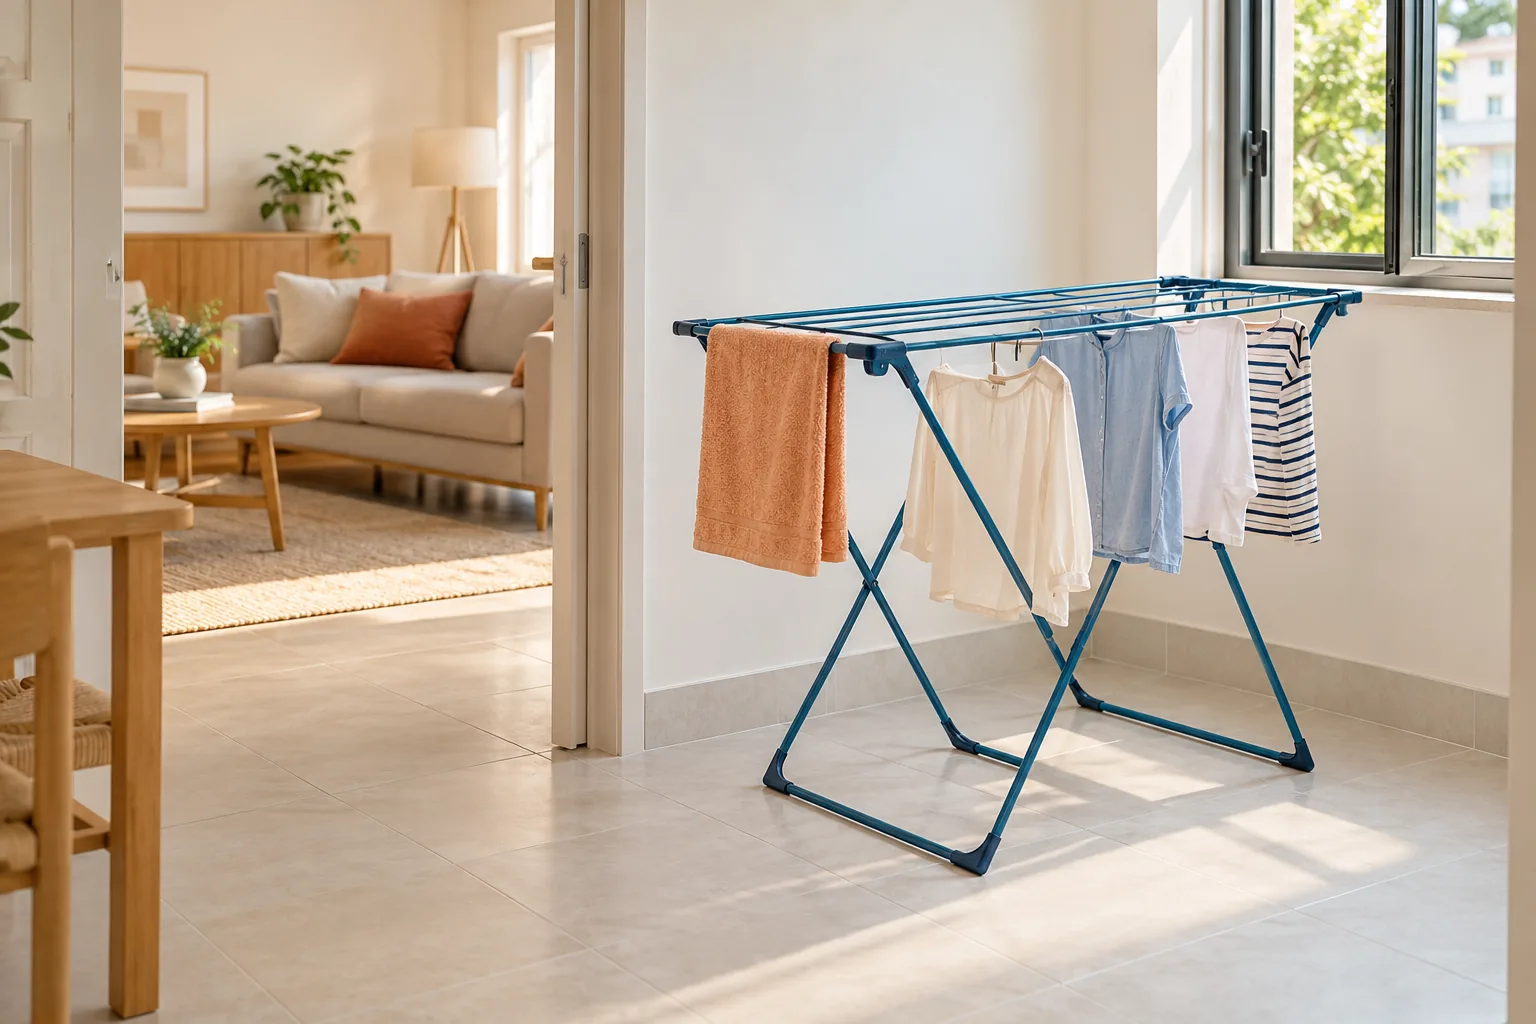
Use purpose-made drying equipment as intended. Do not hang laundry over a portable heater, lamp or other unsuitable heat source to speed things up. In a modest utility corner, a marine-blue rack and apricot laundry textile can provide all the color the area needs, leaving the practical floor space available for the actual work.
Fold the dry rack away
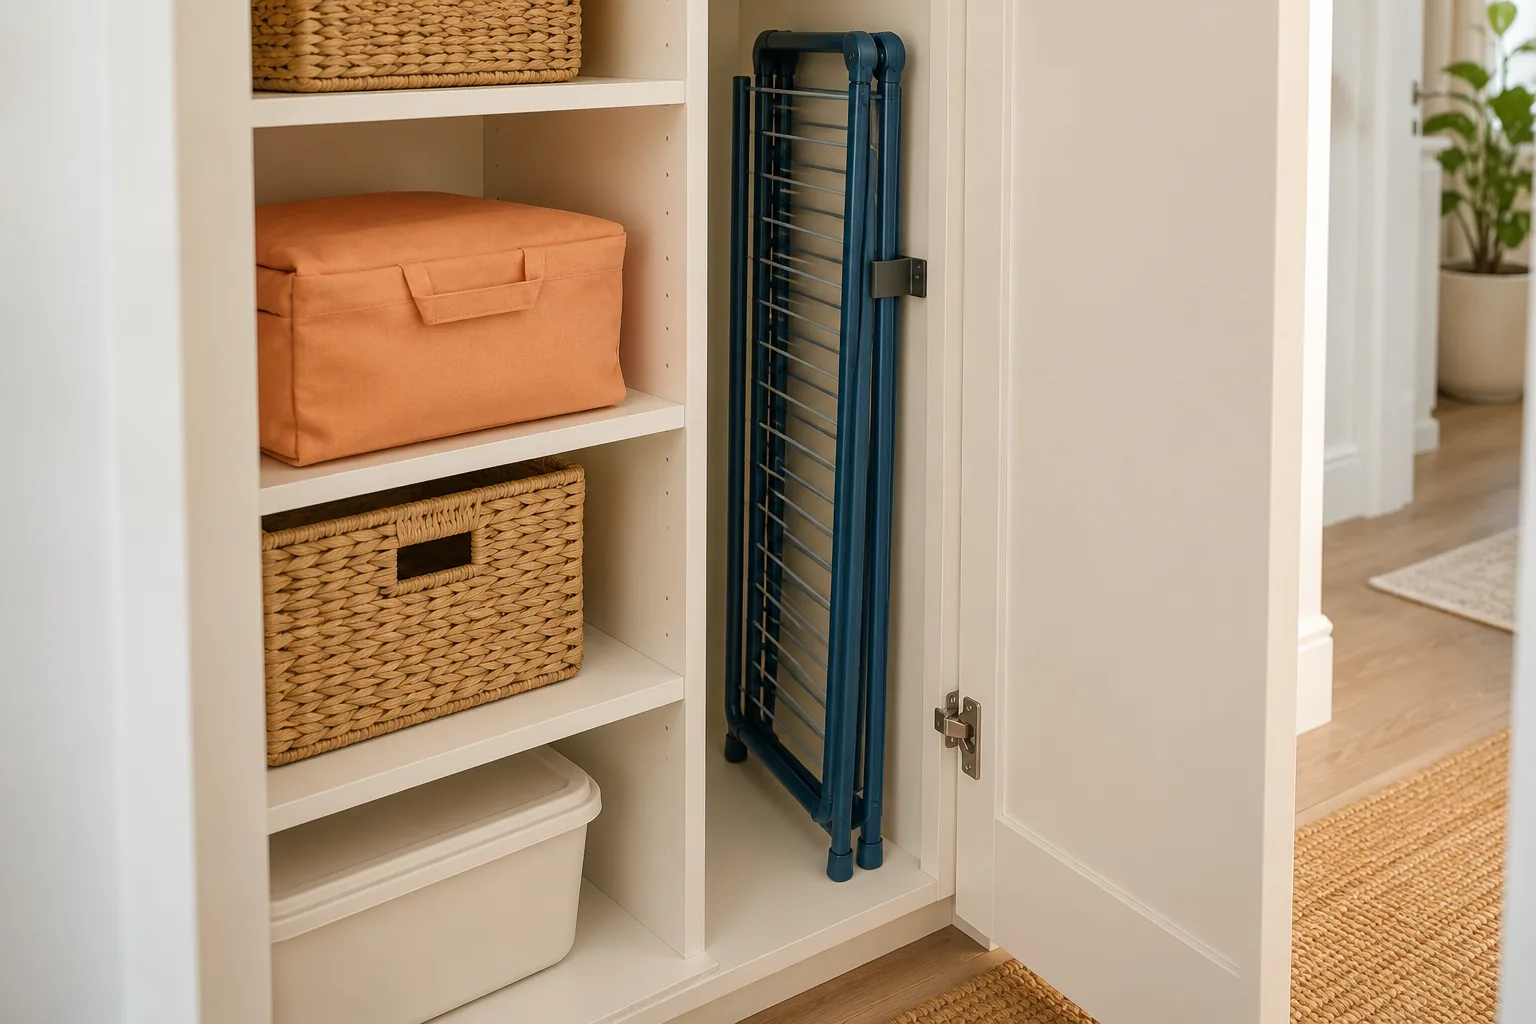
Decide where the empty rack will go before the first load goes on it. Measure the closed frame, including feet and protruding hinges, against the proposed storage spot. Keep that spot usable without shifting a vacuum, a stack of boxes and the ironing board each time.
Once the garments are fully ready, return them to their ordinary storage rather than leaving them across the rails for another day. Check the rack itself is clean and dry, then fold and store it according to its instructions. A secure appropriate retaining arrangement may be useful for an upright bay; simply leaning a tall folded frame against a door is a poor substitute for a planned location.
Our vacuum, mop and bucket storage guide can help define separate places for utility equipment. A drying rack should not have to become the support holding other tools upright.
Keep the reset short enough to repeat. Put the basket away, return any garment-care supplies and restore the room's usual arrangement. A small-apartment drying plan is successful when it handles the whole cycle, including the point where the living space becomes available again.
Can I dry clothes in a bedroom?
Assess the room's ventilation, moisture conditions, access and ordinary use first. Keep clothes clear of the bed, walls and electrical equipment, and preserve the route to the door. If indoor moisture is already a persistent problem, seek suitable building guidance and consider another appropriate drying method instead of adding more wet clothing to that room.
Is a tall airer always better for a small apartment?
No. Compare the loaded footprint, stability, access to rails and folded storage size. A tall form can reduce the floor area taken by the frame while making some garments harder to reach or arrange. Check the actual product instructions and the items you usually dry before choosing its shape.
How can I make a load fit without overlapping clothes?
Begin with the suitable drying capacity you actually have. Separate items with different care needs and plan a wash quantity that fits that capacity, following machine guidance. If the regular load still cannot dry properly in the available conditions, reassess the laundry routine or another suitable drying option rather than continually adding improvised hanging places.
Plan for the loaded rack and the empty room
Choose a workable open footprint, suitable drying conditions and a dependable storage place for the closed rack. Those three decisions usually matter more than finding a way to hide washing. Add only the equipment that helps the complete routine fit your home.
Images are AI-generated illustrations of different drying arrangements, not measured ventilation assessments or evidence of drying times. Follow the actual garment, appliance and rack instructions and obtain suitable help for unresolved moisture problems.
A beautiful small space is not about having more. It is about making what you have work better. — Spacelya