18 Small Laundry Room Organization Ideas That Save Space
A small laundry area needs room for the process, not just the products: loading the machine, sorting a wash, hanging damp clothes and putting clean laundry away. Identify which step causes the most trouble before adding shelves or baskets.
Measure the appliance doors when fully open, the route to carry a basket and the access needed for controls, hoses and maintenance. Follow the appliance installation instructions; an empty-looking gap may be necessary clearance rather than spare storage. In a rental, ask permission before fixing anything to a wall or changing the setup.
Keep laundry products in their original labeled packaging. The CPSC's laundry-packet guidance recommends sealed original packaging and storage locked away from children. Matching decorative jars are unsuitable substitutes for that protection.
Follow one load from basket to dry storage
Trace one load through the home before choosing storage: where it waits, where it is washed, where the clean load lands, where it dries and where the dry clothes return. Write down the place borrowed from another task. That is the point to solve first.
For example, a household may use its only laundry basket to hold the next dirty load while the machine runs. When washing finishes, there is no suitable empty receiving basket and the intended drying place is still occupied. Another shelf above the machine would not resolve either handoff. Decide where the waiting load belongs, free an appropriate clean receiving container and check the drying space before starting the next wash. Use the basket and appliance according to their instructions; a basket is not a measure of the machine's load capacity.
If dry clothes wait in the same basket for several days, look at their final return instead. Is the wardrobe drawer too full, or is folding happening far from the place clothes are stored? Our bedroom clothes-storage guide explains how to check capacity when the clean clothes come back.
Keep machine doors, drawers, controls, hoses and service access usable, following the appliance maker's clearances. Keep laundry products in their original labeled packaging and store them as instructed. If drying is the bottleneck, use our apartment clothes-drying plan before adding more furniture around the washer.
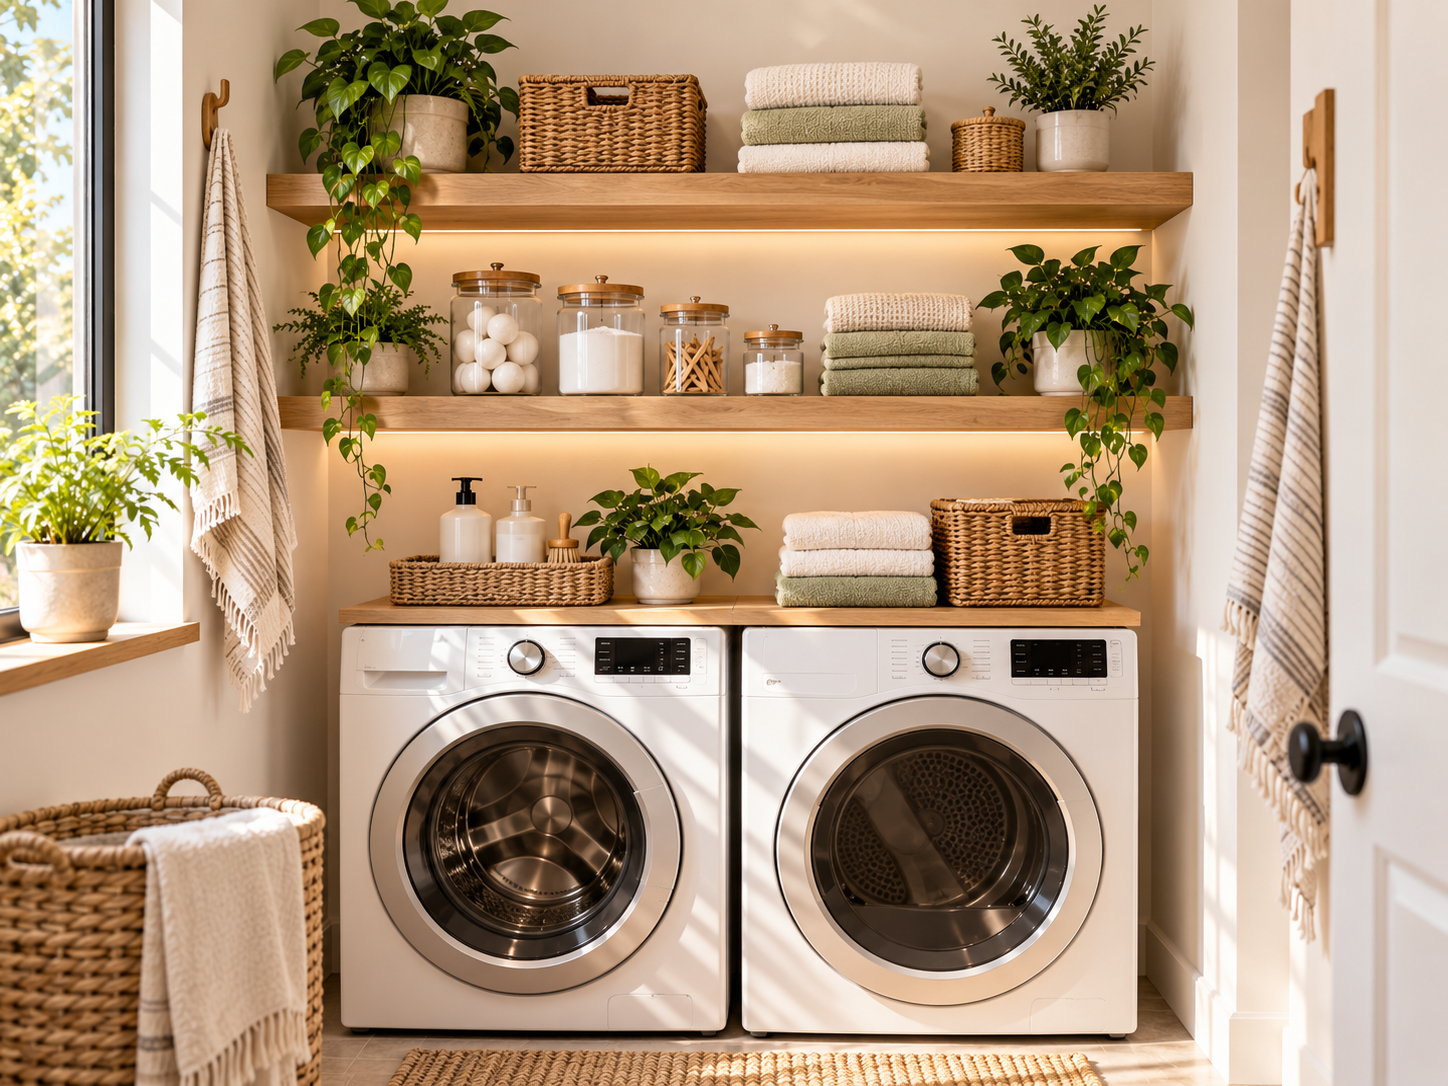
Use the wall above your washer and dryer
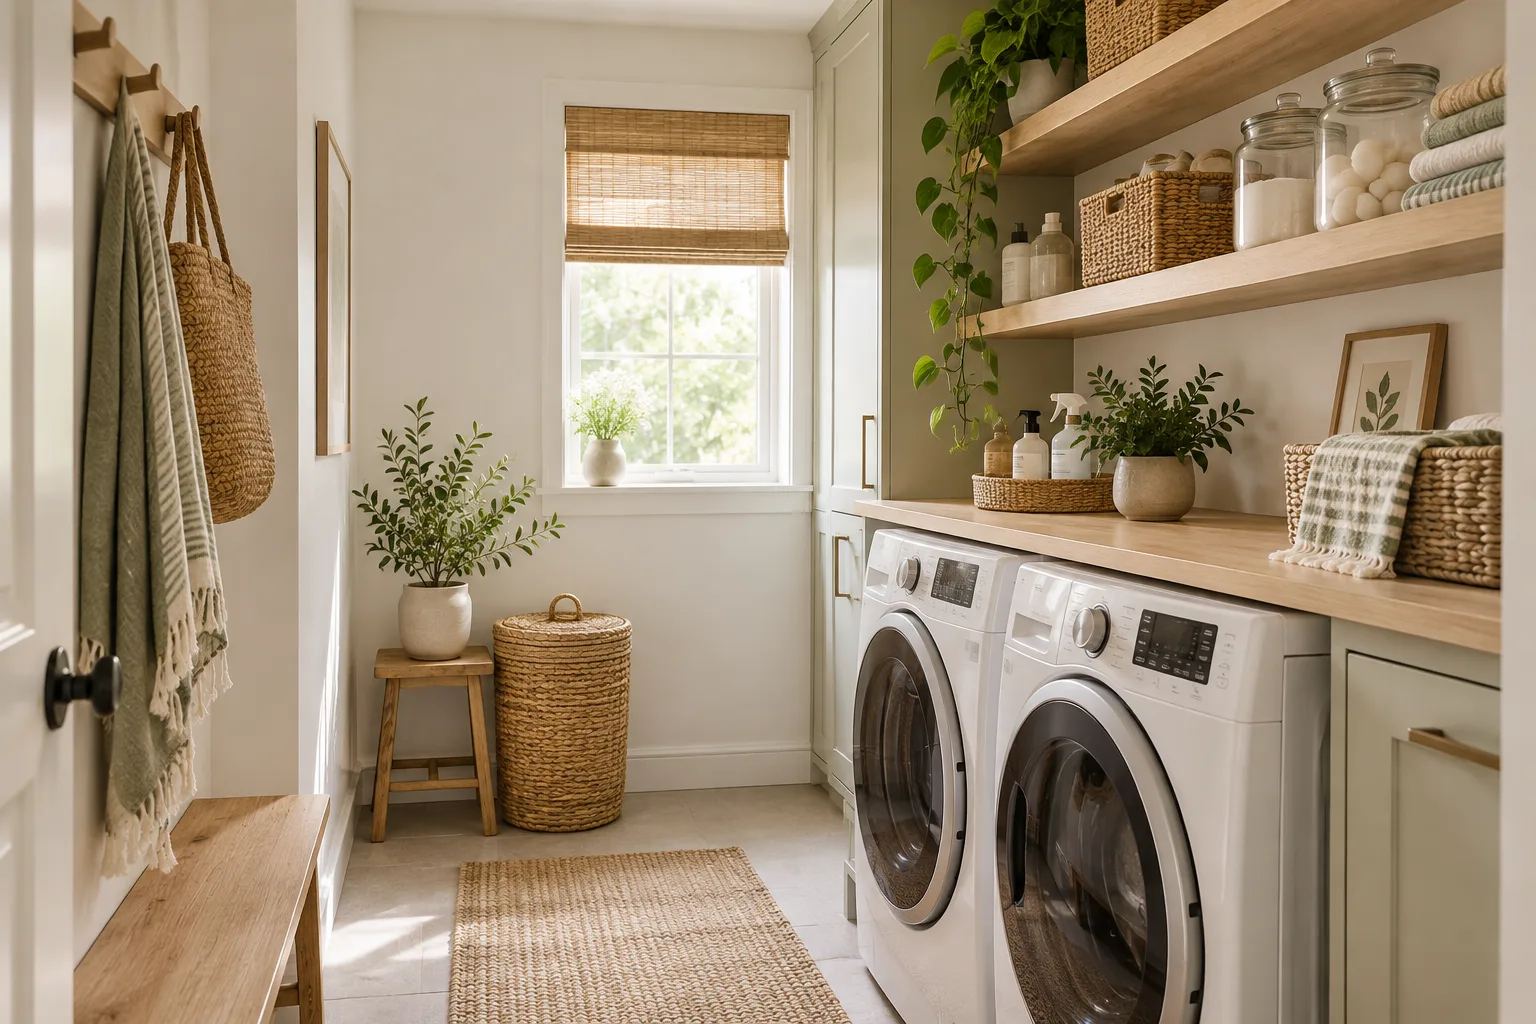
Check whether the space above the machines is reachable from the floor and clear of connections or equipment that needs servicing. Measure shelf depth so you can still operate the controls and lift a washer lid where applicable. Choose wall fixings suitable for the loaded shelf and obtain rental permission. Use reachable shelves for light supplies, and choose another location for products requiring secure storage.
Add floating shelves
A shallow floating shelf can hold a small set of useful items, but hidden brackets still have load limits. Measure the shelf with bottles standing on it and check that nothing projects over the controls. Keep a cloth or empty basket within comfortable reach. If installation is unsuitable, a nearby existing cupboard often works better than trying to mount storage on an uncertain wall.
Use matching storage baskets
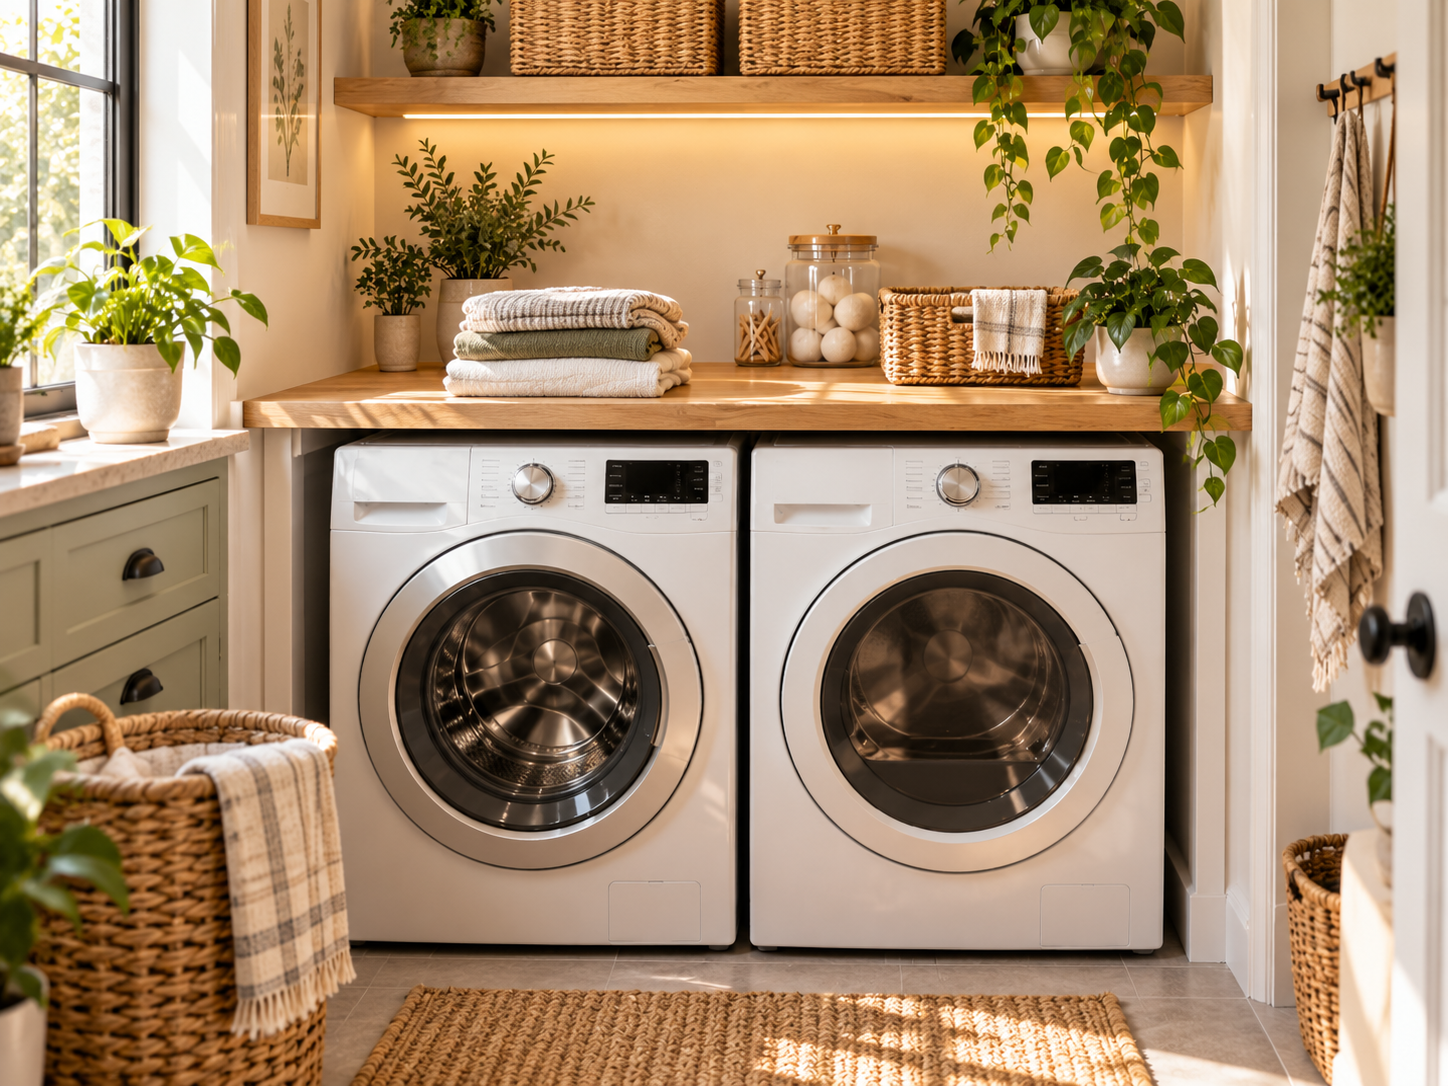
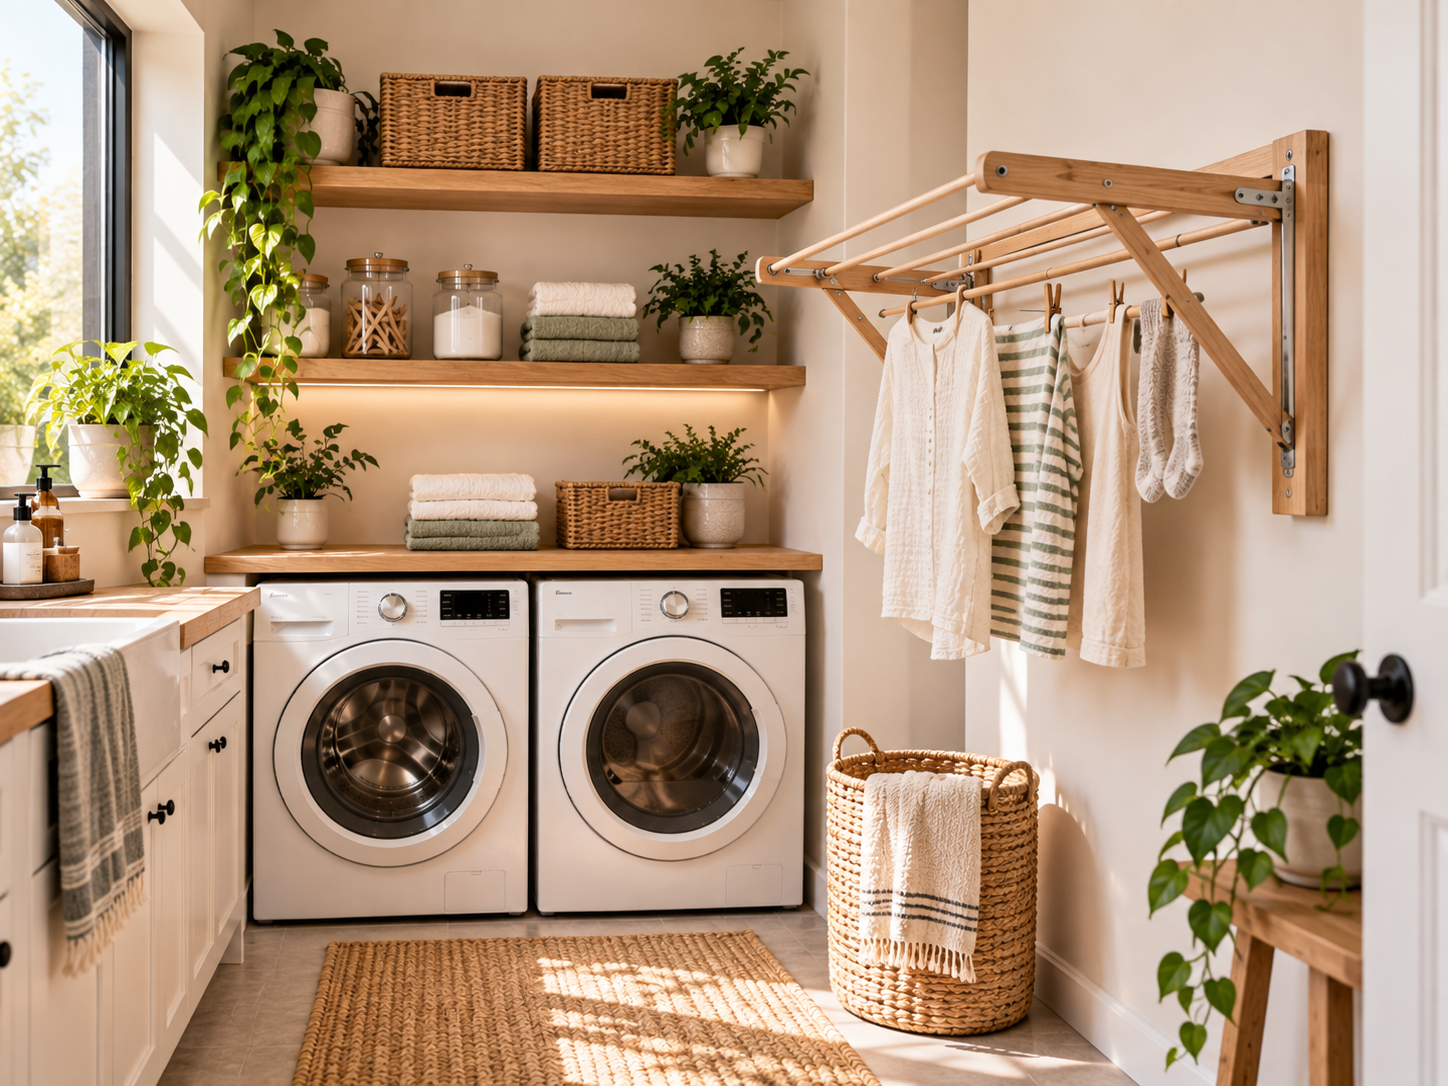
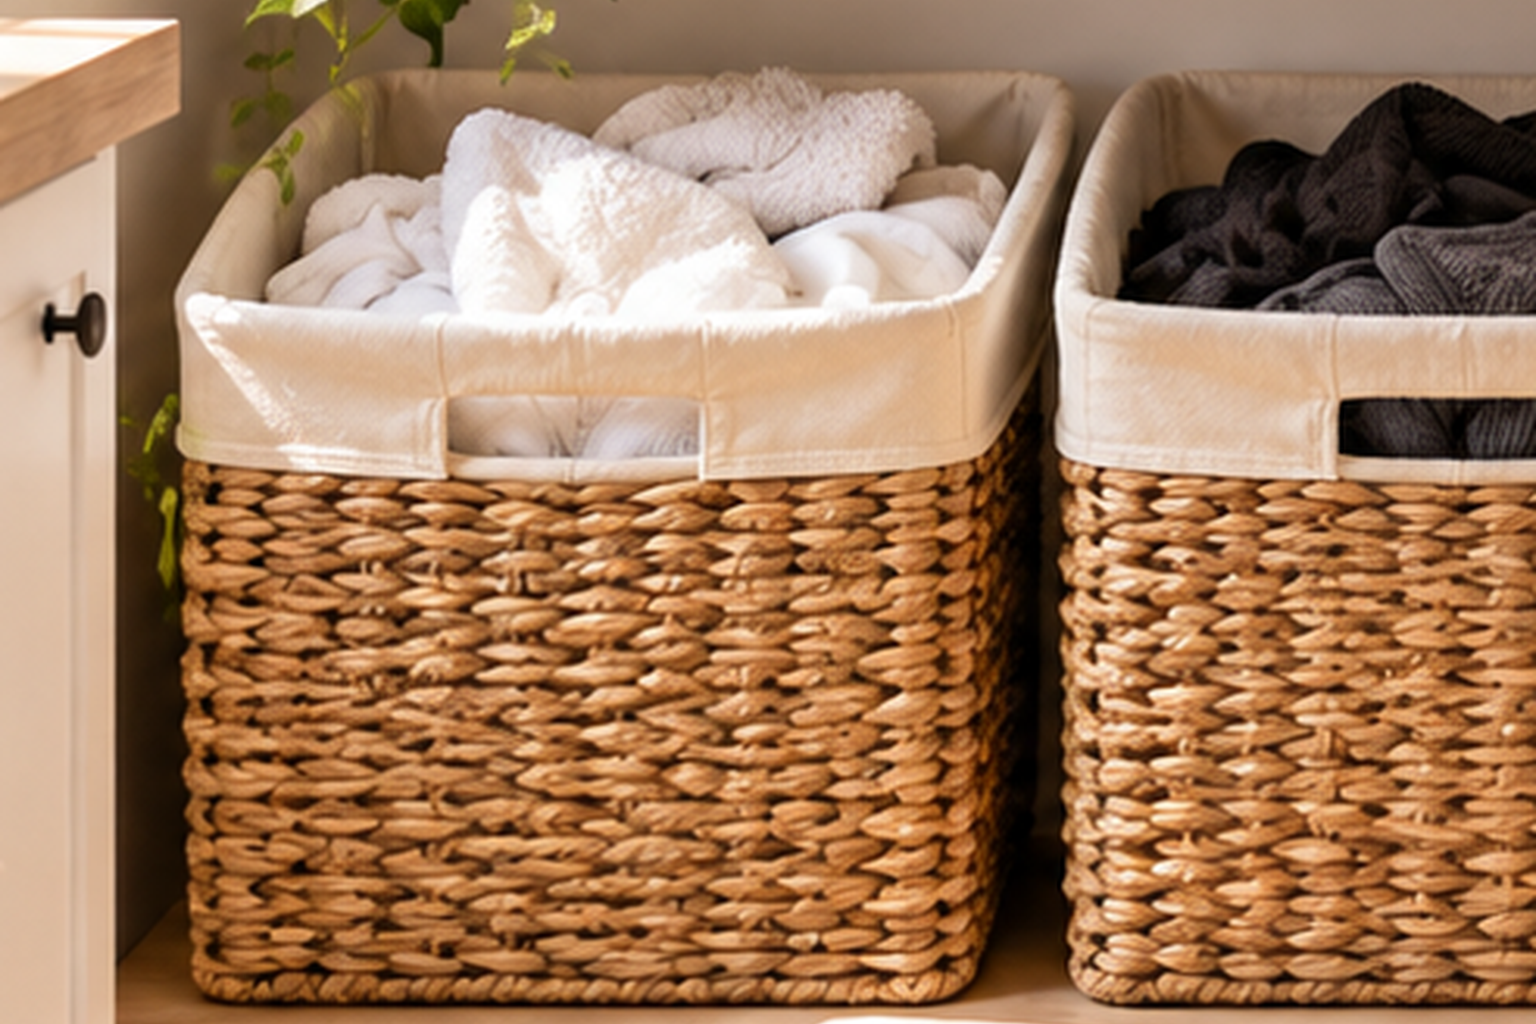
Use baskets to group nonhazardous items such as clean cloths, mesh wash bags and spare hangers. Choose a basket you can lift with its contents inside and leave enough clearance to pull it out. Keep detergent containers upright in storage appropriate to their labels and household risks. A basket's coordinated appearance does not make open chemical storage secure or contain a leak reliably.
Add a slim rolling cart
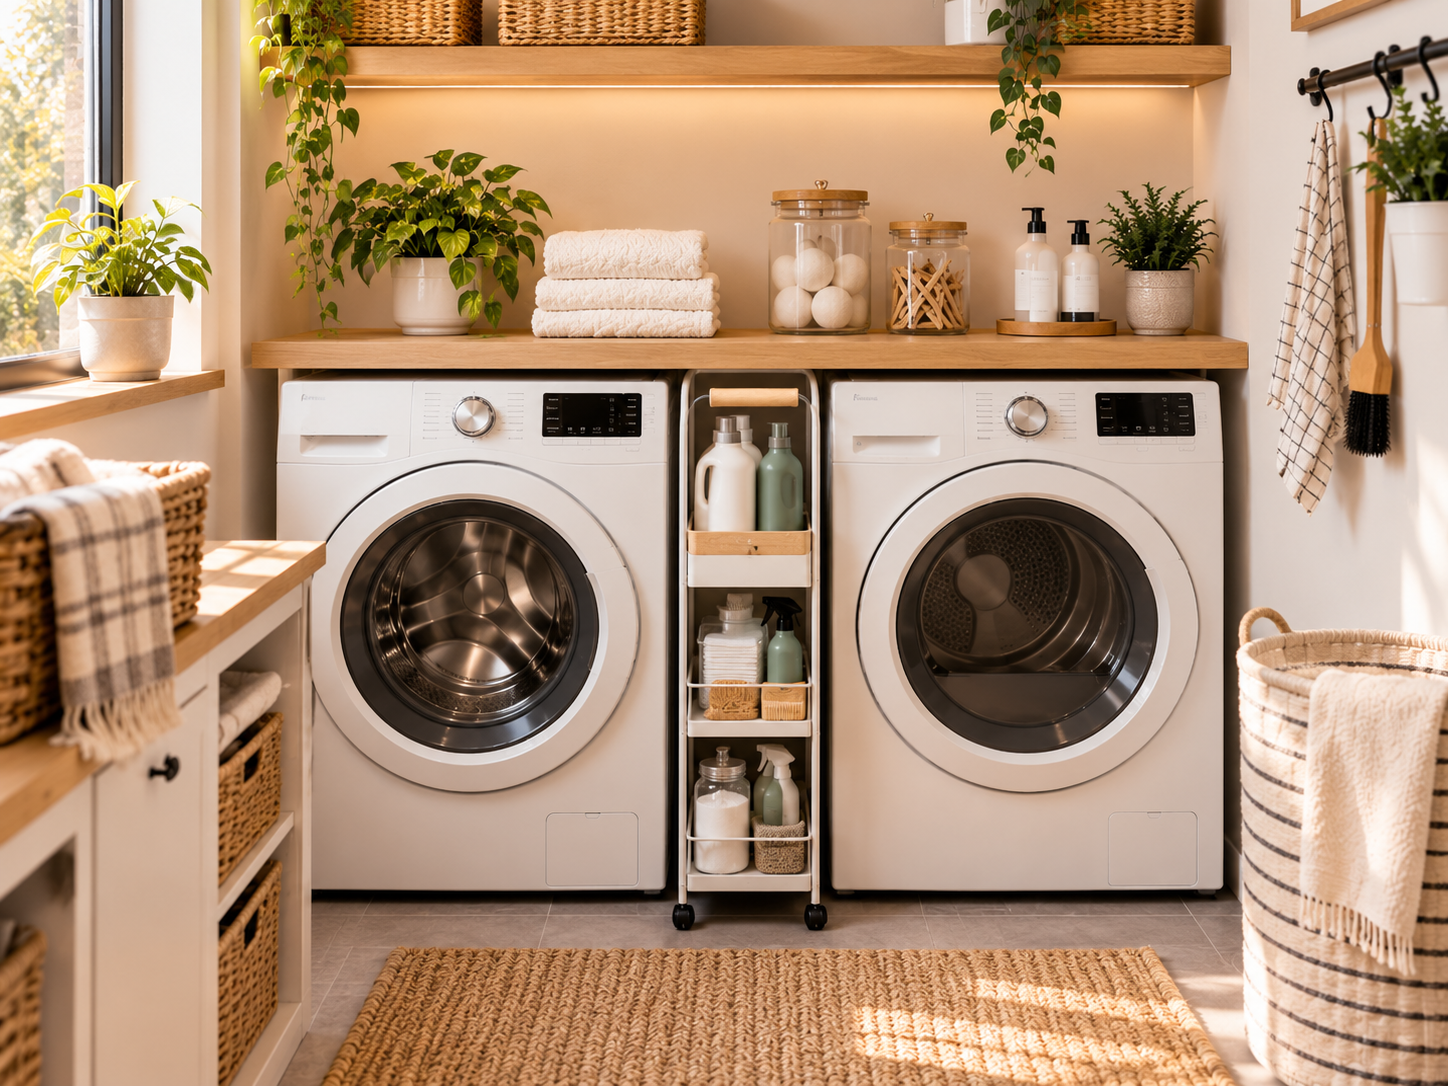
Measure the gap at its narrowest point, including hoses, wheels, handles and baseboards. A cart must roll out without catching connections or forcing the appliance sideways. Keep heavy items low and use spill-resistant organization appropriate to the products. If the cart occupies required appliance clearance or blocks a service point, leave the gap open and store supplies elsewhere.
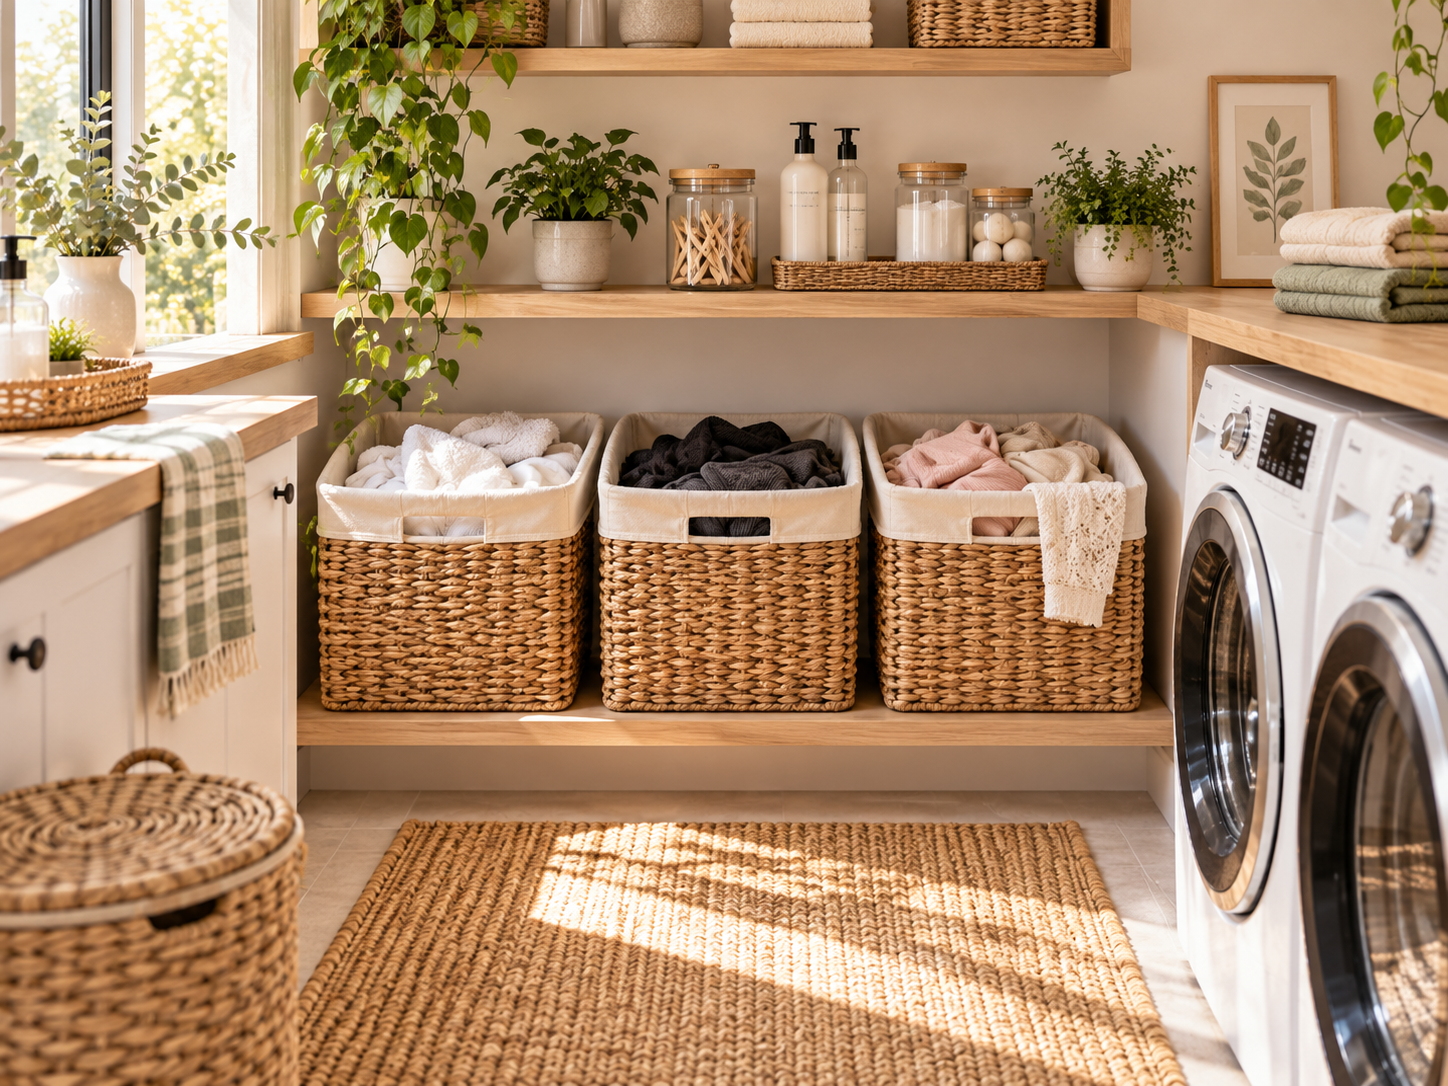
Install a hanging rail
Decide whether the rail will hold dry clothes waiting to be put away or wet items that need drying. Wet garments add weight, so check the rail and wall fixing instructions for the intended use. Allow enough hanging length for sleeves to clear the machines. Keep garments away from vents, heat and controls; a hanging rail must not turn the room into a blocked drying passage.
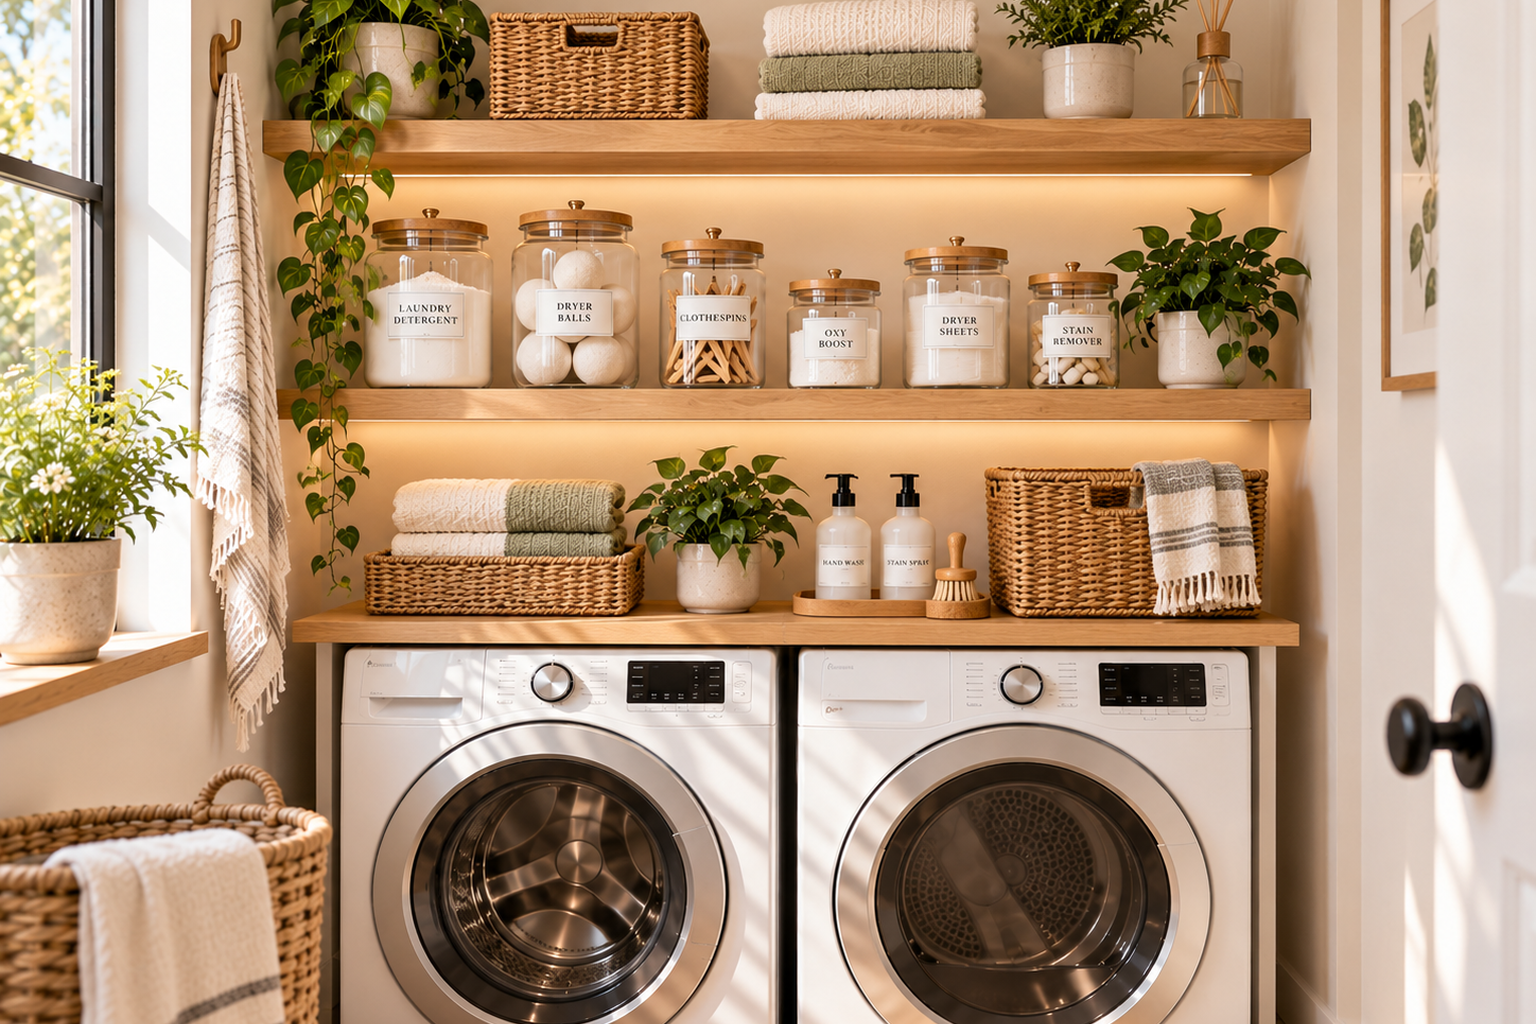
Use labeled containers for laundry supplies
Label the shelf, bin or cupboard holding the original product containers rather than transferring chemicals into decorative jars. Preserve the manufacturer's warnings, dosage information and closure. Small loose accessories can go in a clearly labeled tray. A label is especially helpful when two household members put supplies away, but it cannot replace child-resistant packaging or storage locked away where needed.
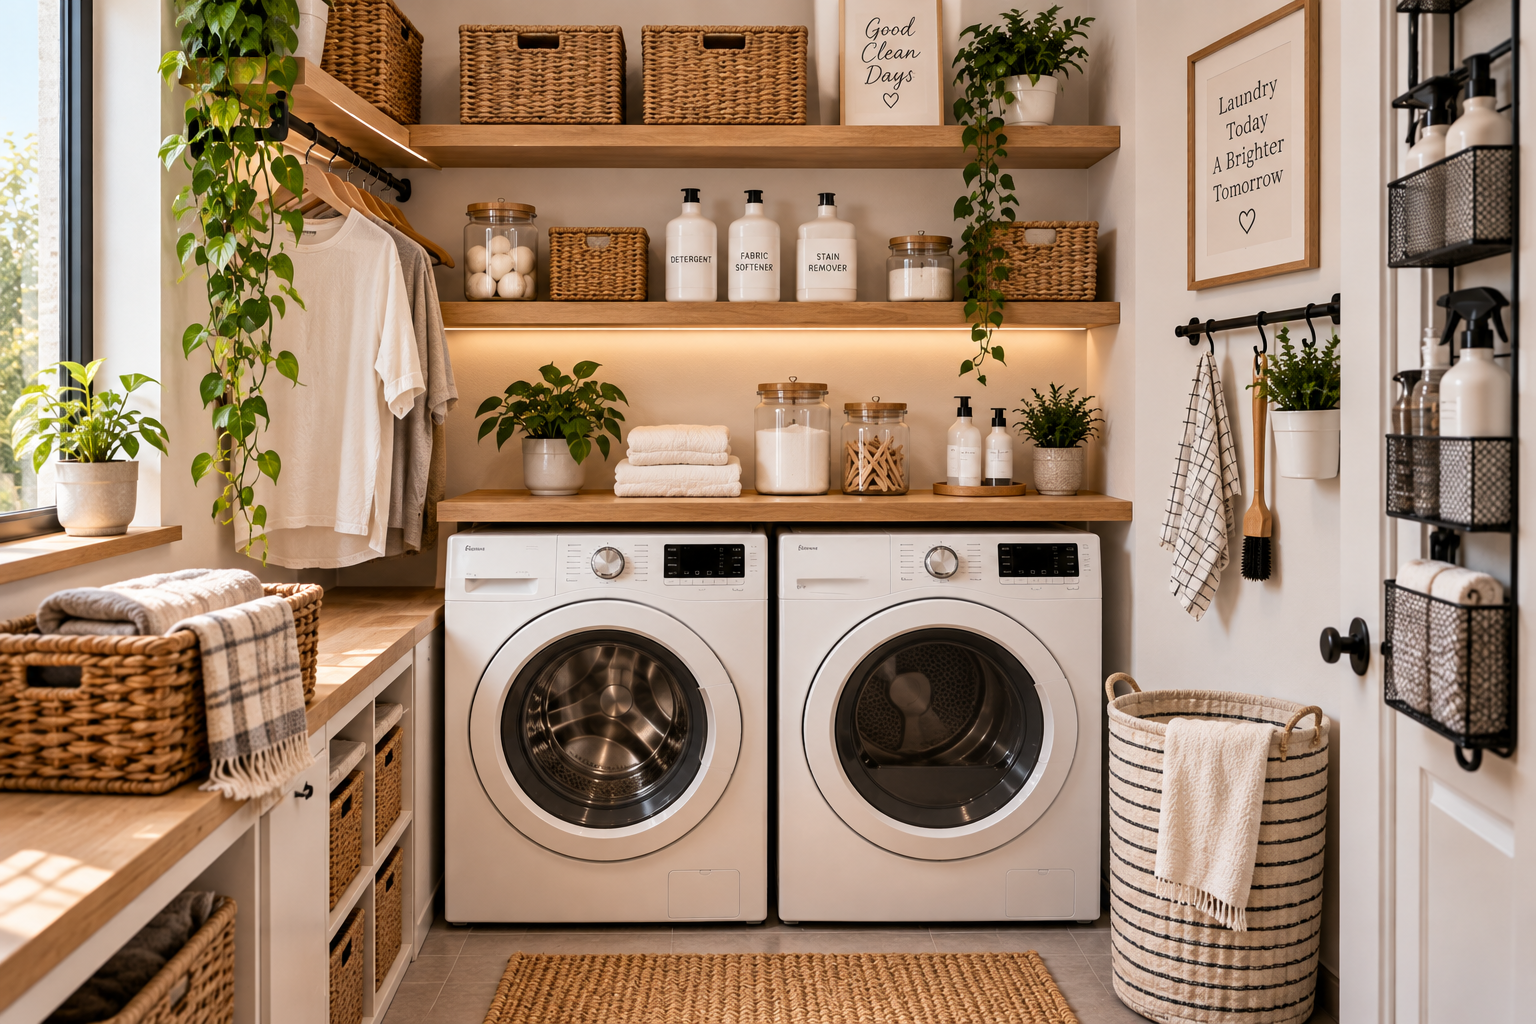
Add hooks to unused walls
Start with one item that regularly ends up on the floor, such as an empty laundry bag. Position its hook where the bag will not swing into a machine door or cover a control. Use a fixing rated for the load and surface. Heavy ironing boards need their own suitable retaining system; a small adhesive hook is not an alternative to a purpose-designed support.
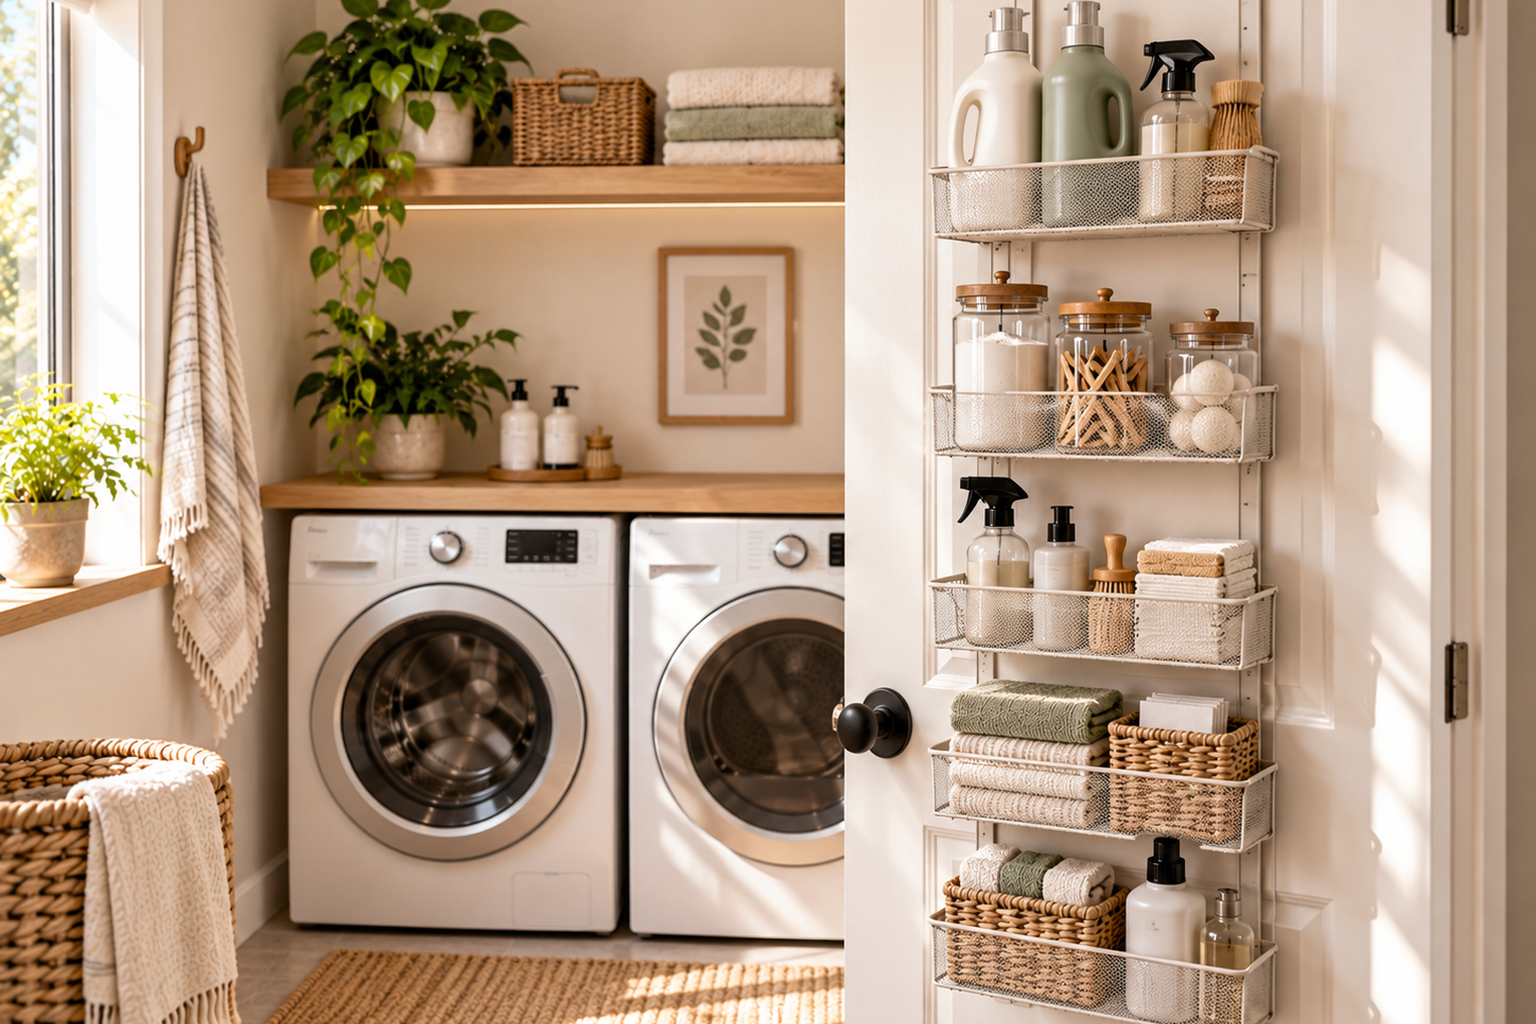
Use the back of the door
Test the door's full movement before adding an organizer. The bracket needs to fit its thickness and leave the latch working normally; pockets must not strike the appliance. Store light dry accessories rather than leaking bottles or damp textiles. Do not modify a fire-rated or shared-area door without appropriate permission. If the door already opens into a tight space, a smaller organizer may still be too much.
Choose collapsible laundry baskets
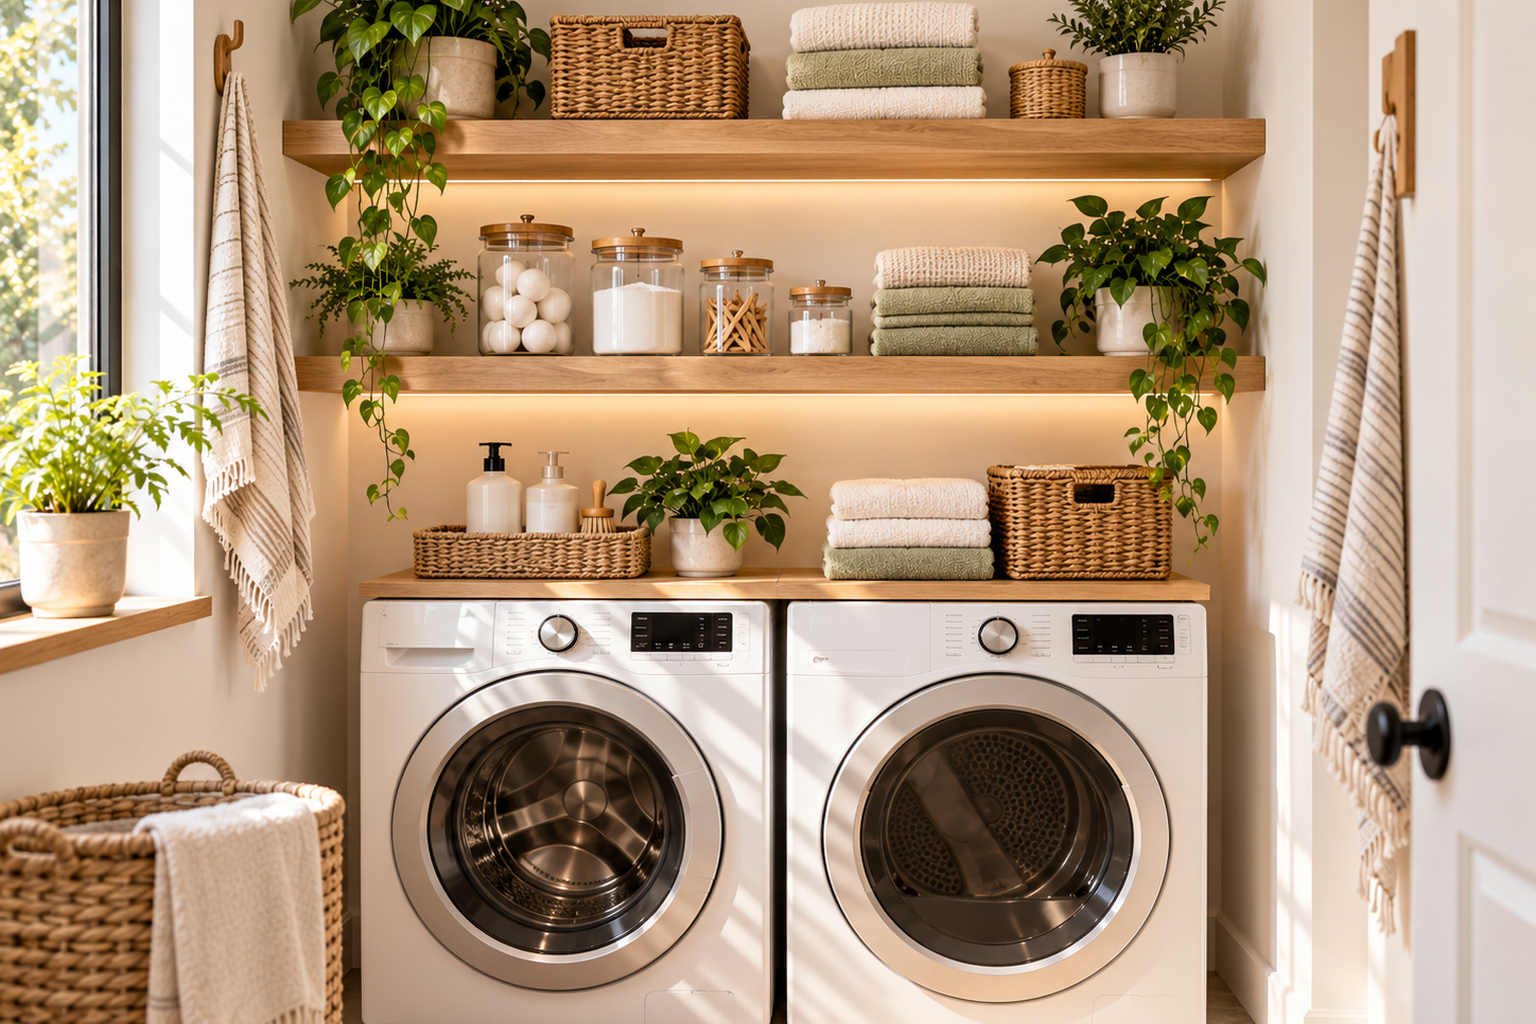
Choose a collapsible basket by its loaded size, not only its folded dimensions. Check that it passes through the doorway while you carry it and that its handles feel comfortable. Let it dry before folding after contact with damp laundry. Give the folded basket a specific storage slot so it does not become another object leaning against a machine or blocking access.
Create a simple sorting system
Sort for the washes you actually run and each garment's care instructions. A color-coded hamper is only a reminder; it cannot determine which fabrics, colors or treatments belong in the same load.
Start with a small waiting system rather than a row of permanent hampers. You might use one removable bag for the next compatible wash and another suitable place for pieces awaiting a different cycle or a care decision. Choose the arrangement from your actual clothing, and measure the bags when filled. Check that they can be lifted out without blocking the machine door or covering a service point.
Give the waiting stage an end point. When you prepare a wash, check its items and the machine's loading instructions rather than emptying a whole bag automatically. Then make sure there is somewhere for the finished load to go. If waiting laundry keeps growing, review washing, drying and putting-away capacity before adding another sorter. The aim is a manageable sequence, with a known next step for each group.
Add a countertop over front-loading machines
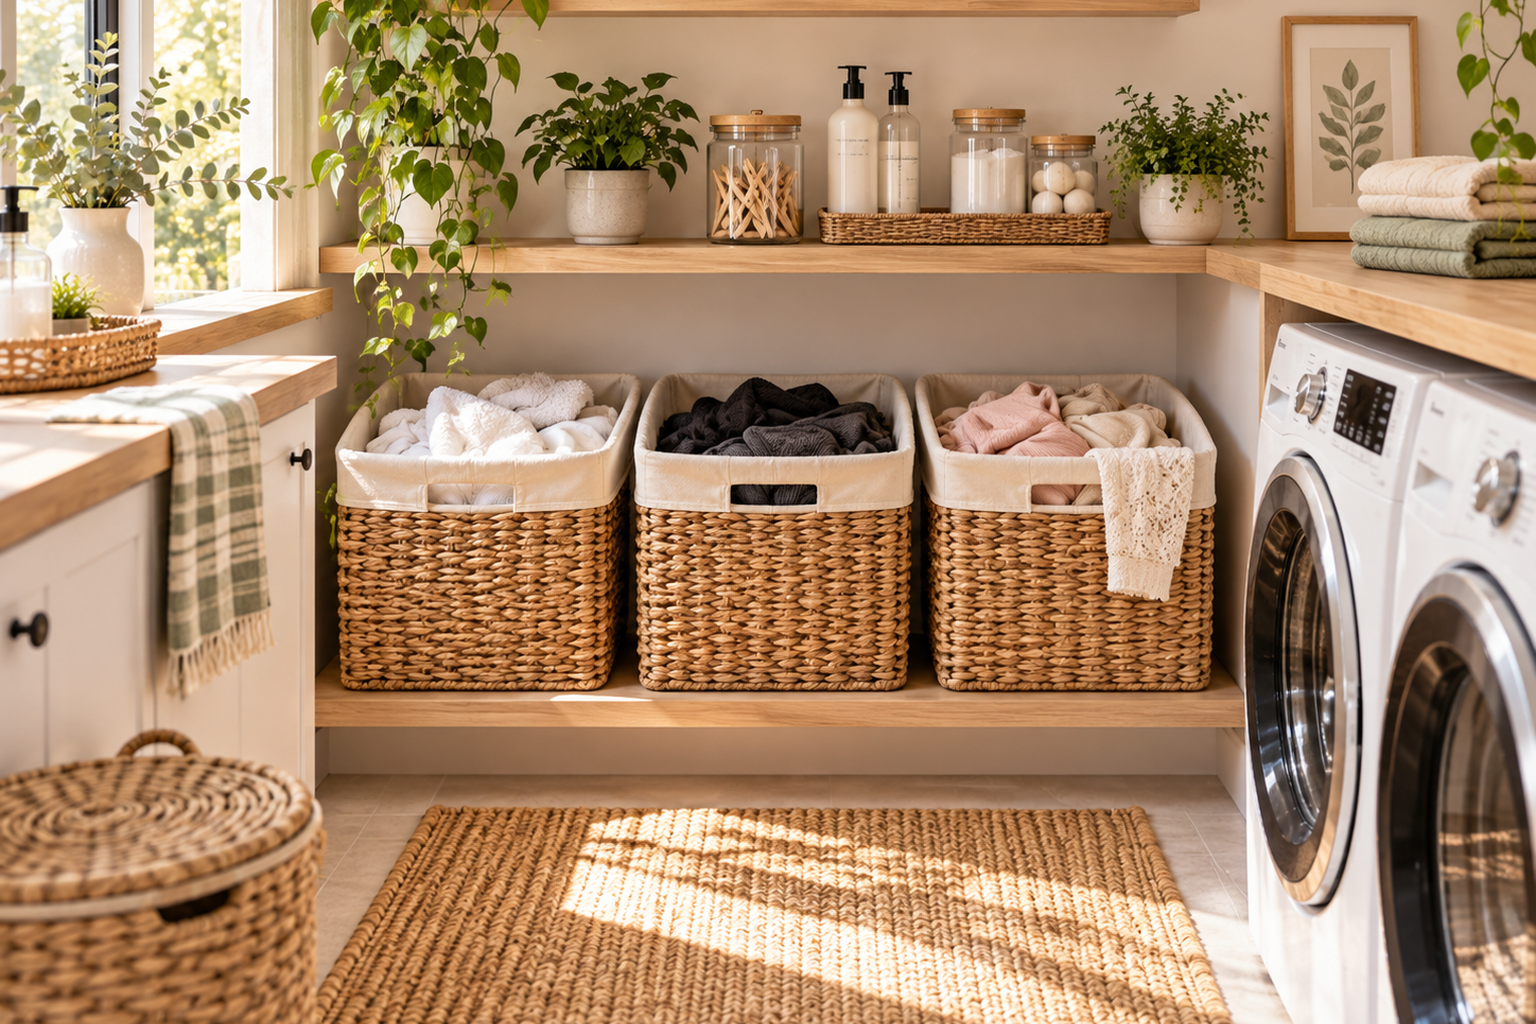
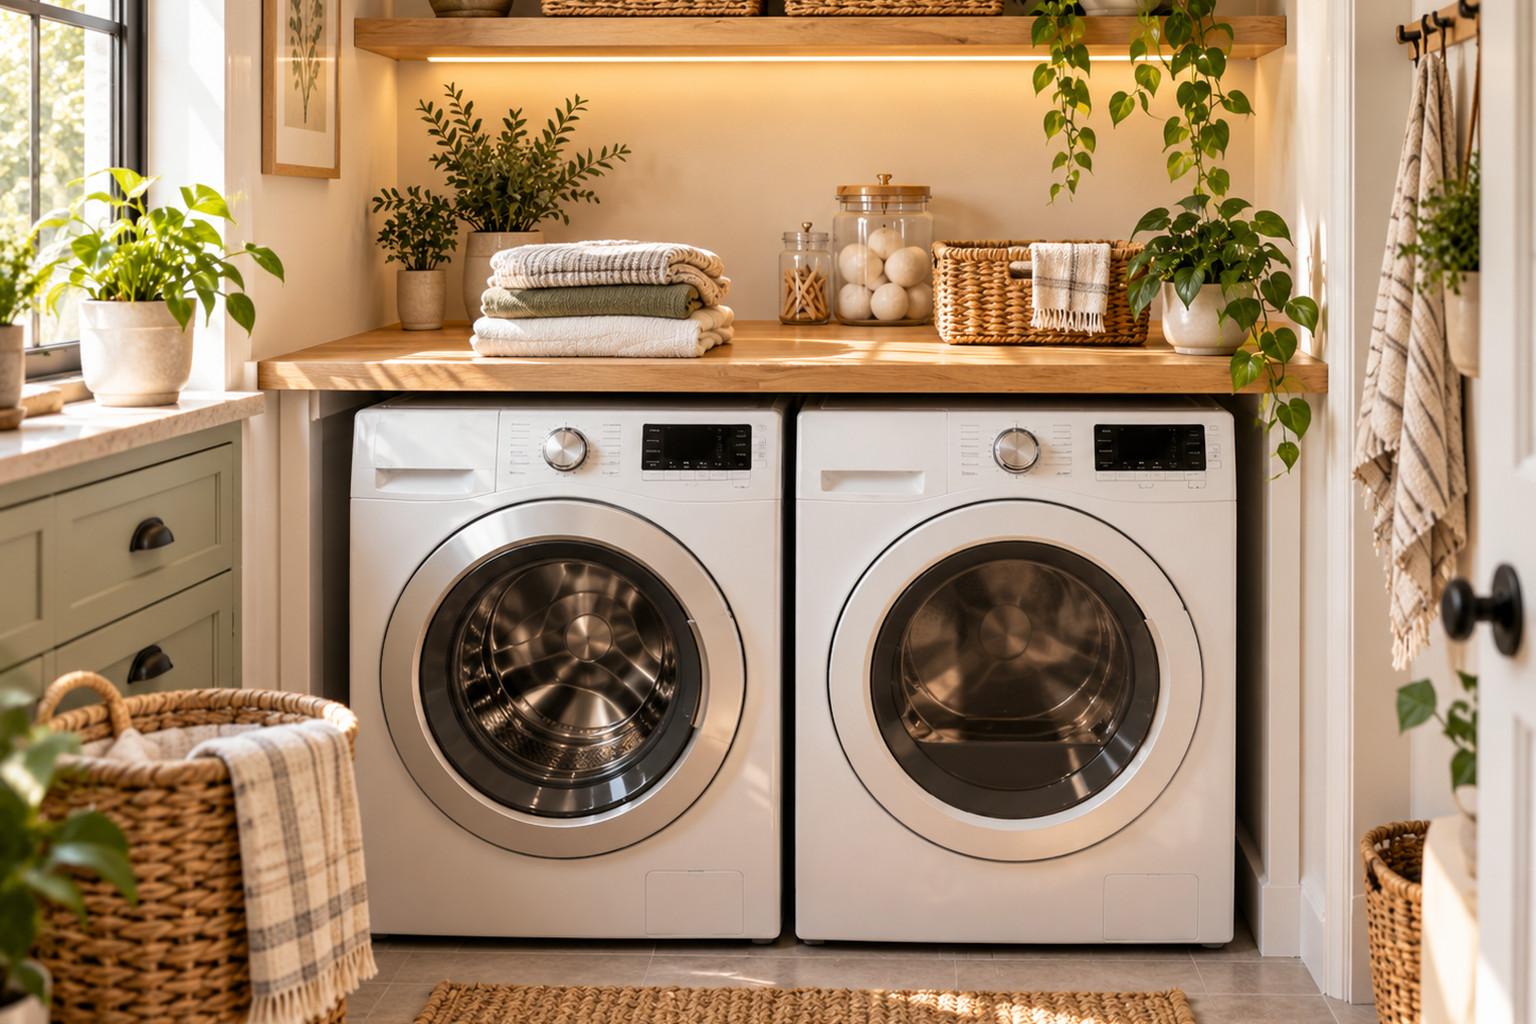
A worktop is suitable only when its structure and appliance layout allow it. Follow the machine instructions for clearance, movement and servicing, and use an appropriately supported counter rather than assuming the appliances can carry it. Check access to detergent drawers and controls. Keep the surface for folding dry clothes; do not let a convenient counter conceal hoses or prevent a machine from being removed.
Store rarely used items higher up
Reserve high storage for light, infrequently used accessories you can retrieve appropriately. Keep frequently used bottles at a comfortable working height in storage suited to their labels. Avoid heavy containers overhead or balancing on the appliance to reach a shelf. If an upper cupboard requires awkward reaching every wash day, move its daily contents down instead of reorganizing the same difficult space repeatedly.
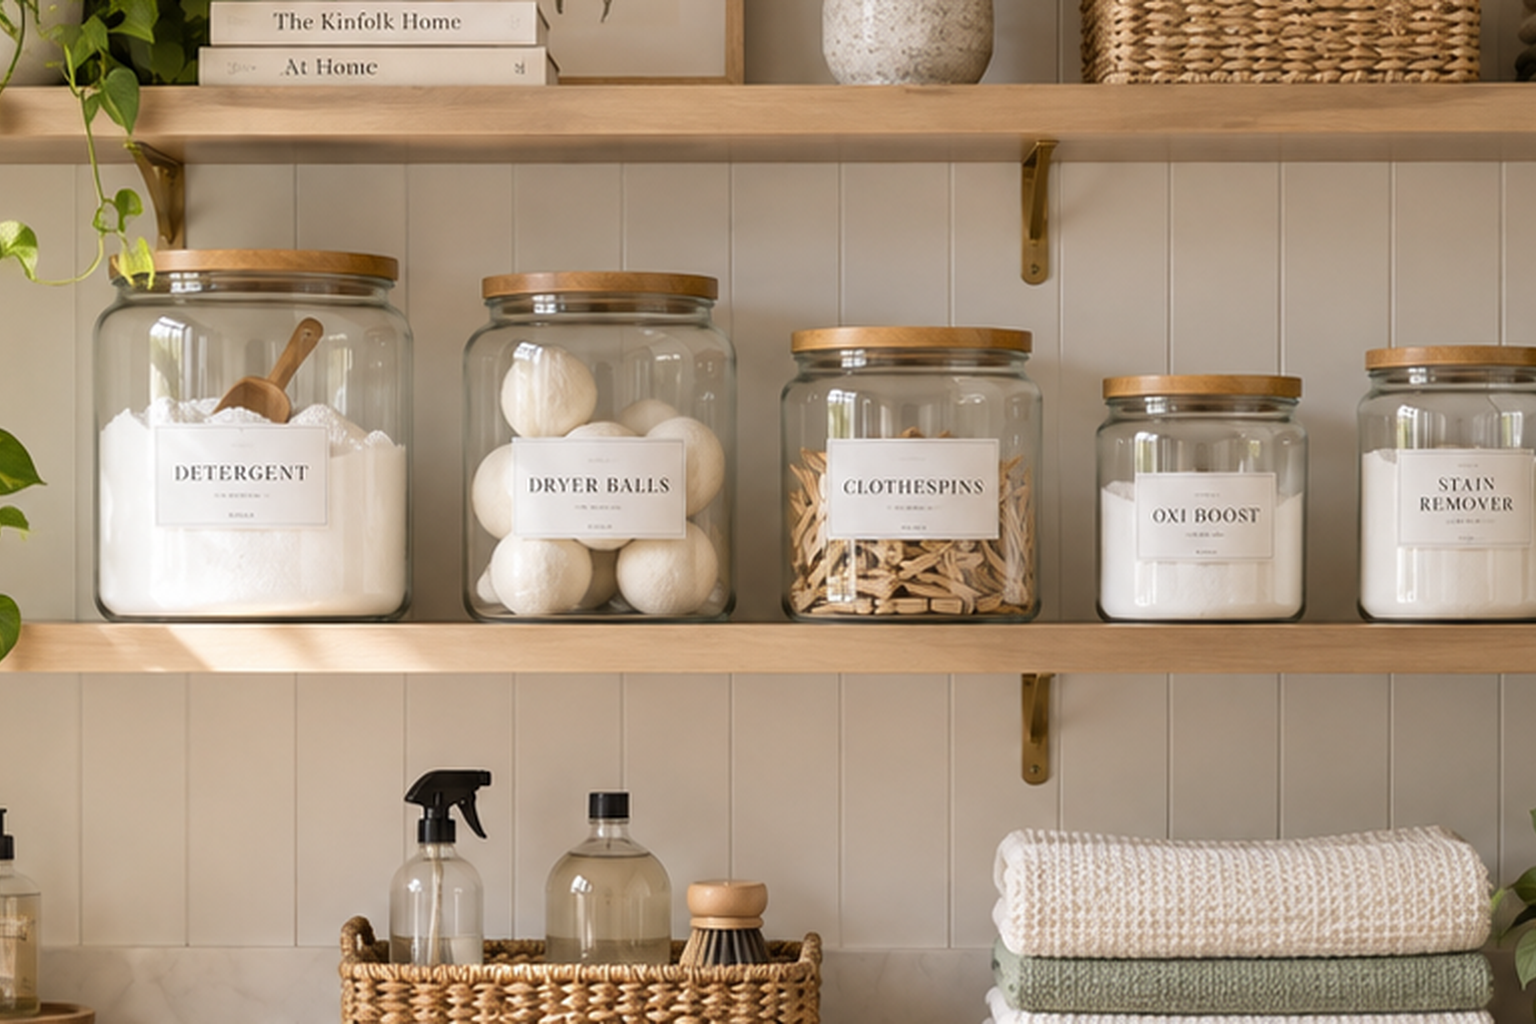
Use clear containers for small items
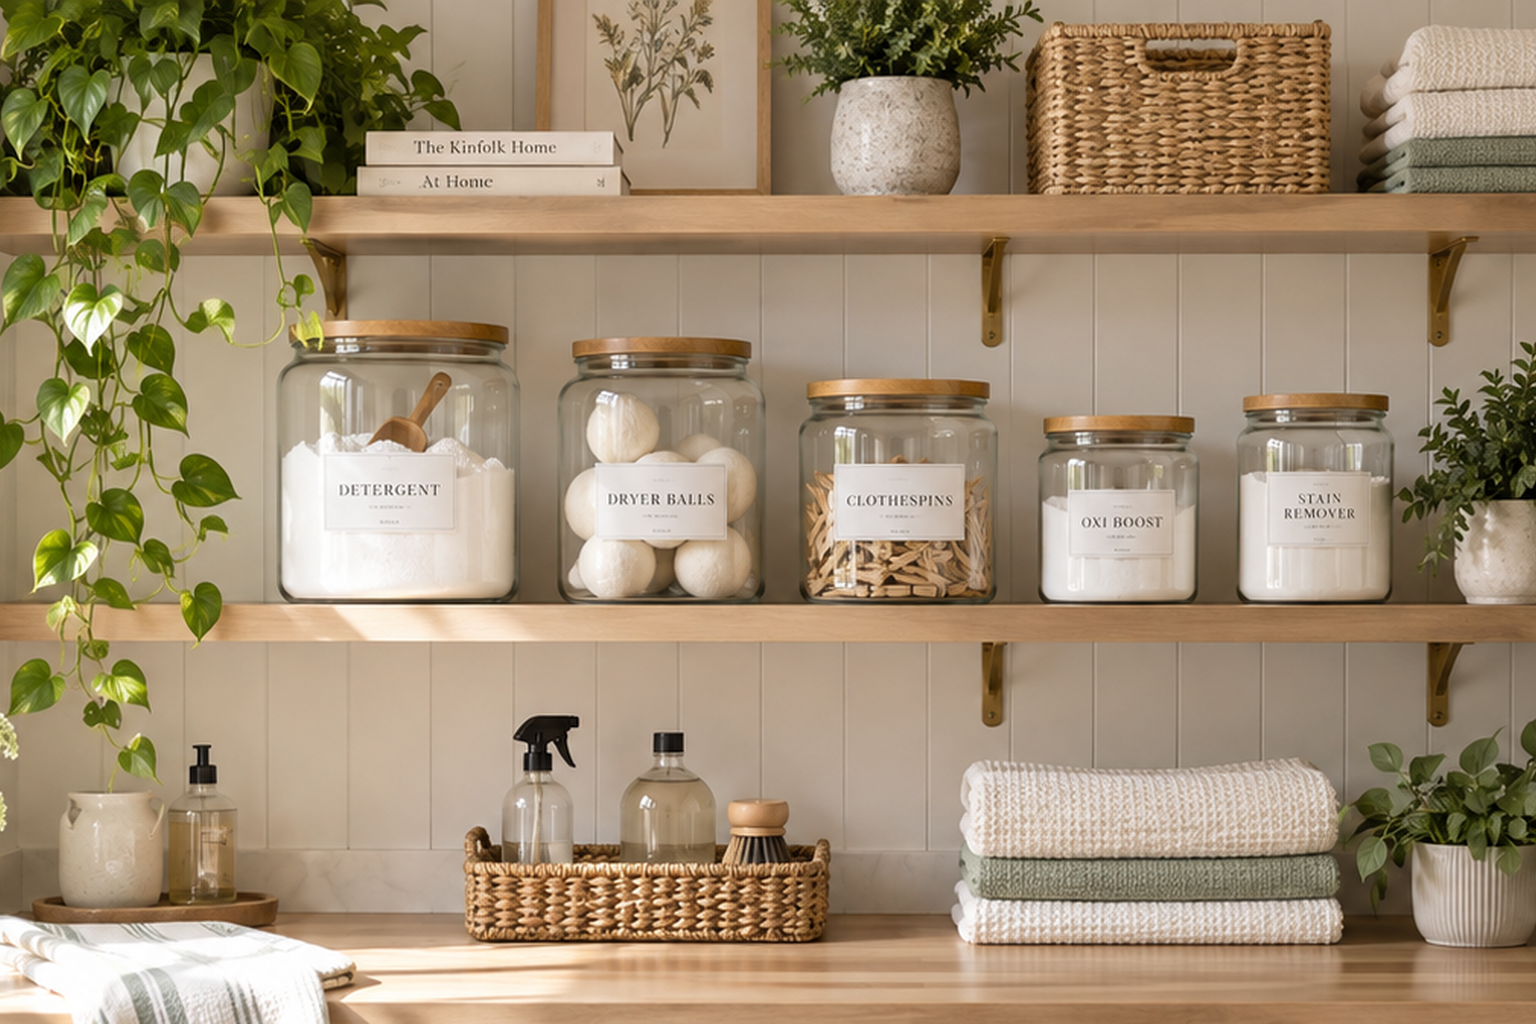
Clear containers suit clothespins, mesh bags or other dry accessories because you can see the remaining supply. Choose a lid only where keeping dust out is useful; it adds a step each time you use the contents. Keep the tray near the activity it supports. Do not decant laundry packets or other chemicals into clear food-like containers for visual consistency.
Create a lost-sock basket
Place unmatched clean, dry socks in one small basket while you check the next load and nearby bedding. Give it a limit, such as reviewing it when the next laundry cycle is complete. A growing lost-sock collection is not useful storage. Separate socks needing repair and decide what to keep; the basket should support a short check rather than preserve every unmatched item indefinitely.
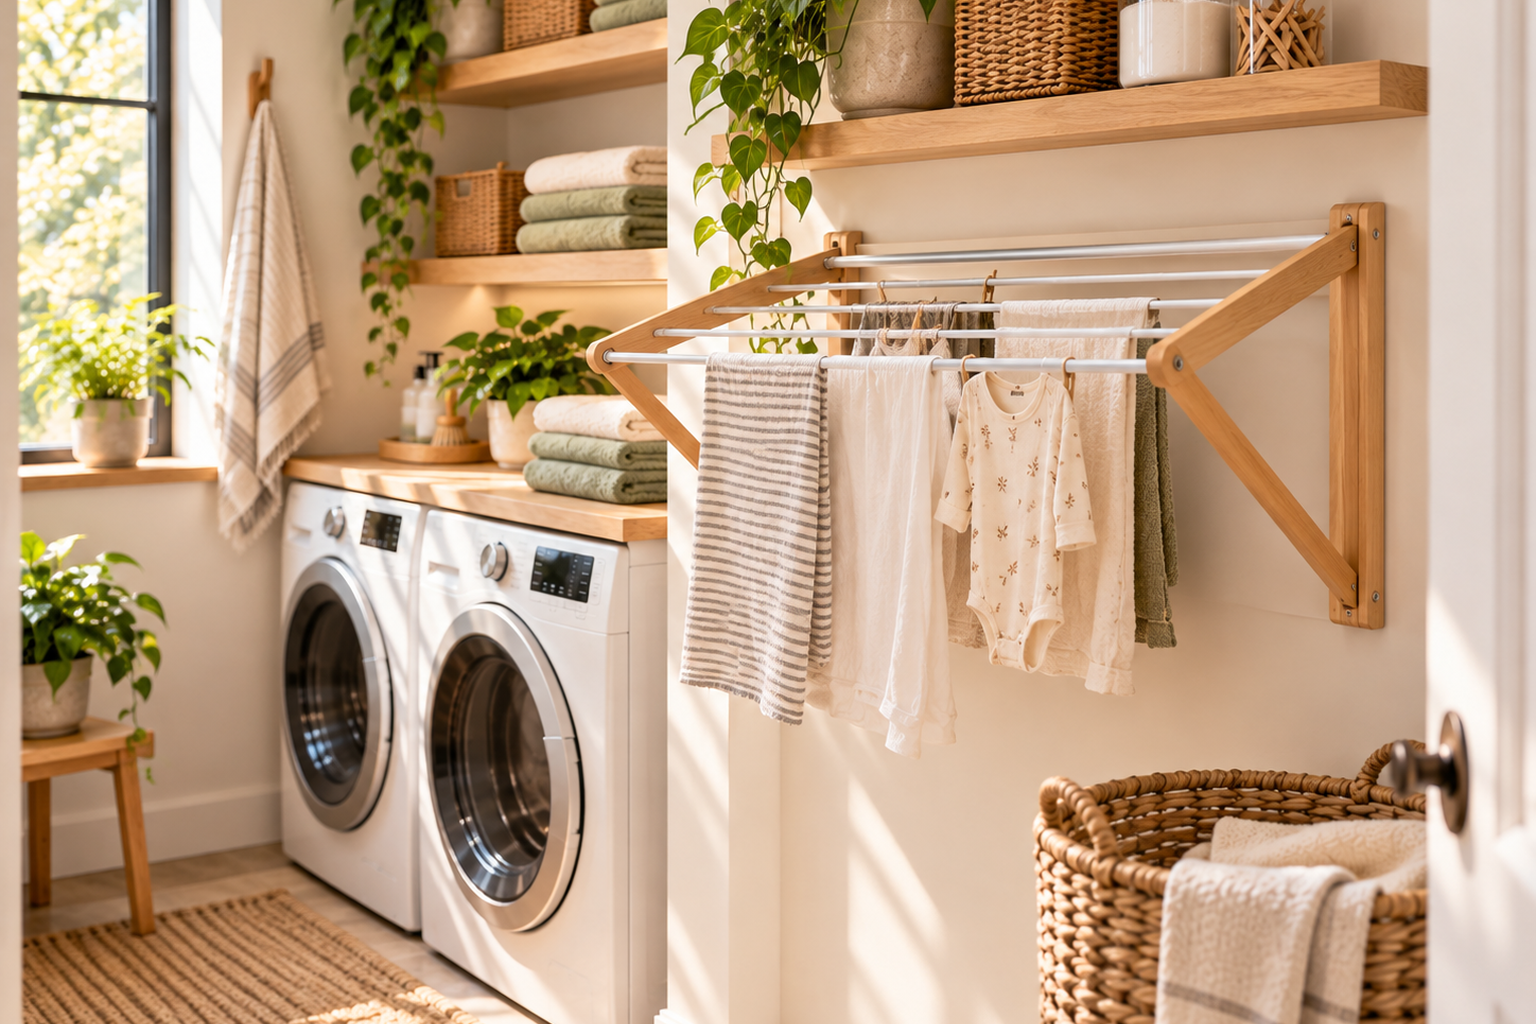
Add a wall-mounted drying rack
Mark the drying rack's fully opened footprint before choosing it. Clothes must have space to hang without touching the floor, appliances or electrical equipment. Check the rated load with wet items and the wall fixing requirements. Allow ventilation and follow fabric care labels. If the open rack blocks the doorway, use a suitable drying spot elsewhere instead of relying on remembering to squeeze past it.
Keep cleaning supplies together
Group compatible cleaning supplies in their original containers, following storage instructions and keeping them secure where children or pets could access them. A portable caddy should stay upright and have a handle suitable for its loaded weight. Keep it separate from clean towels and laundry. Do not combine products or remove warning labels simply to make the caddy smaller or more attractive.
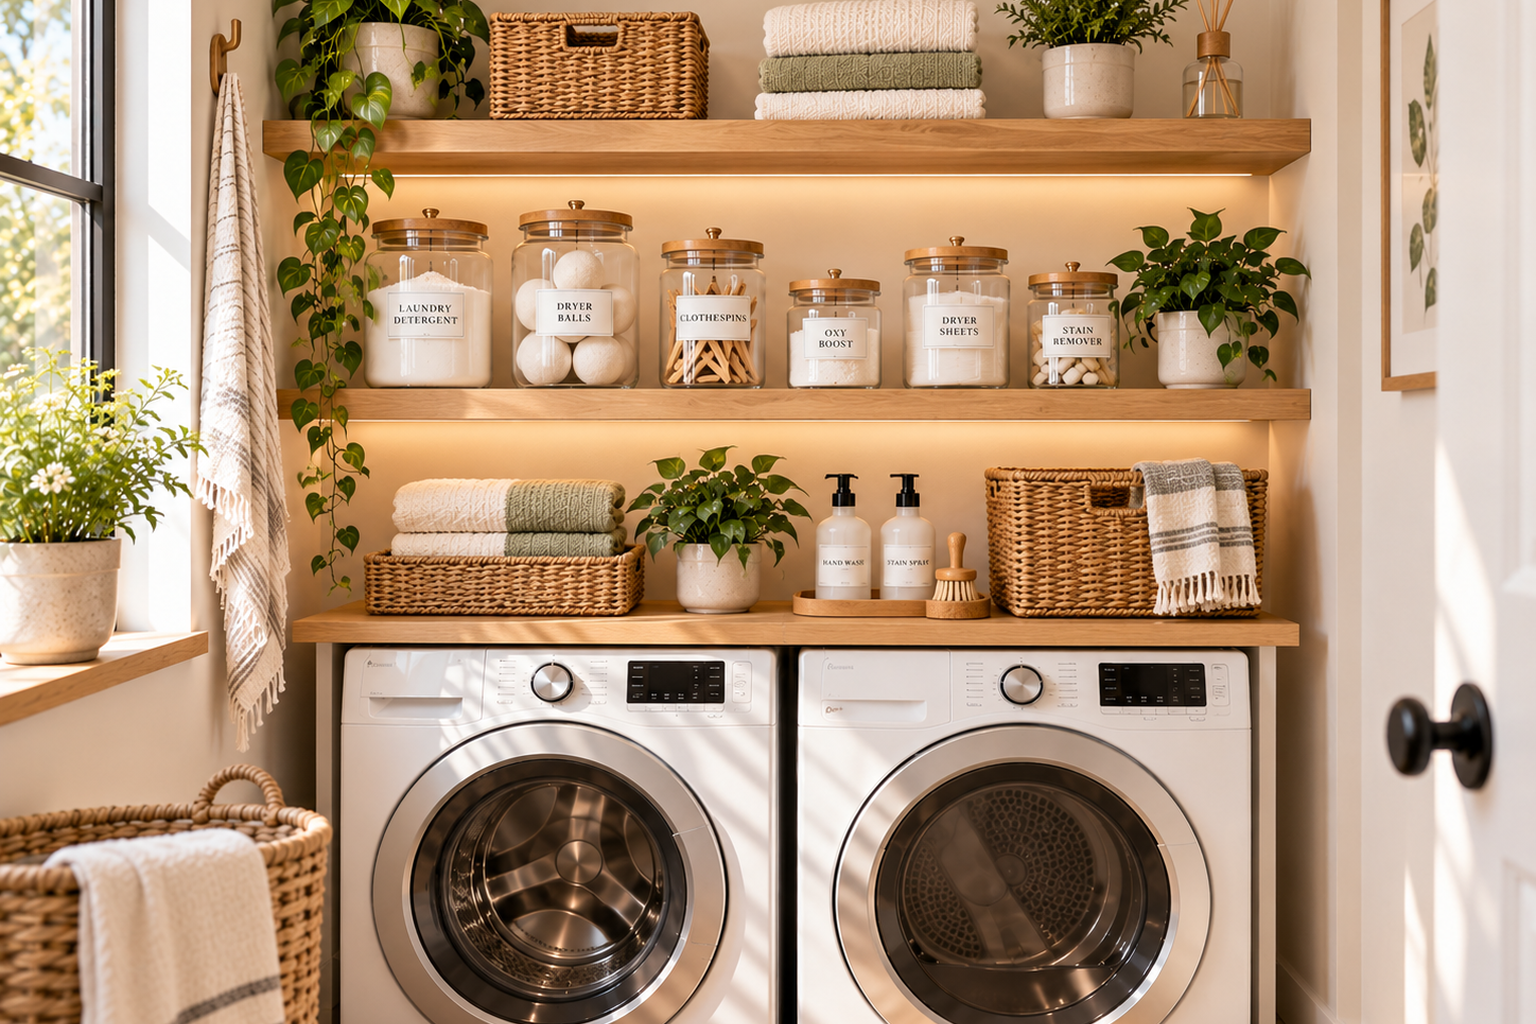
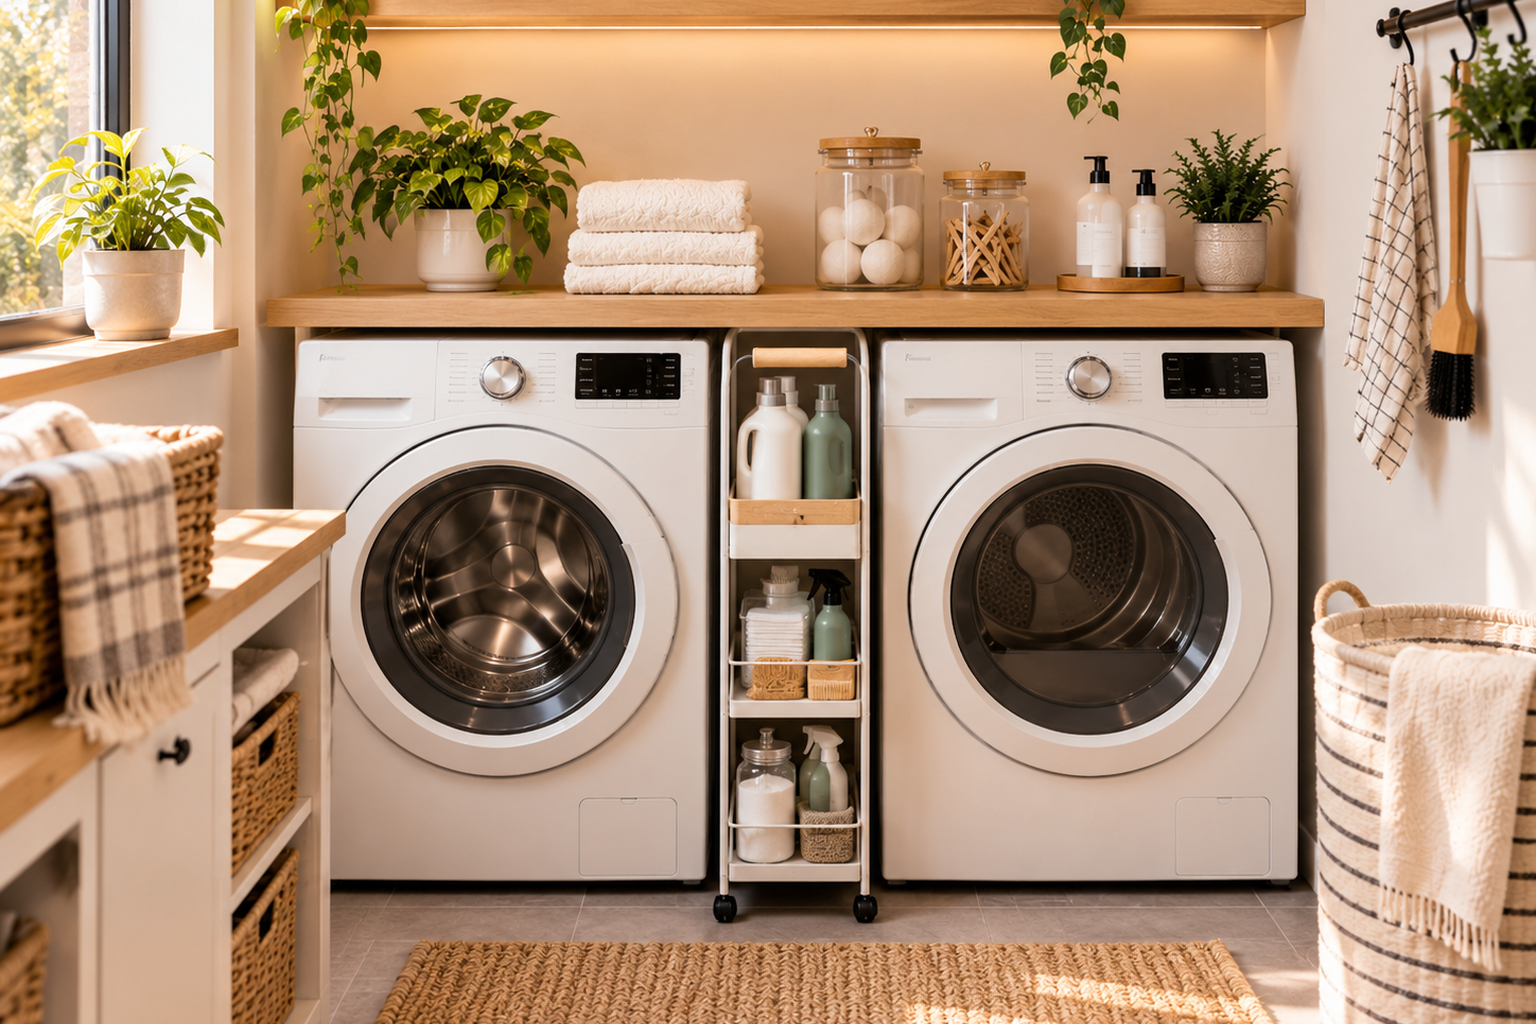
Use vertical space beside the machines
A narrow upright unit must fit both the available width and the usable access in front. Check its stability and follow any anchoring requirements; secure tall furniture as instructed rather than assuming a tight gap holds it in place. Keep connections and ventilation accessible. If anchoring or service access cannot be maintained, use lower storage elsewhere rather than filling the vertical strip.
Keep only what you actually use
Review one product category at a time and keep the items your household actually uses. Finish an appropriate open product before adding another similar one, while preserving labels and following care instructions. Dispose of unwanted chemicals according to local and product guidance. Then test one laundry cycle with fewer supplies. Buy an organizer only for a remaining specific problem, such as tangled mesh bags or inaccessible refills.
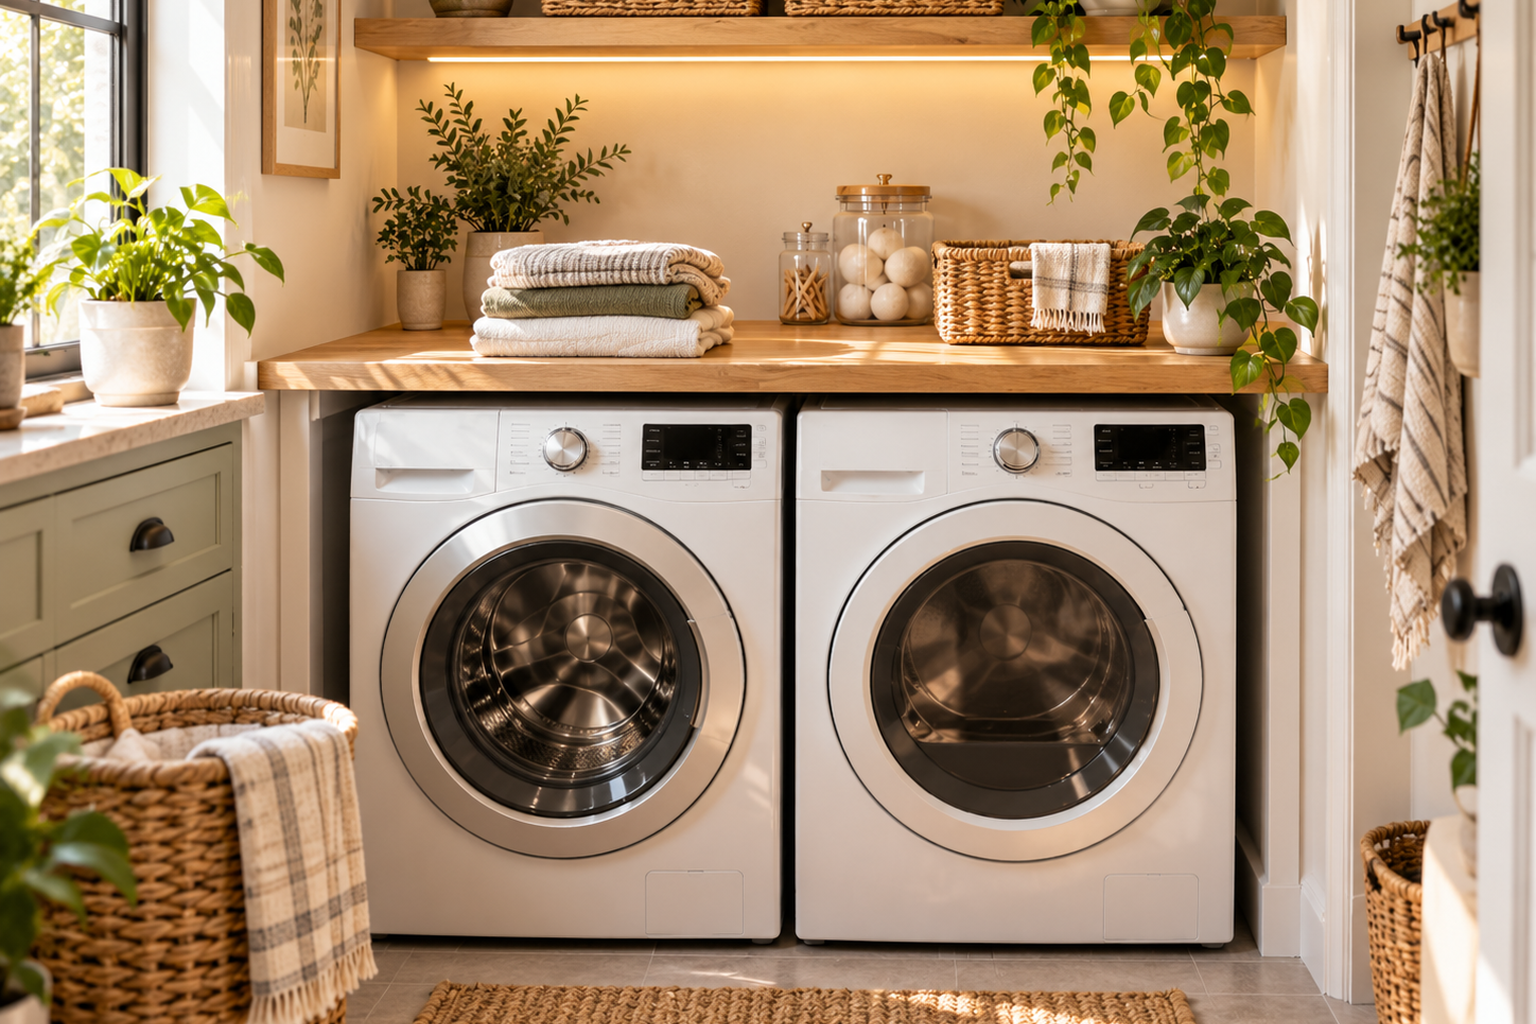
Choose storage for the task that stalls
If clothes pile up before washing, start with sorting bags. If clean laundry sits on a machine for days, choose a folding and put-away routine before adding another shelf. A household using communal laundry may need a portable bag and a secure product cupboard rather than a fully furnished laundry corner.
For larger household tools, use our vacuum, mop and bucket storage guide. Keep those items from taking over the working space around your machines.
Test one complete laundry cycle
Load a basket, open each machine, reach the supplies, hang the items that need air drying and put the clean load away. Record the point that still feels awkward. The storage system is working when those tasks become easier, not when every gap is filled with a container.
A beautiful small space is not about having more. It is about making what you have work better. — Spacelya