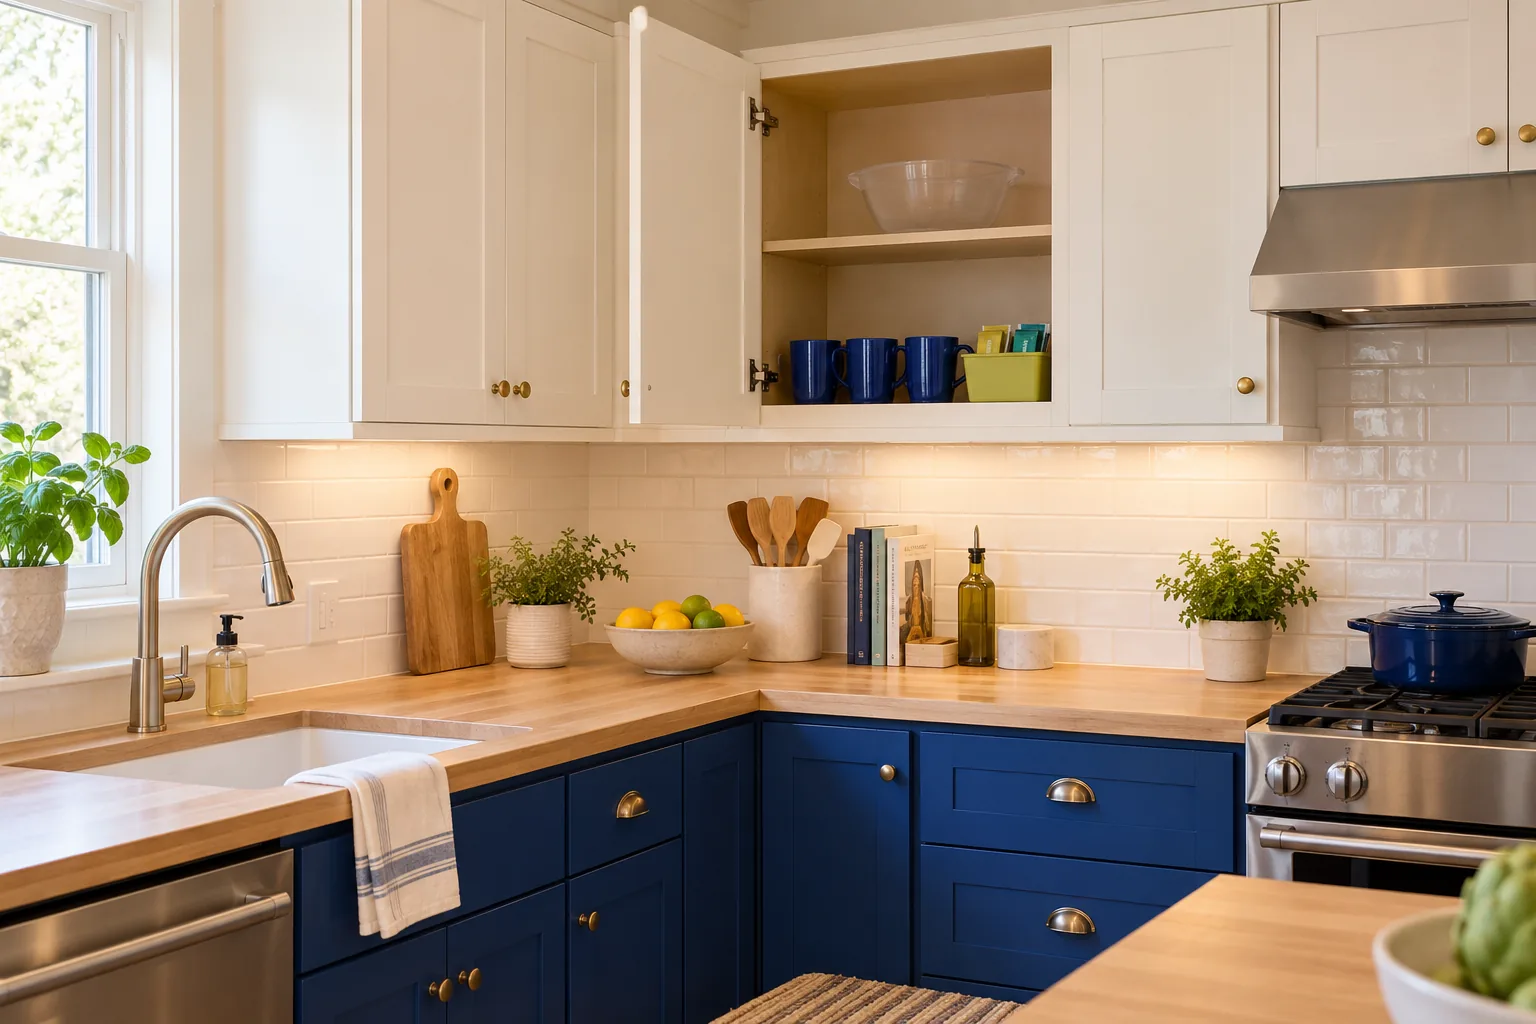
How to Organize an Upper Corner Kitchen Cabinet
The mug you want is visible. Reaching it means moving a jar, nudging a second mug and hoping nothing catches on the hinge. Upper corner cabinets can have plenty of shelf space and very little space that feels easy to use.
Start by giving the reachable part of the cabinet a clear job. Keep everyday items near the opening, test any organizer against the door and hinges, and use the deeper area only when you can retrieve its contents comfortably. Some corners work well with a small turntable. Others are easier to manage with one shallow bin or a simple row of cups.
You do not have to make every part of the corner earn its keep. Start with one shelf and one daily routine, then choose storage that makes that routine easier. These six steps help you decide what belongs there and whether a bin or turntable would actually improve access.
Choose a starting point for your cupboard
If a few mugs disappear behind other cups, start with a smaller front row. If loose tea packets scatter across the shelf, try one shallow container you can lift out. If short jars hide behind one another and a loaded tray can rotate freely, test a small turntable. Choose the response to the problem you actually have.
A deep corner does not need all three systems on the same shelf. Combining a tray, two bins and a row of cups can consume the very space your hand needs. Keep the first arrangement modest and add something only after normal use shows a clear reason.
Map the door opening before choosing storage
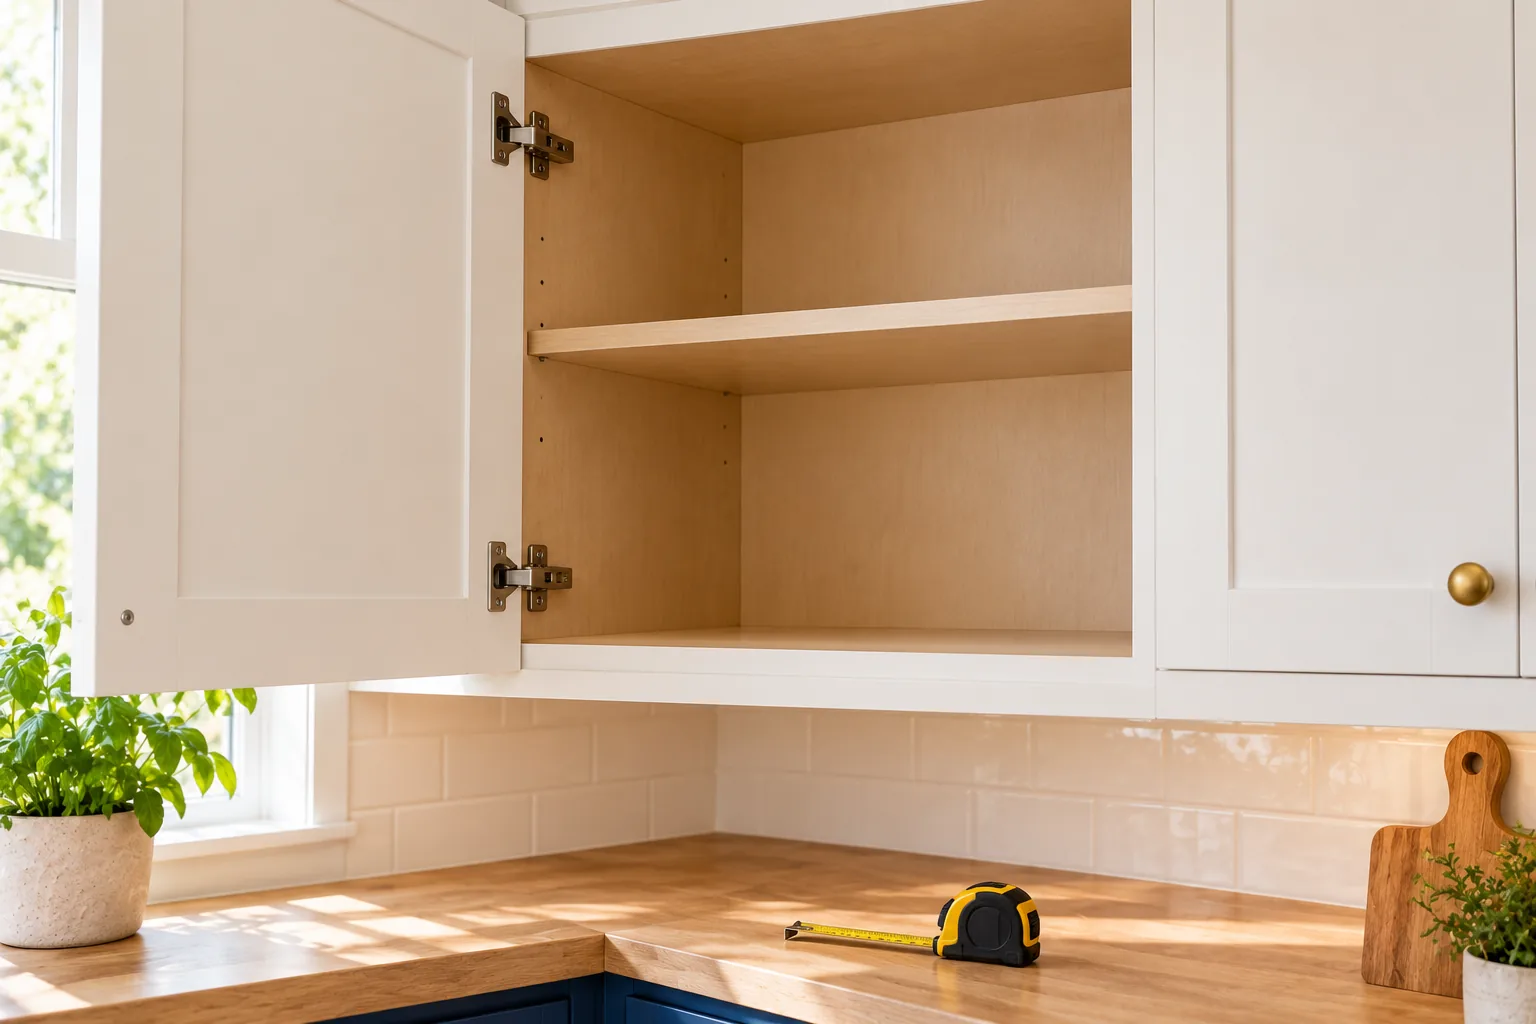
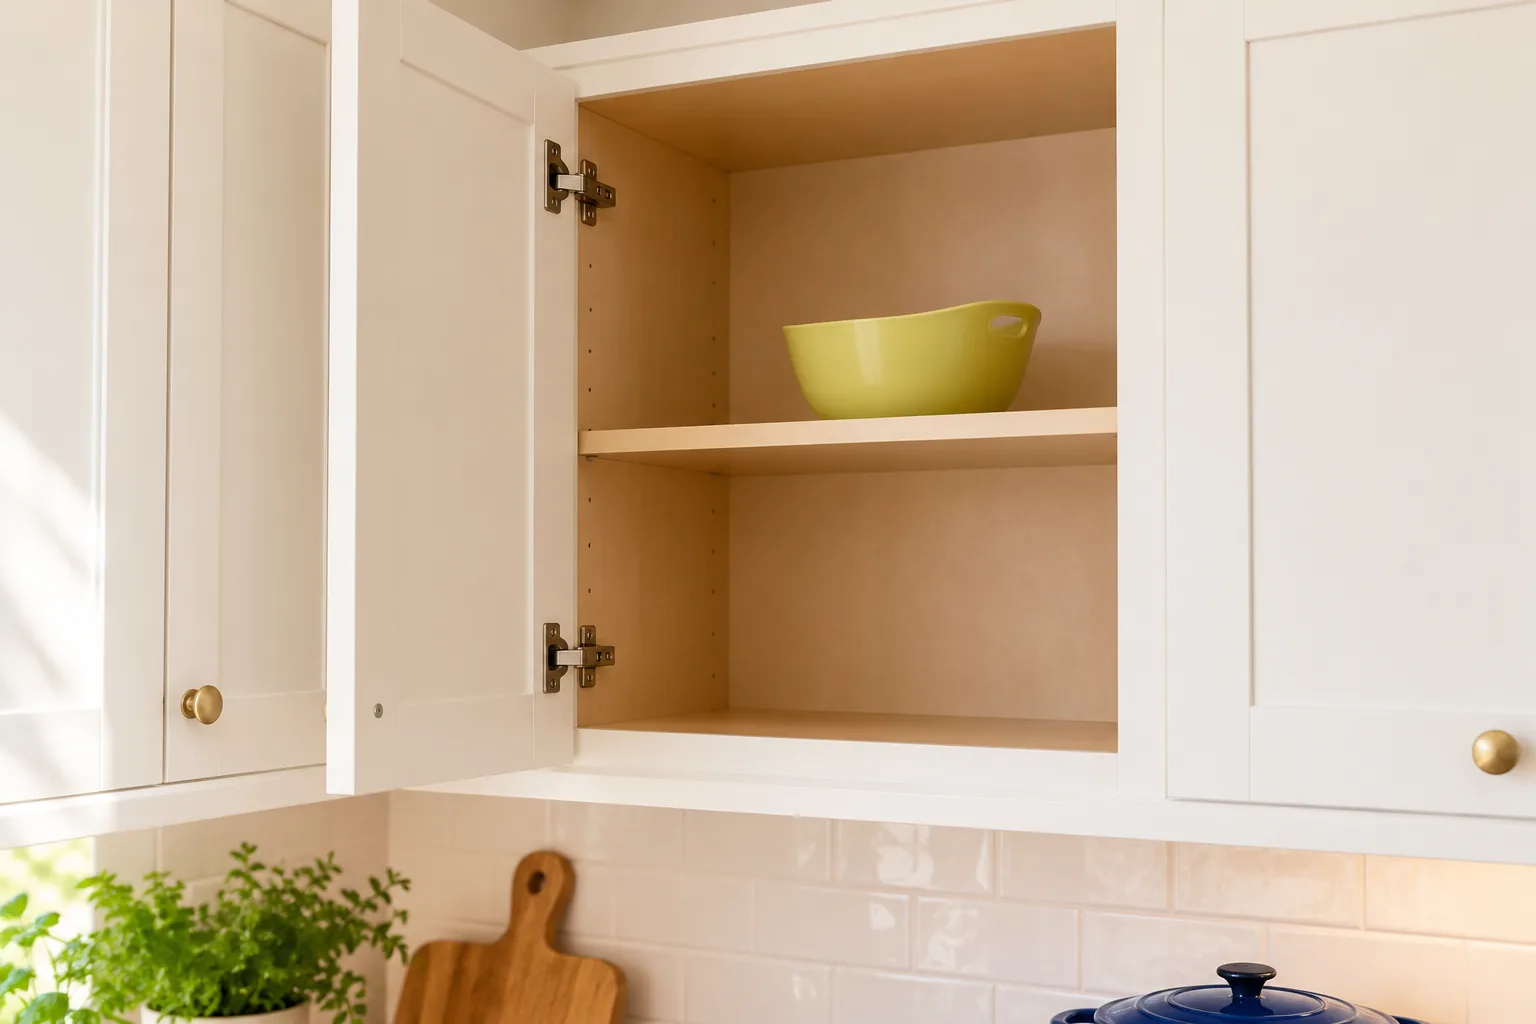
Empty one shelf so you can see its shape and the hardware around it. A diagonal-front corner cabinet may give you a broad view inside. A blind corner has storage extending sideways beyond the opening. An L-shaped cupboard can have another arrangement again. An organizer shown in one type will not necessarily work in yours.
Write down these measurements:
The clear opening: the usable width and height with the door open, allowing for hinges or a frame that projects into the entrance.
The usable shelf footprint: its width, depth and shape, including the awkward area that extends into the corner.
The headroom: the distance from the shelf to the shelf above, measured where the organizer and its contents would sit.
Treat the available opening and the space inside as separate checks. The narrowest point along the route matters just as much as the final resting place on the shelf.
For a loose shelf-top organizer, cut a piece of clean cardboard to its full footprint. See whether it can pass through the opening and sit where you want it. A flat template checks shape; it cannot prove that a taller assembled organizer will fit. Check the actual height and the path it must travel as well.
Notice where the door goes when it closes. A bin can sit neatly on the shelf and still project into that path. Avoid buying to the last millimeter: you also need room to grip the item and move it.
Keep daily items in the part you can reach
Stand where you normally use the cabinet and notice which items you can take out without stretching into the corner. That is the area to protect for everyday use.
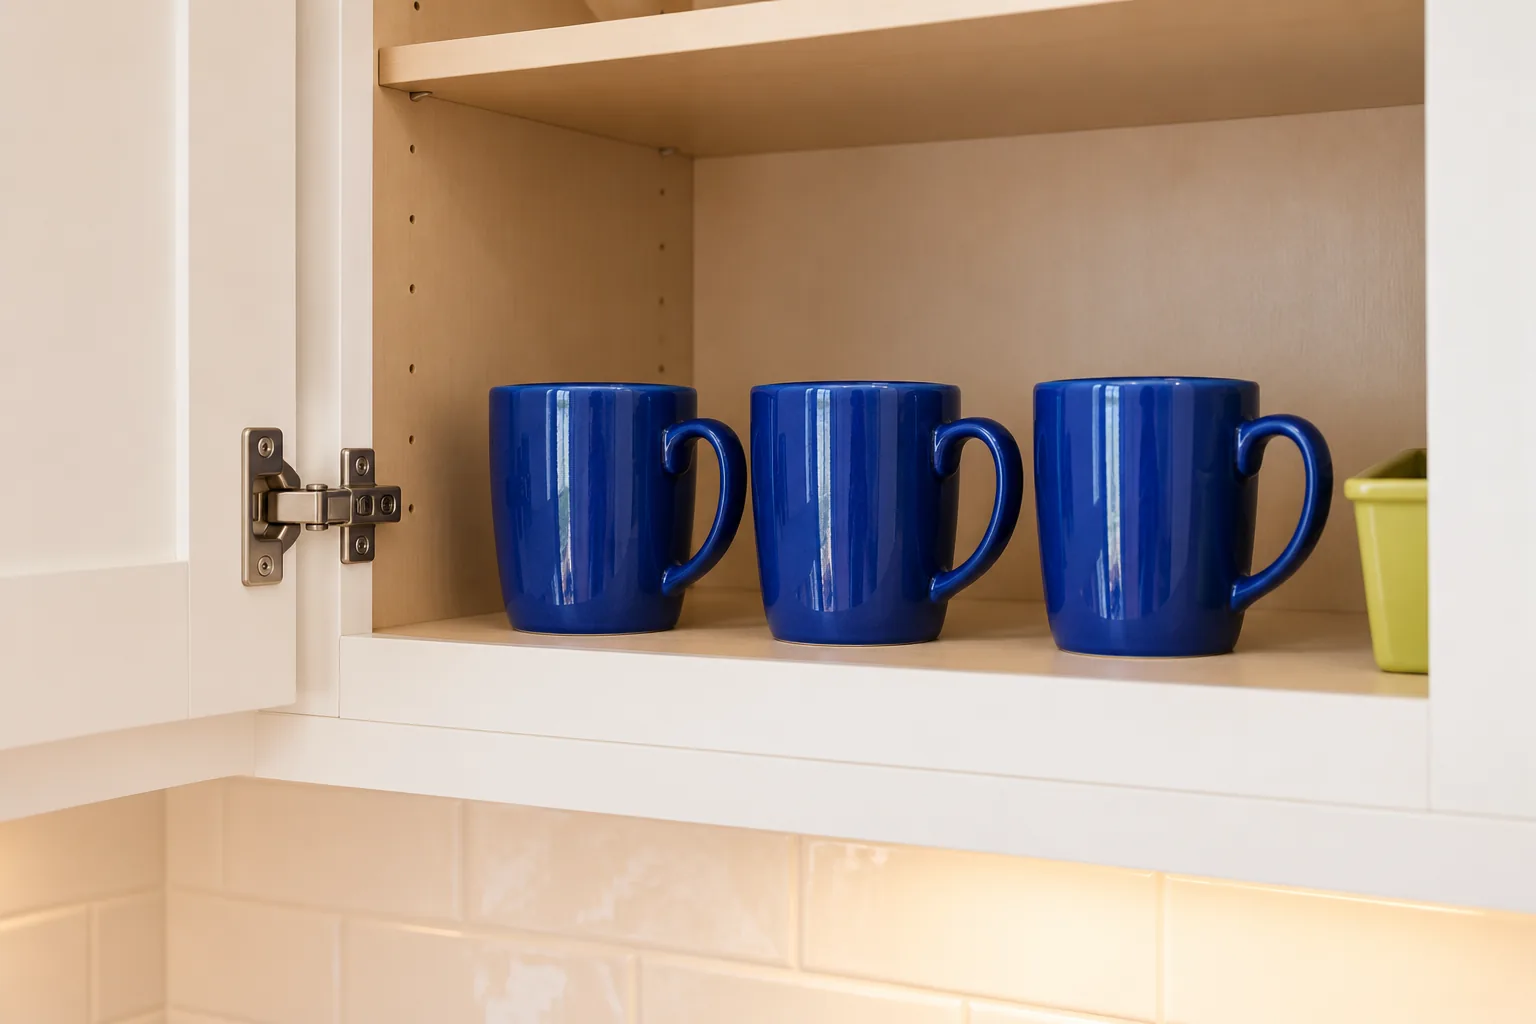
Choose a small group with a shared purpose: morning mugs, tea supplies or light lunch containers, for example. A few mugs in a single accessible row may work better than cups stacked behind jars. Turn handles toward an open approach so taking one out does not knock the next one.
Keep the quantity realistic. If only four cups are in regular use, a collection of twelve does not need the whole front edge. Occasional pieces can live elsewhere, leaving room to return a clean cup without rearranging the shelf.
An upper cabinet is a poor home for something you cannot lift and lower comfortably. Keep heavy cookware and substantial appliances in a suitable lower location, and follow the cabinet maker's shelf-load guidance. If even the front of the cupboard is beyond a comfortable reach, move your daily items to a more accessible cupboard rather than making this corner your main storage zone.
For changes beyond this one cupboard, our small kitchen organization ideas cover drawers, walls and other cabinet spaces.
Test a small turntable with the items on it
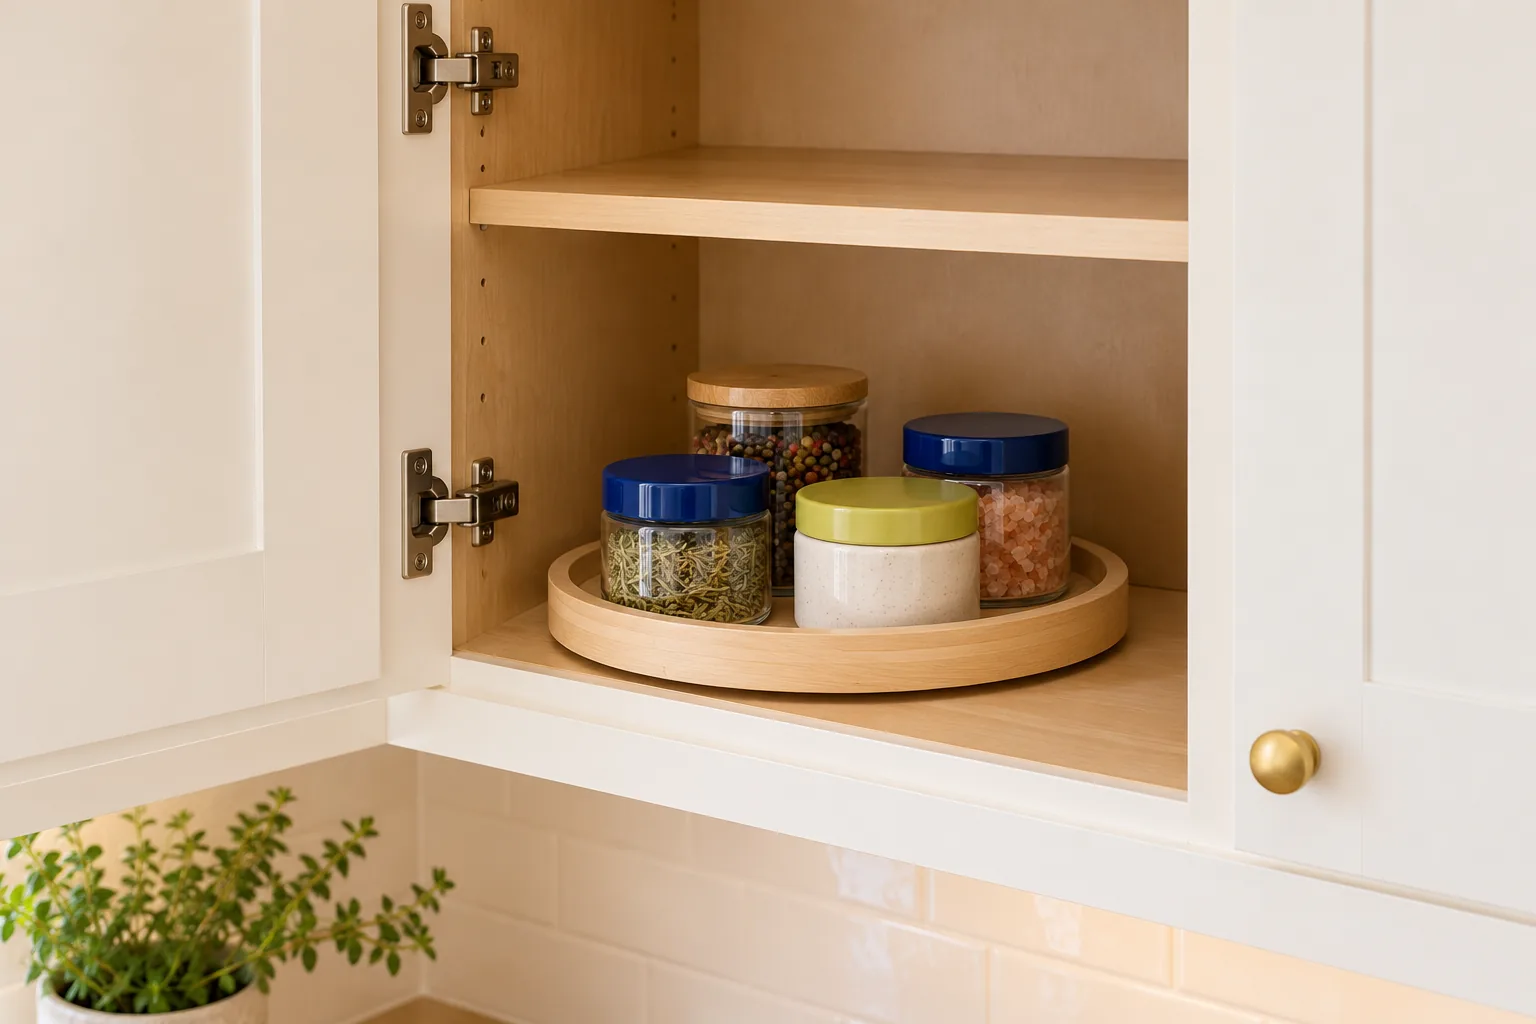
A turntable can help when several small containers disappear behind one another. Rotation brings the back around to the front, provided there is enough room for the loaded tray to move.
Start with the footprint test from the first step. Then check the height of the tray plus the tallest thing you intend to put on it. The raised base uses some of the available headroom, and you still need space to lift an item clear of the rim.
As an illustrative calculation, a shelf opening with 23 centimeters of headroom and an organizer 3 centimeters high leaves 20 centimeters above its platform. That remaining space must accommodate the container and the movement needed to remove it. These are example measurements, not a universal clearance rule.
Once a suitable tray is in place, load it modestly and rotate it slowly through a full turn with the door open. Check that:
The tray and its contents stay clear of the hinges and cabinet sides.
Containers remain within its edge rather than leaning into the rotation path.
You can lift out the container you want without disturbing its neighbors.
The door closes normally when the tray is in its intended position.
Try short, stable containers that belong together. Avoid a crowded mix of tall bottles and loose packets. If a round tray leaves an awkward gap that attracts more loose items, keep that gap clear so the tray can do its job.
A turntable is worth keeping when it improves access. If its rim makes retrieval harder or the cabinet shape prevents useful rotation, a simple front row may suit the shelf better.
Use one shallow handled bin for small packets
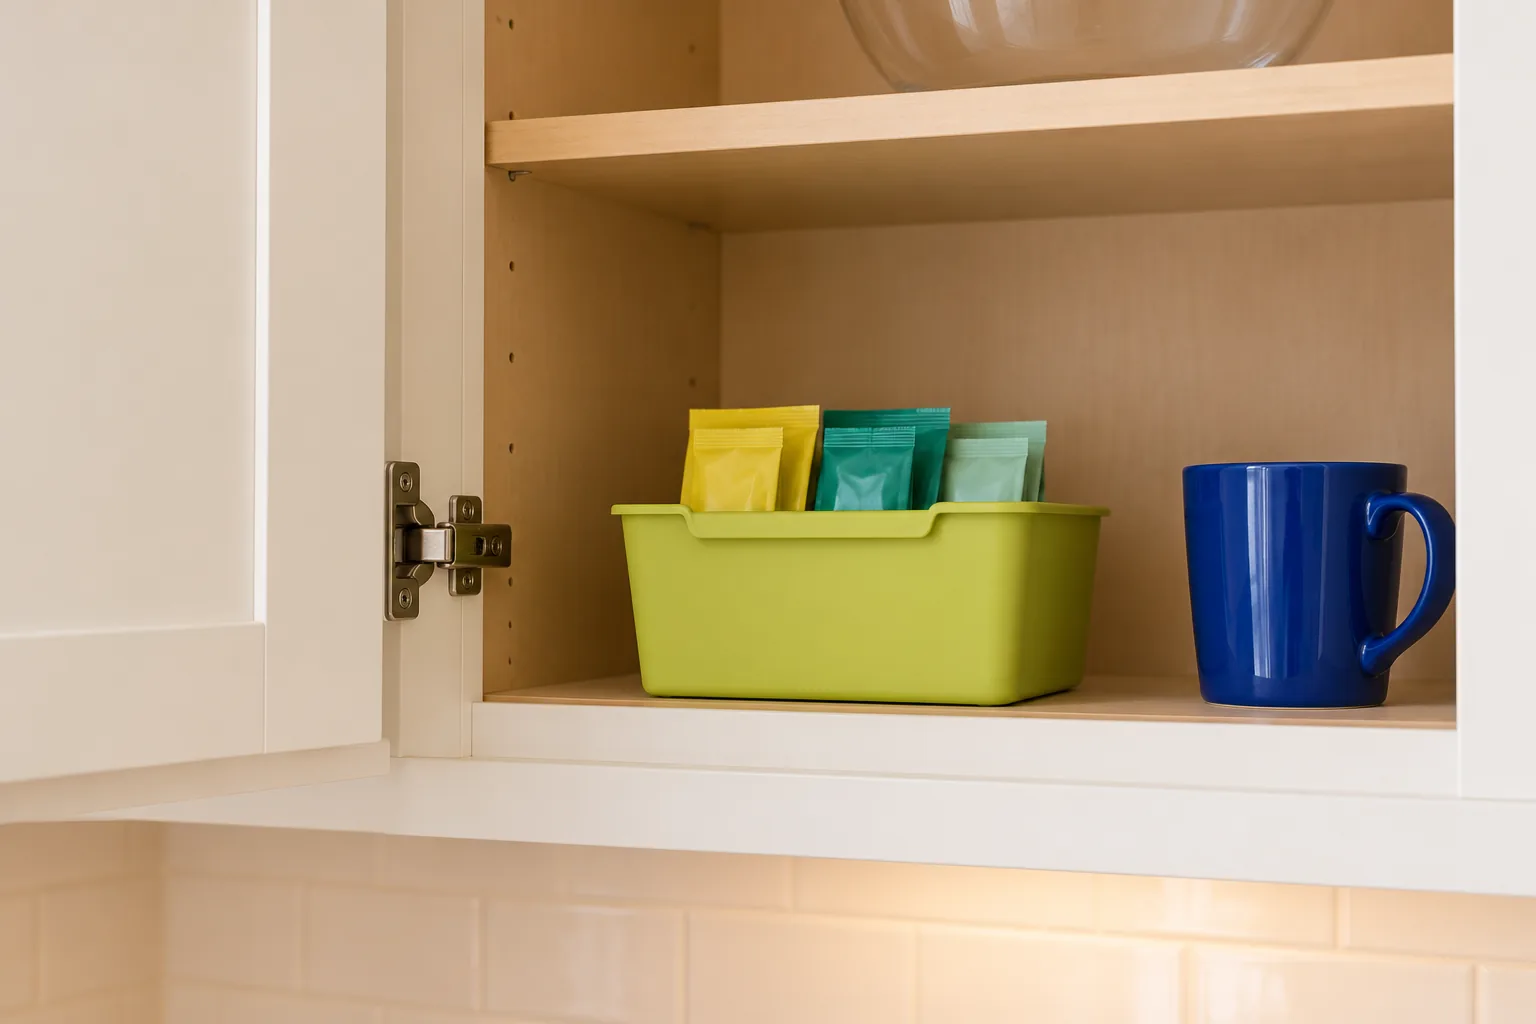
Small items often disappear in a corner because they have no stable shape of their own. Tea sachets, paper coffee filters or sealed seasoning packets can be easier to manage together in a shallow bin.
Choose a bin narrow enough to pass through the opening and low enough to reveal what is inside. Keep packets upright where their shape allows, with the information you need visible. Retain food packaging and follow its storage directions.
The handle should face the entrance. Test the bin with its intended contents: can you bring it forward, lift it clear and set it on the counter without catching the hinge? A handle is useful only if the loaded bin remains comfortable to move.
Give the bin one specific purpose. A tea bin is easy to understand; a container holding tea, batteries, cake candles and spare lids usually needs sorting before it becomes useful. If the group grows beyond the bin, edit the contents before adding another container behind it.
You may already own a suitable small basket or food-storage box. Test that first. Matching containers matter less than having something you can see into and retrieve.
Reserve the back for light occasional pieces
The deepest area can hold something used less often, but frequency alone is not enough. You still need a manageable way to get it out.
A light occasional serving piece or a small set of empty plastic containers may work if you can reach and lift it comfortably. A heavy glass jug that requires reaching over other objects belongs somewhere easier to access.
Keep occasional storage simple. One visible piece is easier to remember than a stack tucked behind a second stack. If a container helps, choose a modest size and leave its handle or edge accessible. A label facing the opening can identify the contents without a search.
Do not use the back as a holding area for things you have stopped using. Ask where an item will go after its next use. If returning it requires clearing the shelf, the location is likely to become frustrating again.
An inaccessible patch of shelf can stay empty. You have gained useful storage when the items you keep are easier to reach, even if the cupboard contains fewer things.
Leave a gap for taking things out and putting them back
A cabinet can look tidy while every object is still wedged in place. The final test is movement.
Take out a mug, remove the bin, rotate the tray if you use one, then return each item. Watch for the moment you have to shift something unrelated. A small adjustment to spacing may solve it; sometimes one object needs another home.
Leave room around handles, above bins and beside a turntable where your hand needs to travel. There is no single gap measurement that suits every cupboard and every person. Use the actual movement as the check.
Finish with the door closed. It should close without pressing against a handle, container or shelf-top organizer. Use the cupboard for a few ordinary days before buying anything else. A mug that keeps landing on the counter or a bin that is never returned is useful feedback about the arrangement.
If countertop objects also need a rethink, these small kitchen countertop decor ideas show how useful pieces can add color while leaving a preparation area clear.
Add color through the things that belong there
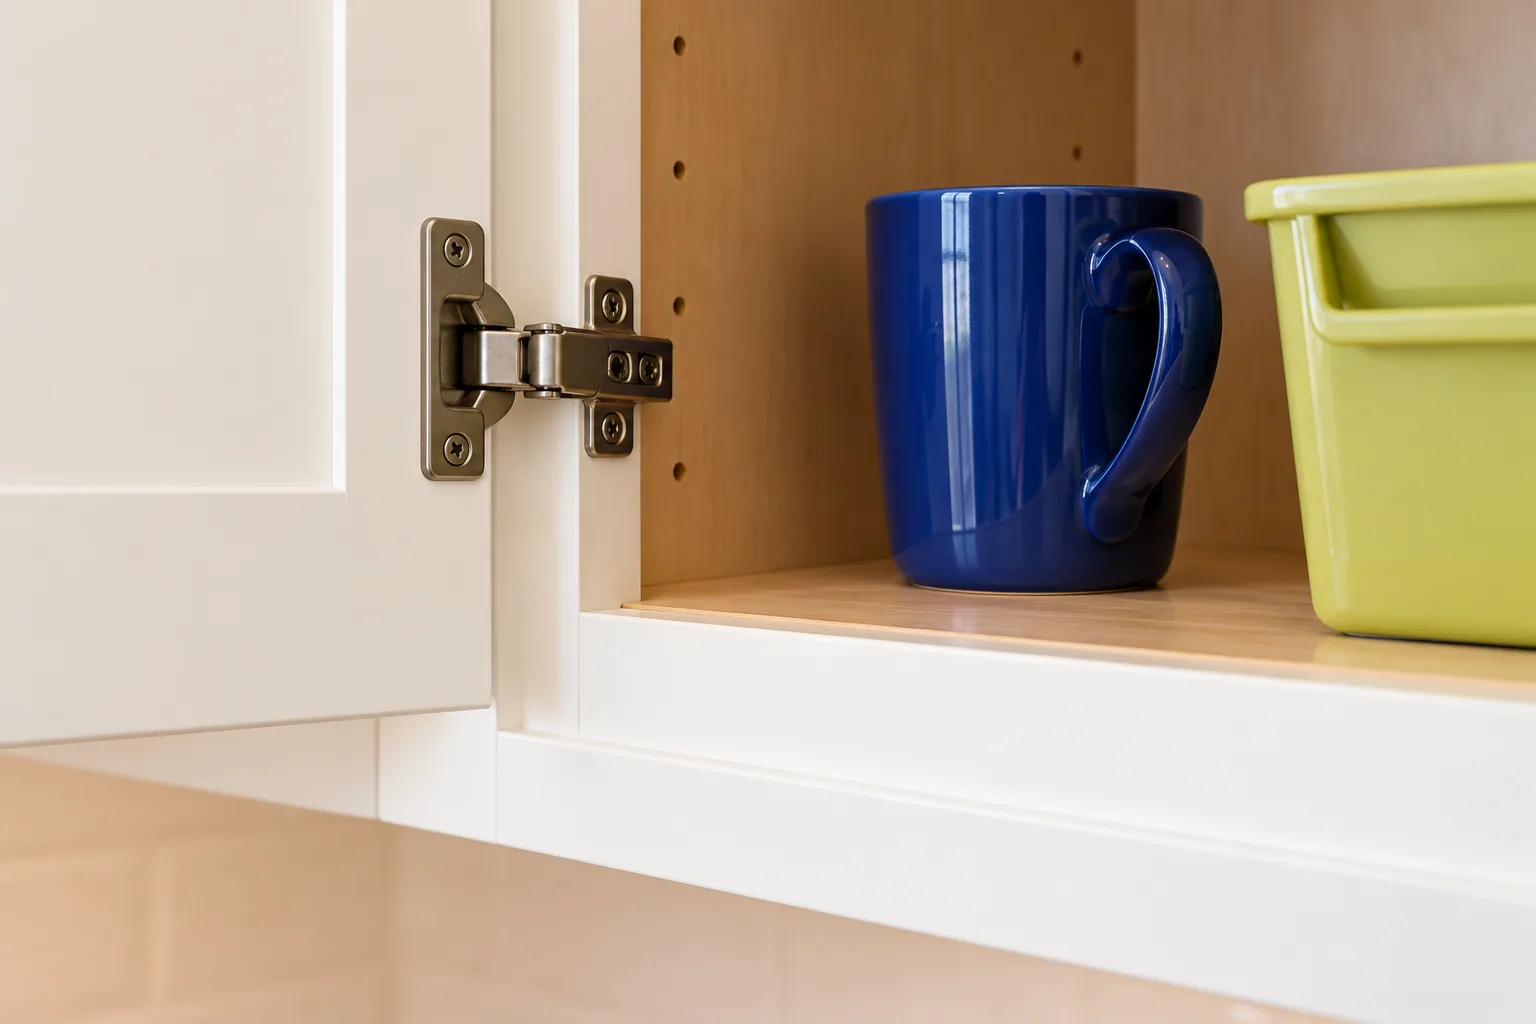
An organized cupboard can still be cheerful when the door opens. Cobalt mugs and a citrus-green packet bin bring color to a plain white interior without adding decorative objects to an already awkward shelf.
Use the same color for a small group if it helps you recognize its purpose. Keep the shapes and contents visible, and avoid a tall opaque container chosen only because it matches. You do not need to replace useful things you already own to achieve a coordinated shelf. One colored piece can be enough.
Will a lazy Susan work in an upper blind corner cabinet?
It depends on the shelf shape, opening, hinges and the tray's rotation path. A small loose turntable may help within the accessible part, but it will not automatically bring an entire hidden side section within reach. Check the specific organizer's dimensions and intended application. Installed corner systems have their own cabinet and mounting requirements.
How can I organize the cabinet without buying an organizer?
Remove items that belong elsewhere, choose one purpose for the reachable area and put a modest number of pieces in a visible row. Use an existing small container for loose packets if it passes the retrieval test. Try the arrangement during normal use before deciding whether a turntable or a different bin would improve it.
Should I fill the upper shelf as well?
Use it only for items you can retrieve safely with an appropriate means of access. Keep heavy or awkward pieces in a more accessible location and follow the cabinet's load limits. If the shelf makes an item difficult to lift, see or return, leaving that space unused is a reasonable choice.
A useful corner does not have to be full
Start with one shelf and one daily routine. Put back only the pieces that support it, close the door and use the cupboard. You will learn more from making tomorrow's tea than from adding another row of containers tonight.
Images are AI-generated styling illustrations, not measured cabinet plans or product installation instructions. Check your own cupboard, organizer and food-packaging requirements before copying an arrangement.
A beautiful small space is not about having more. It is about making what you have work better. — Spacelya