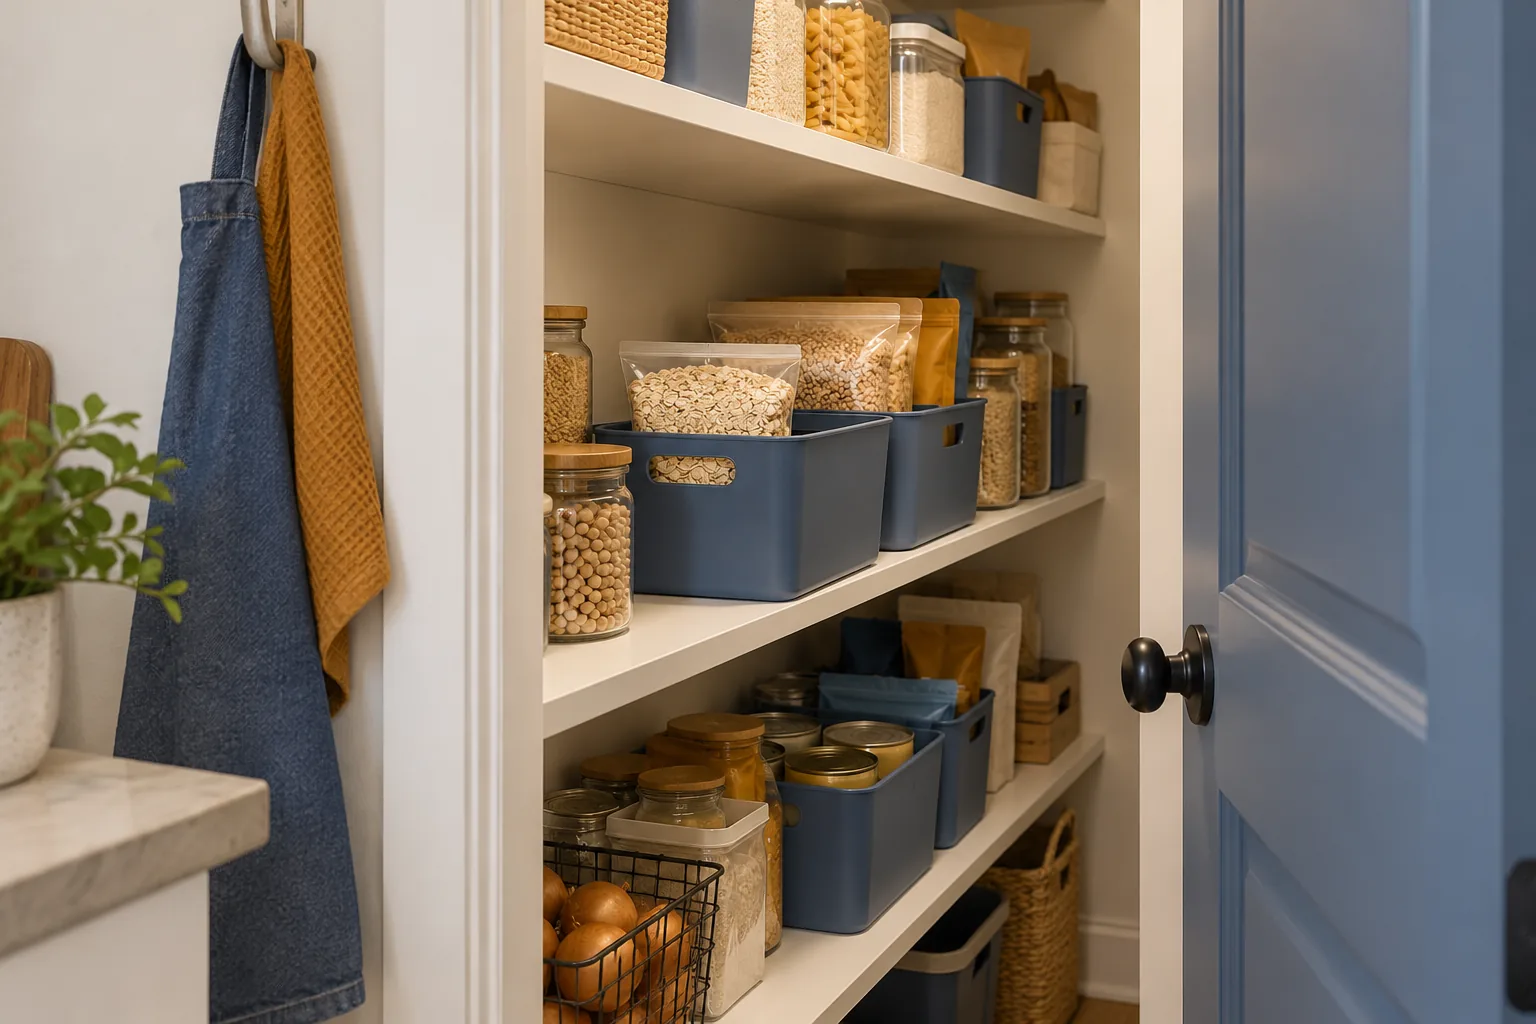
Deep Pantry Shelves: How to Reach What Is at the Back
The back of a pantry shelf is a very good place for a packet to disappear. You buy another one, find the first while looking for something else, then push both behind a cereal box. The shelf has room for food; what it needs is a way to reach that food without unloading everything in front.
Start with one awkward shelf. Measure its opening, give a few food groups clear positions and test the arrangement with the packages you actually buy. Smaller removable groups and a visible backup area often help more than a cupboard full of matching containers. Here are six ways to make deep pantry shelves easier to use in a small home.
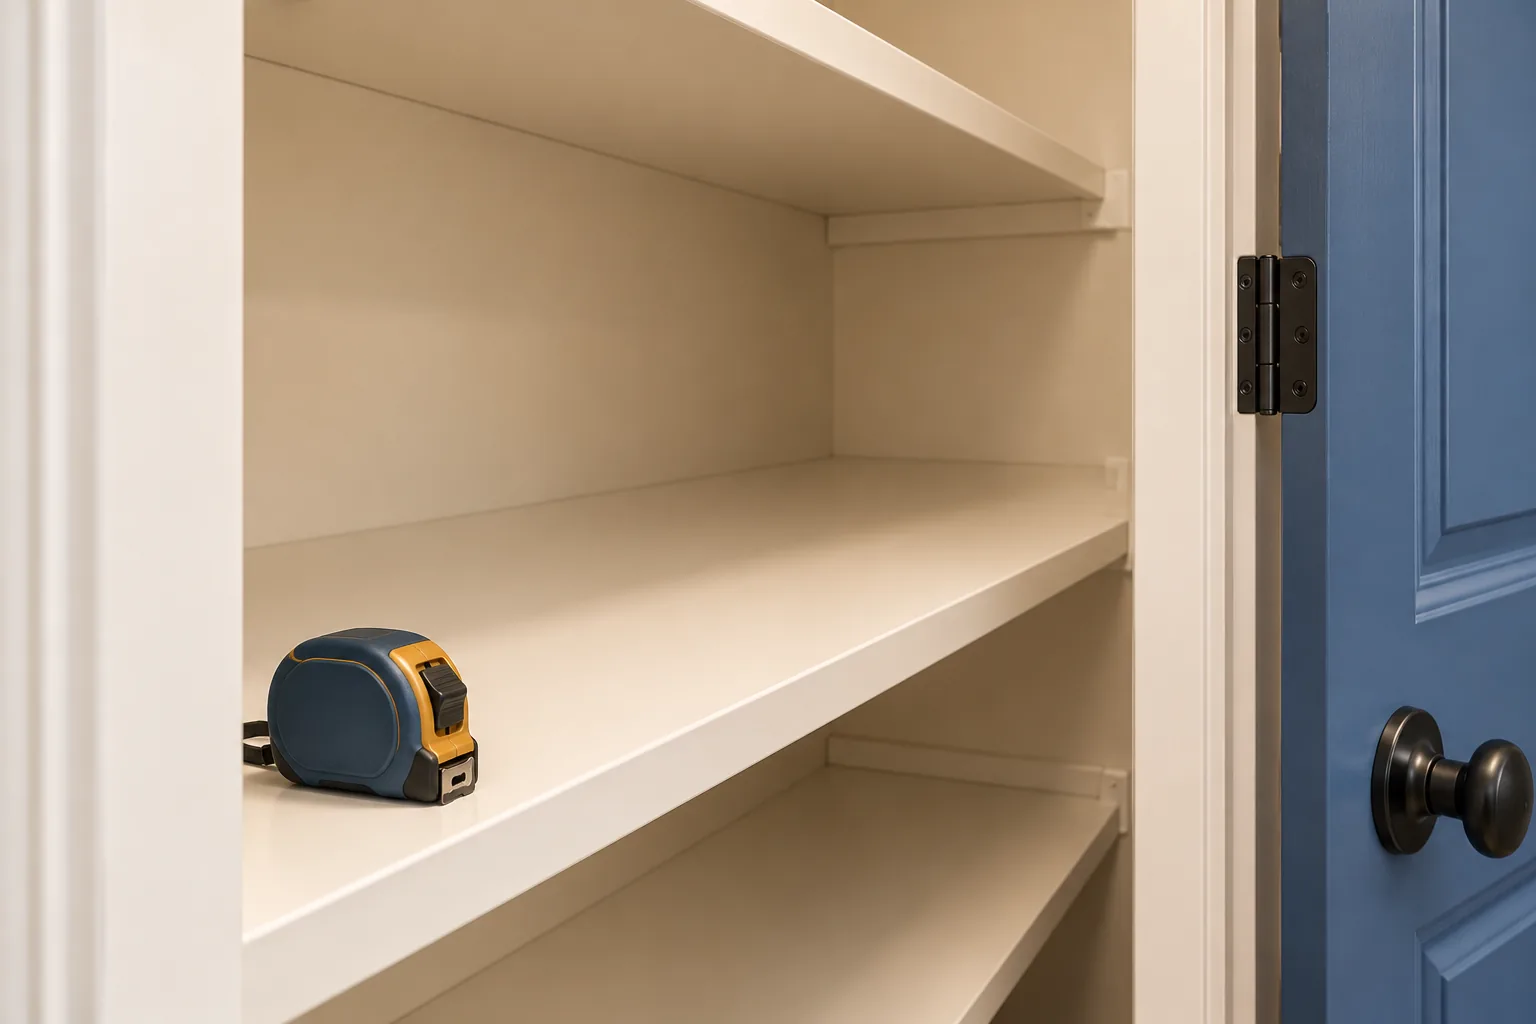
Measure the shelf and opening
Empty one shelf and write down its usable width, depth and headroom. Then measure the clear door opening separately. A projecting frame, hinge or partly opened door can make that entrance narrower than the space inside. Note the tightest point along the route a bin would take from the counter to its final position.
Check the height of the contents as well as the container. A low bin may fit beautifully until a cereal packet stands above its rim and catches the shelf overhead. Include space to get your fingers around its handle and to lift it over any front lip. If you are considering an installed pull-out, its runners and mounting hardware need space too.
Before ordering anything, test a clean box you already own. Try it empty, add a modest group of packages, then take it out again. A cardboard footprint can help compare sizes, but a flat template cannot confirm loaded height or handling. Use the test to discover the shape that works, rather than assuming the deepest available bin is the best choice.
Check the shelf's intended load and condition before returning heavy items. A deep container filled with tins can become difficult to lift. Keep substantial loads in a suitably supported, accessible position and use a smaller group when the loaded bin feels awkward.
Use short front-to-back lanes
Give each part of the shelf a job that makes sense when you are cooking. One lane might hold pasta, another breakfast supplies and another baking packets. Start with the groups you reach for repeatedly. You do not need a separate container for every ingredient or a perfectly symmetrical row.
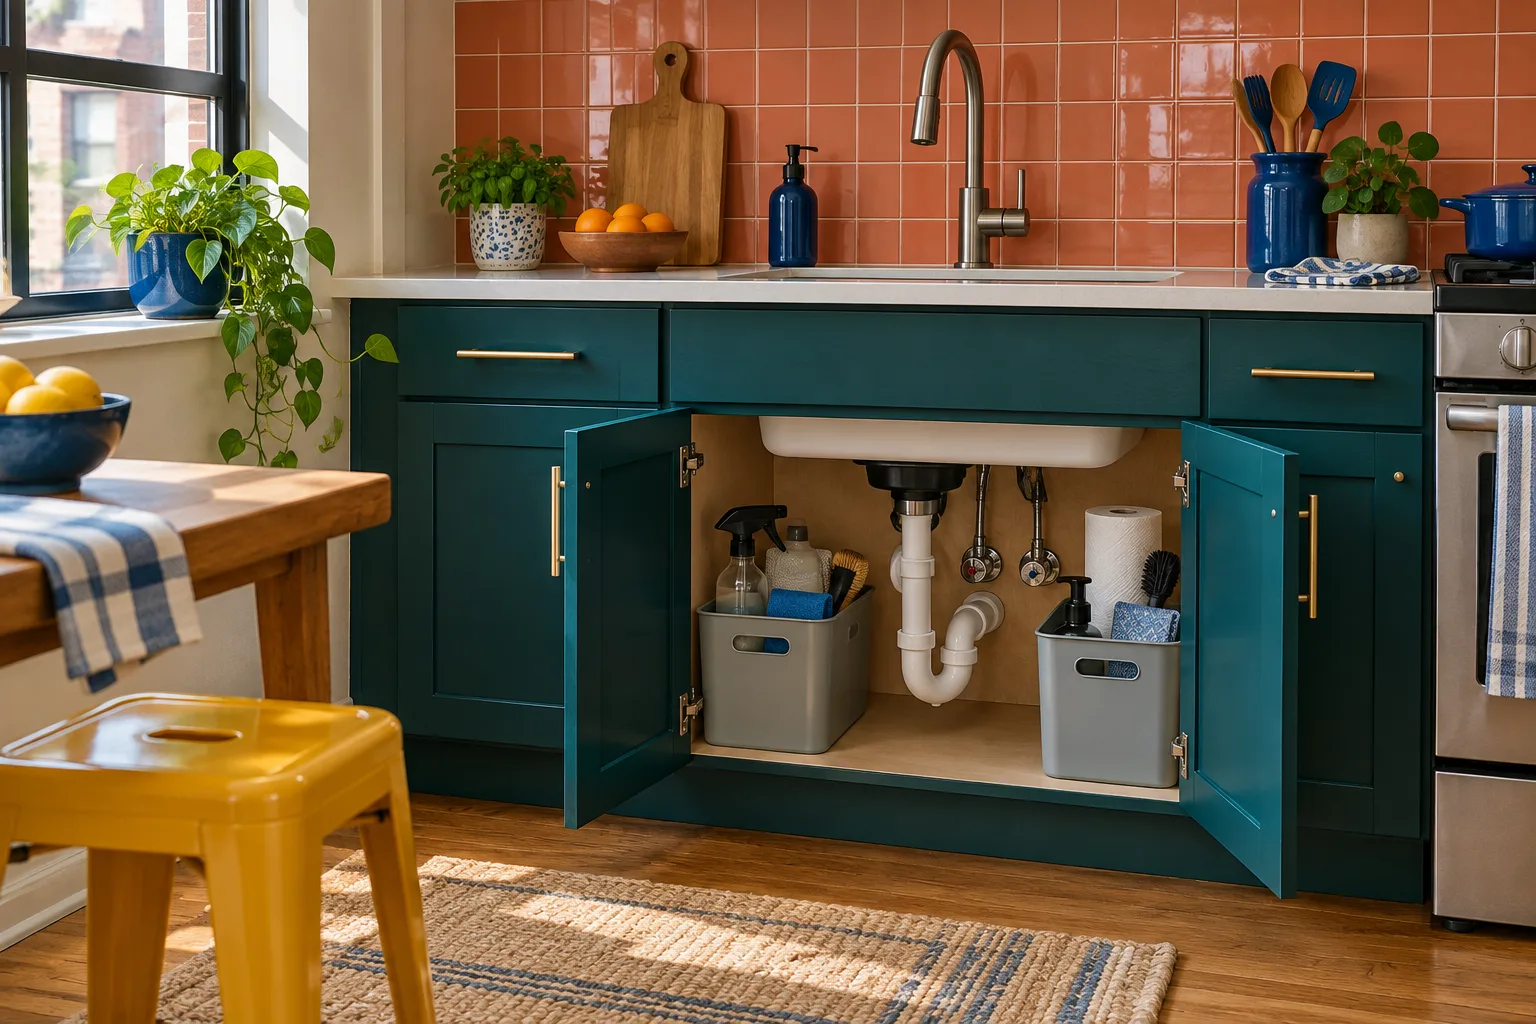
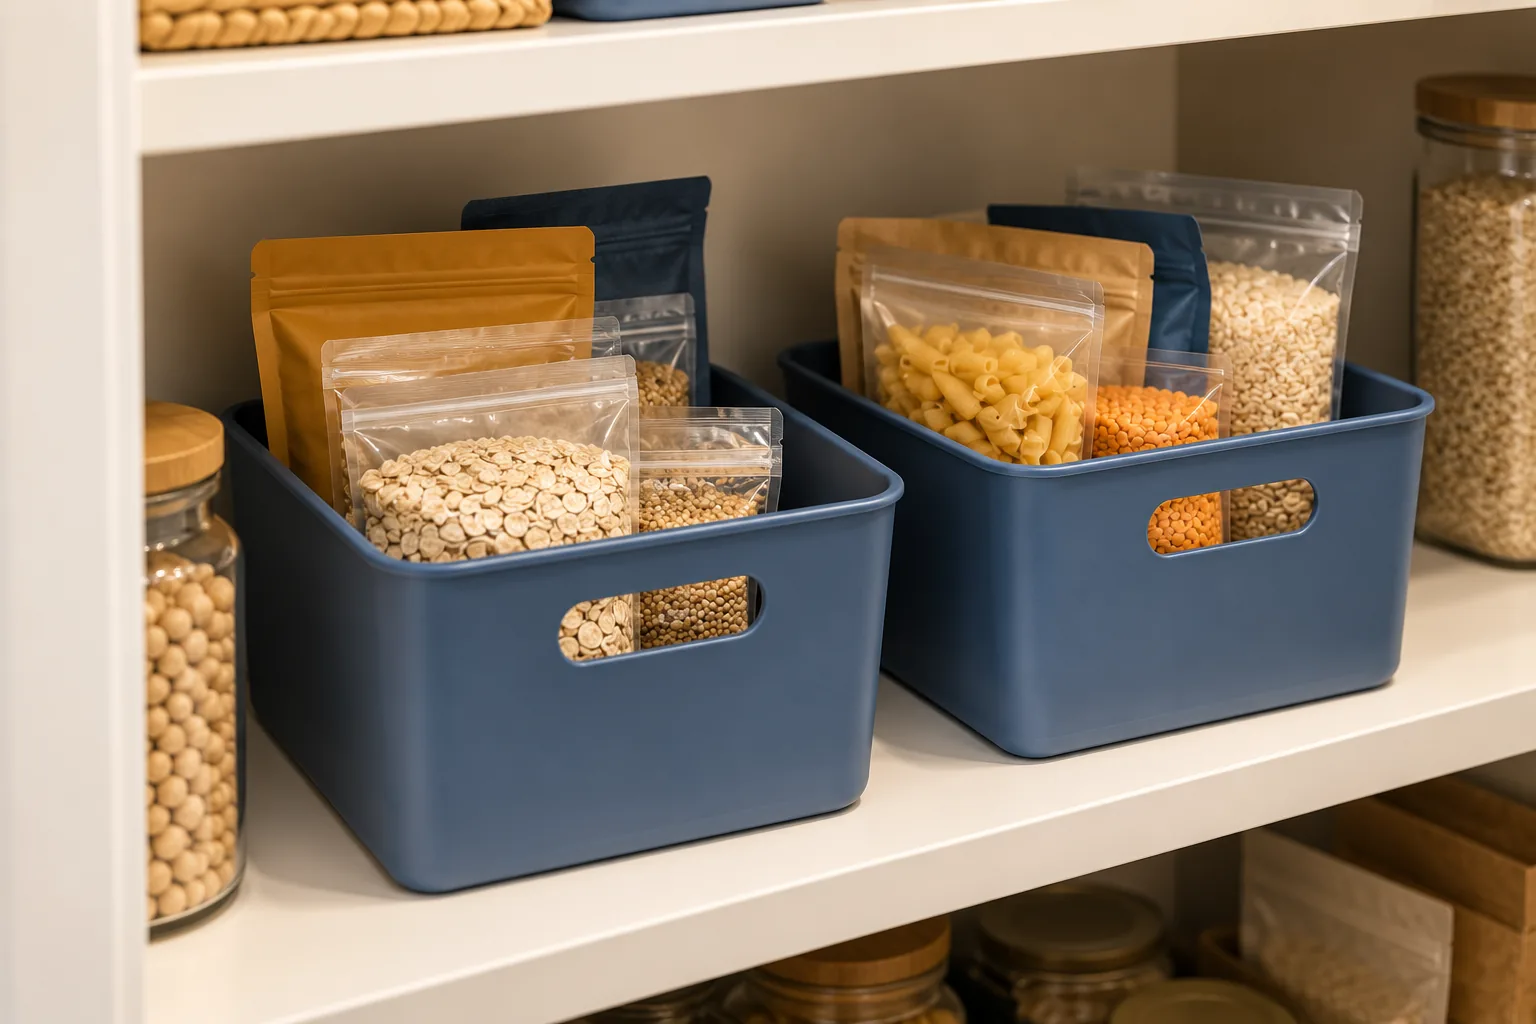
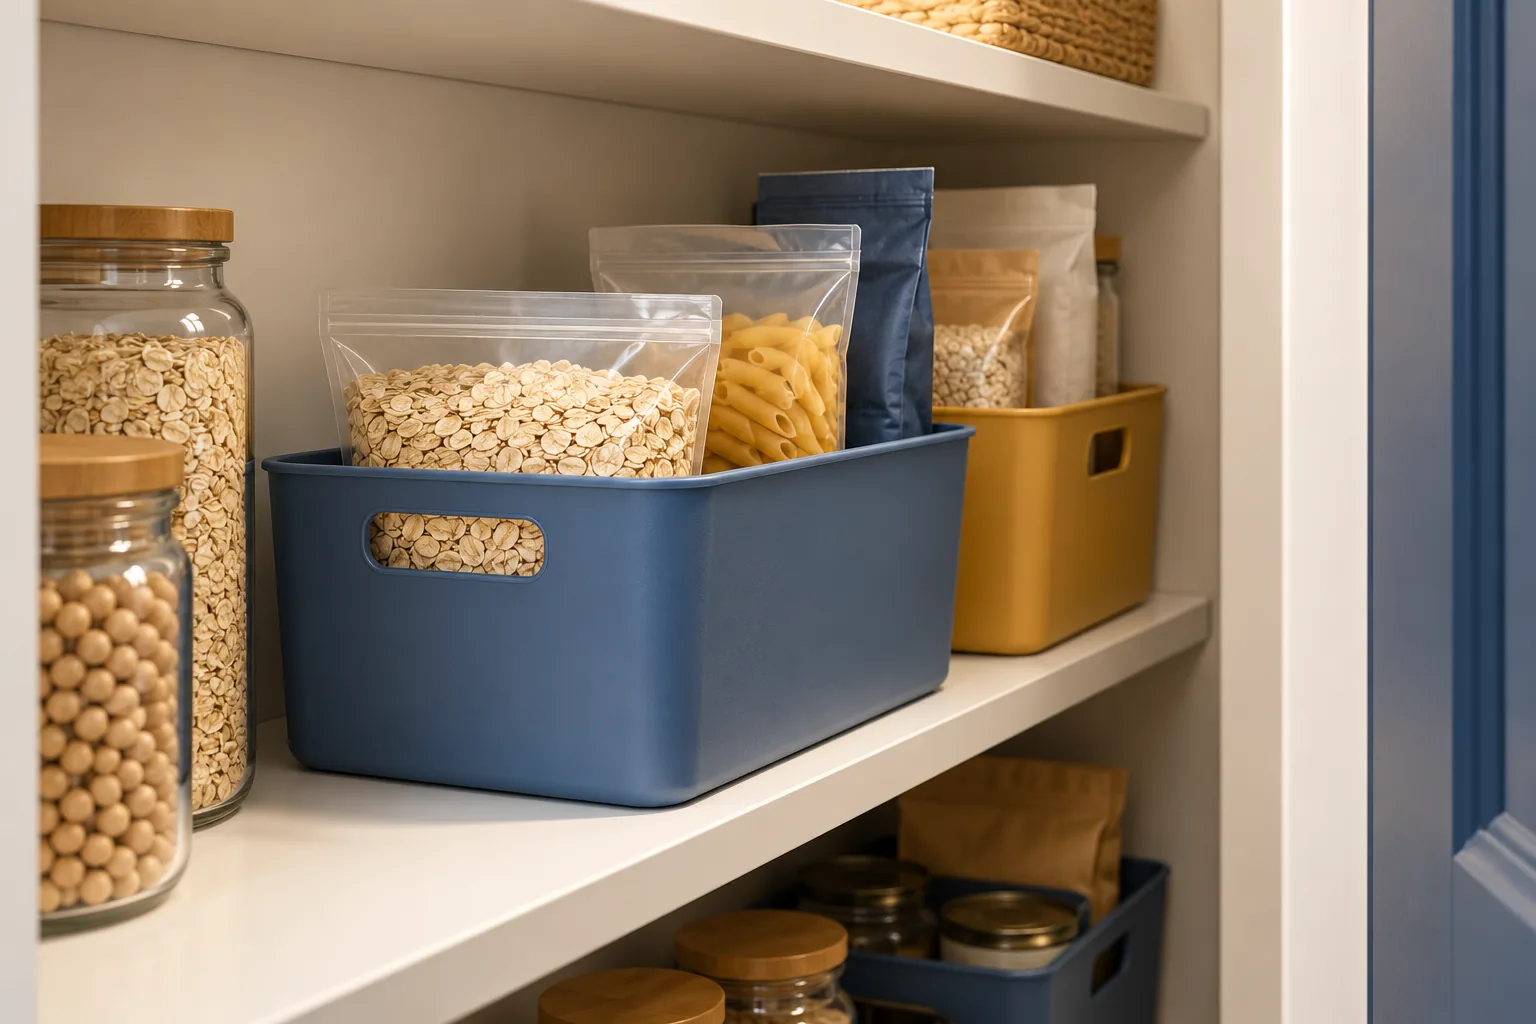
Two short bins can be easier to manage than one deep tub holding several unrelated categories. Choose a low front where useful so you can see the contents. A handle should remain accessible from the doorway, and the bin should travel through the opening without turning into a puzzle. Leave a little separation between neighbors instead of wedging them together.
For example, a small breakfast bin could hold the oatmeal packet and toppings used together. The unopened replacement can have a separate backup position. Taking out breakfast should not require moving the entire baking collection. If the group becomes too heavy, split it by the way you use it rather than buying a larger basket.
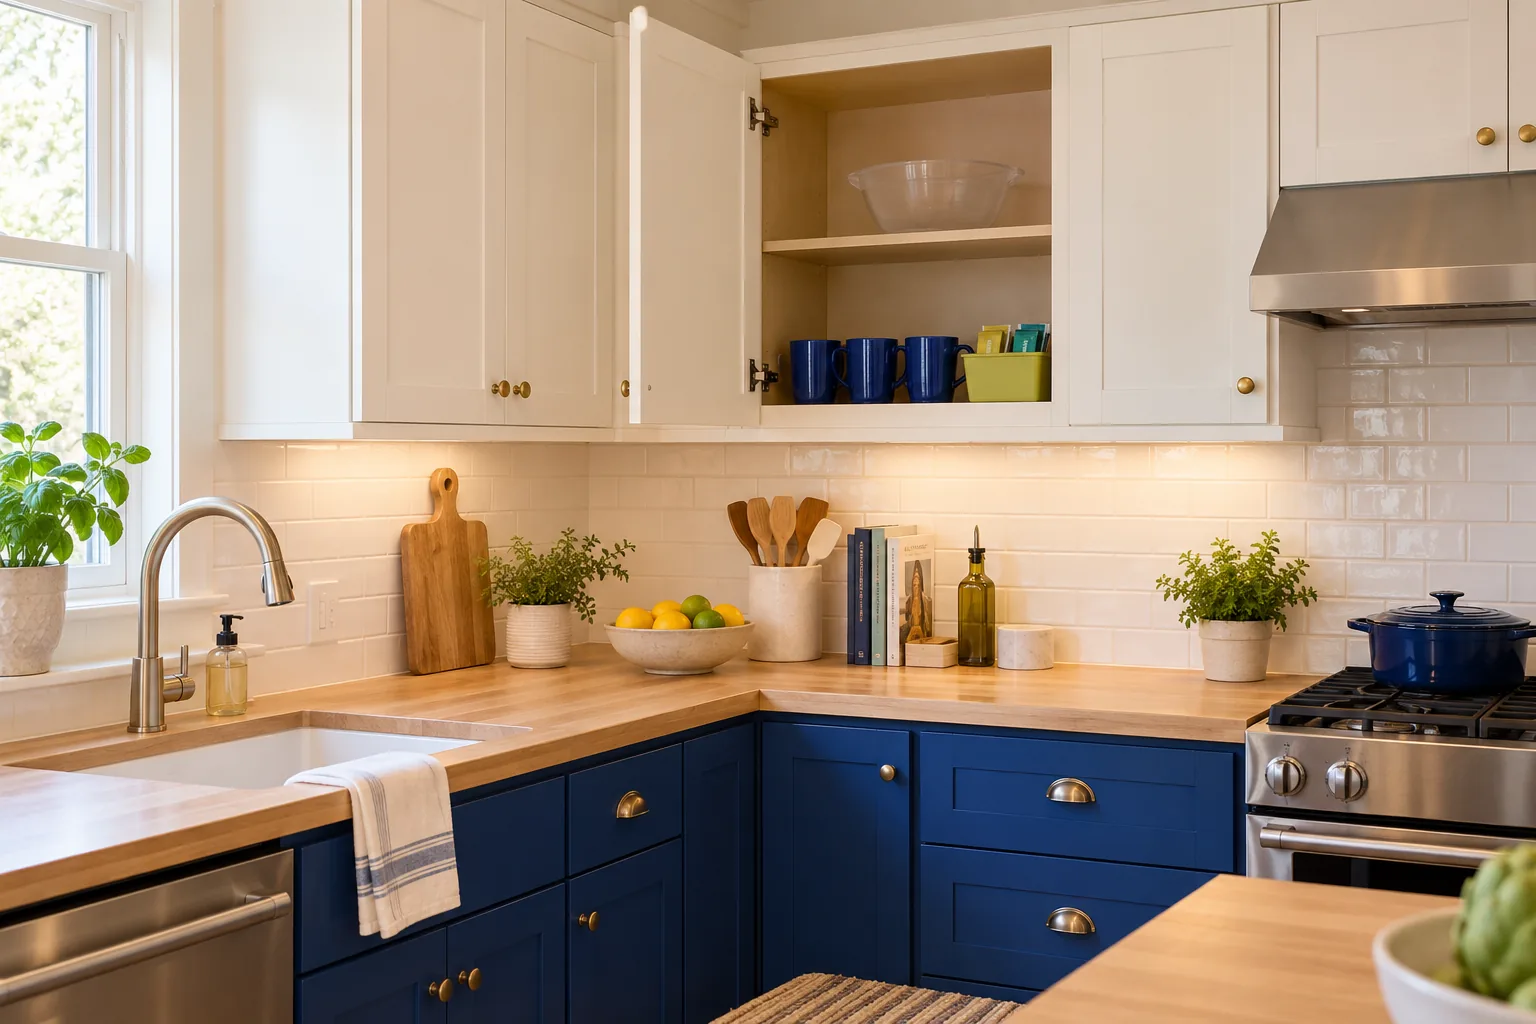
A denim-blue bin with a small ochre label can make a category easy to spot. Use a name your household understands, such as breakfast or baking. Keep packaging information available; you can organize food in its original packets without decanting everything. Color helps recognition, but a useful group matters more than matching containers.
Keep tall packages behind shorter ones
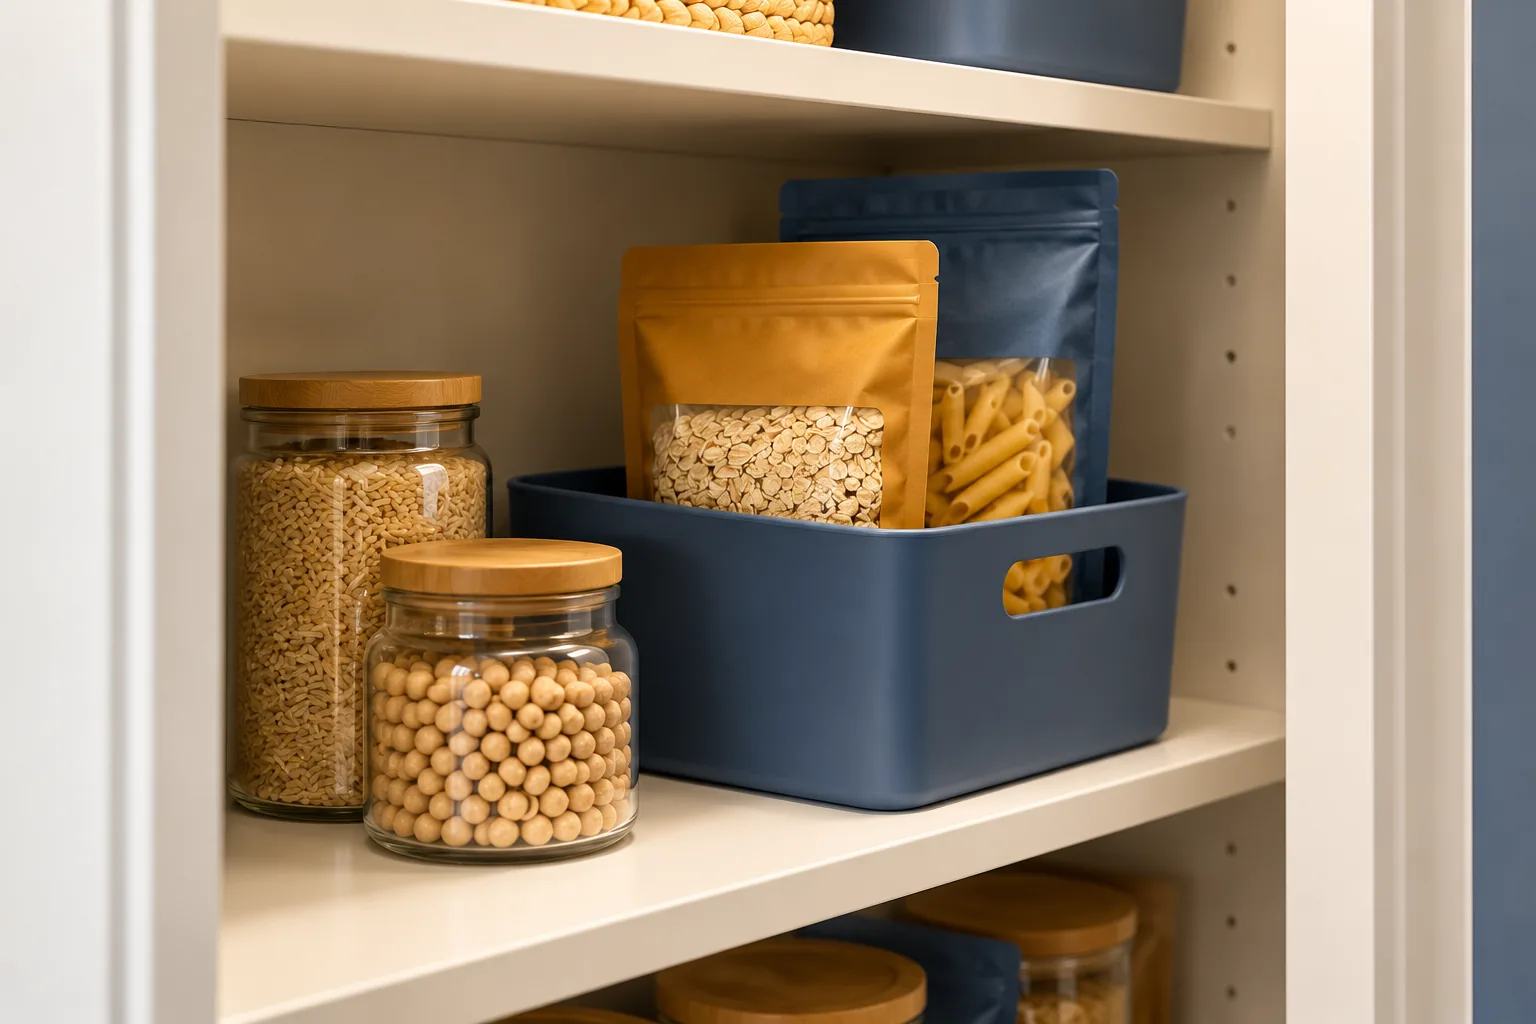
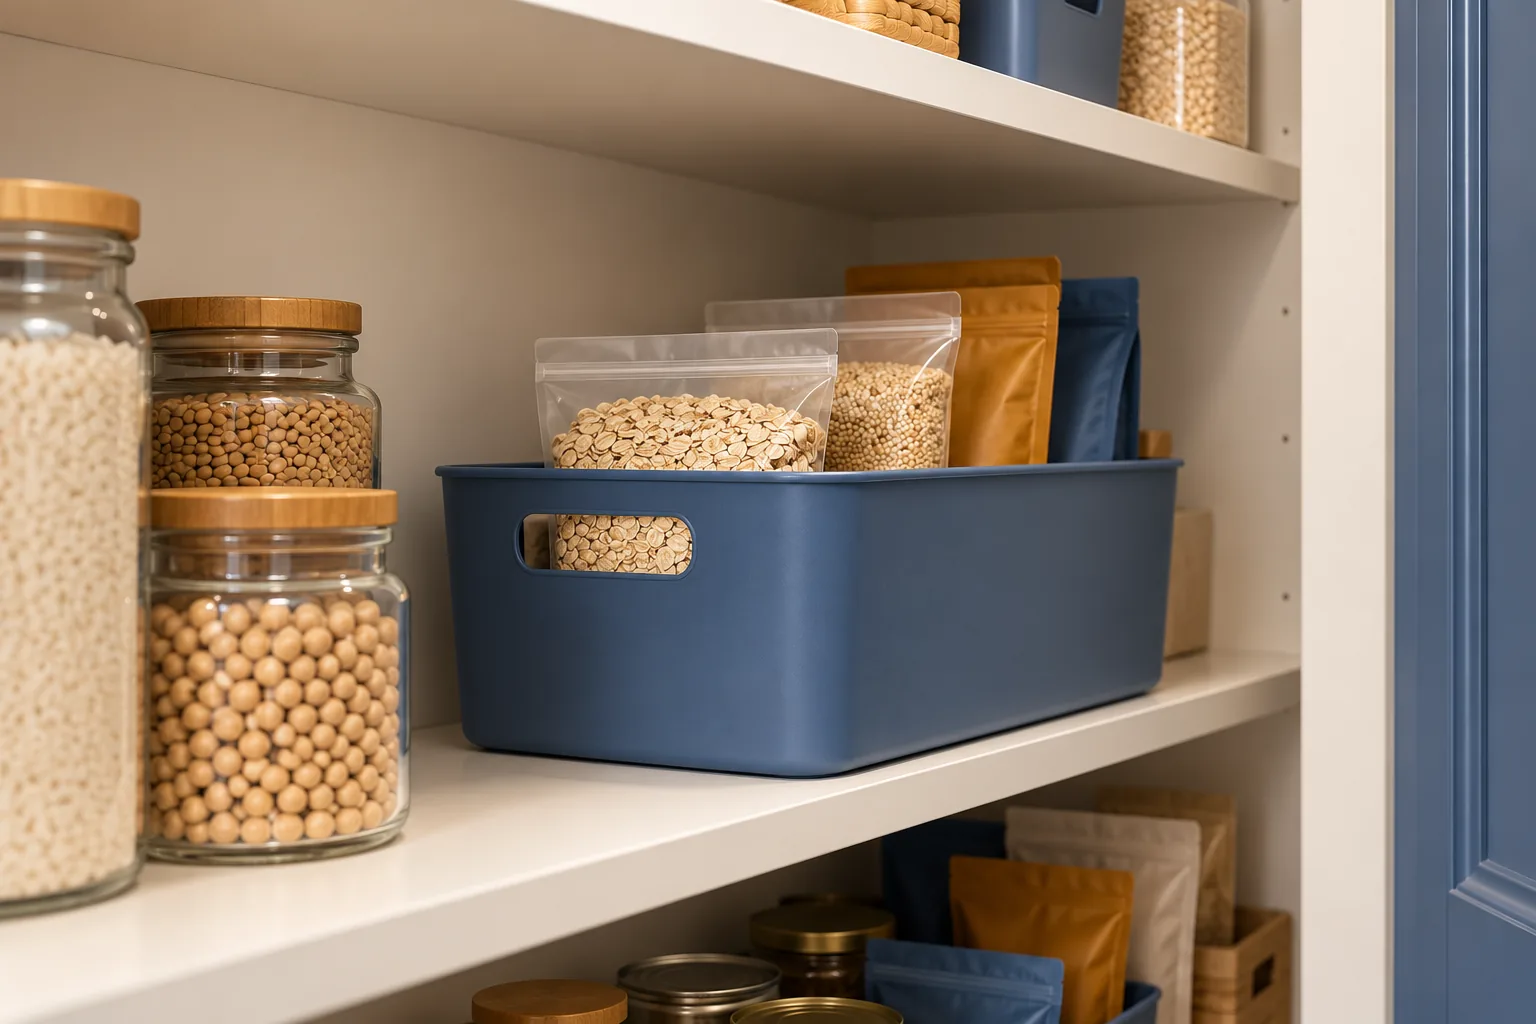
Look at the shelf from your usual standing position. If the first row is a wall of tall boxes, everything behind it needs a search. Where the shelf and your reach allow, put shorter packages toward the front and taller ones behind them, with their useful information facing the opening.
Try this within one food group first. A short jar in front of a taller upright packet may leave both easy to identify. Keep loose bags from falling across neighboring items, using a modest bin if needed. Do not create a tightly packed staircase that looks orderly but prevents you from gripping the item at the back.
Height is one consideration, not the whole system. A small meal group may be more useful together than sorted across different shelves by package size. Likewise, a heavy jar belongs in an accessible, suitable position even if moving it elsewhere would make a neater height pattern. Favor the arrangement that survives ordinary cooking.
If a rear package remains invisible or uncomfortable to reach, reduce that row or bring the group forward. Some of the shelf's depth can stay empty. A shelf riser may help in a particular cupboard, but it adds another fit and load check and uses headroom. Test the simple arrangement before adding one.
Test a suitable pull-out basket
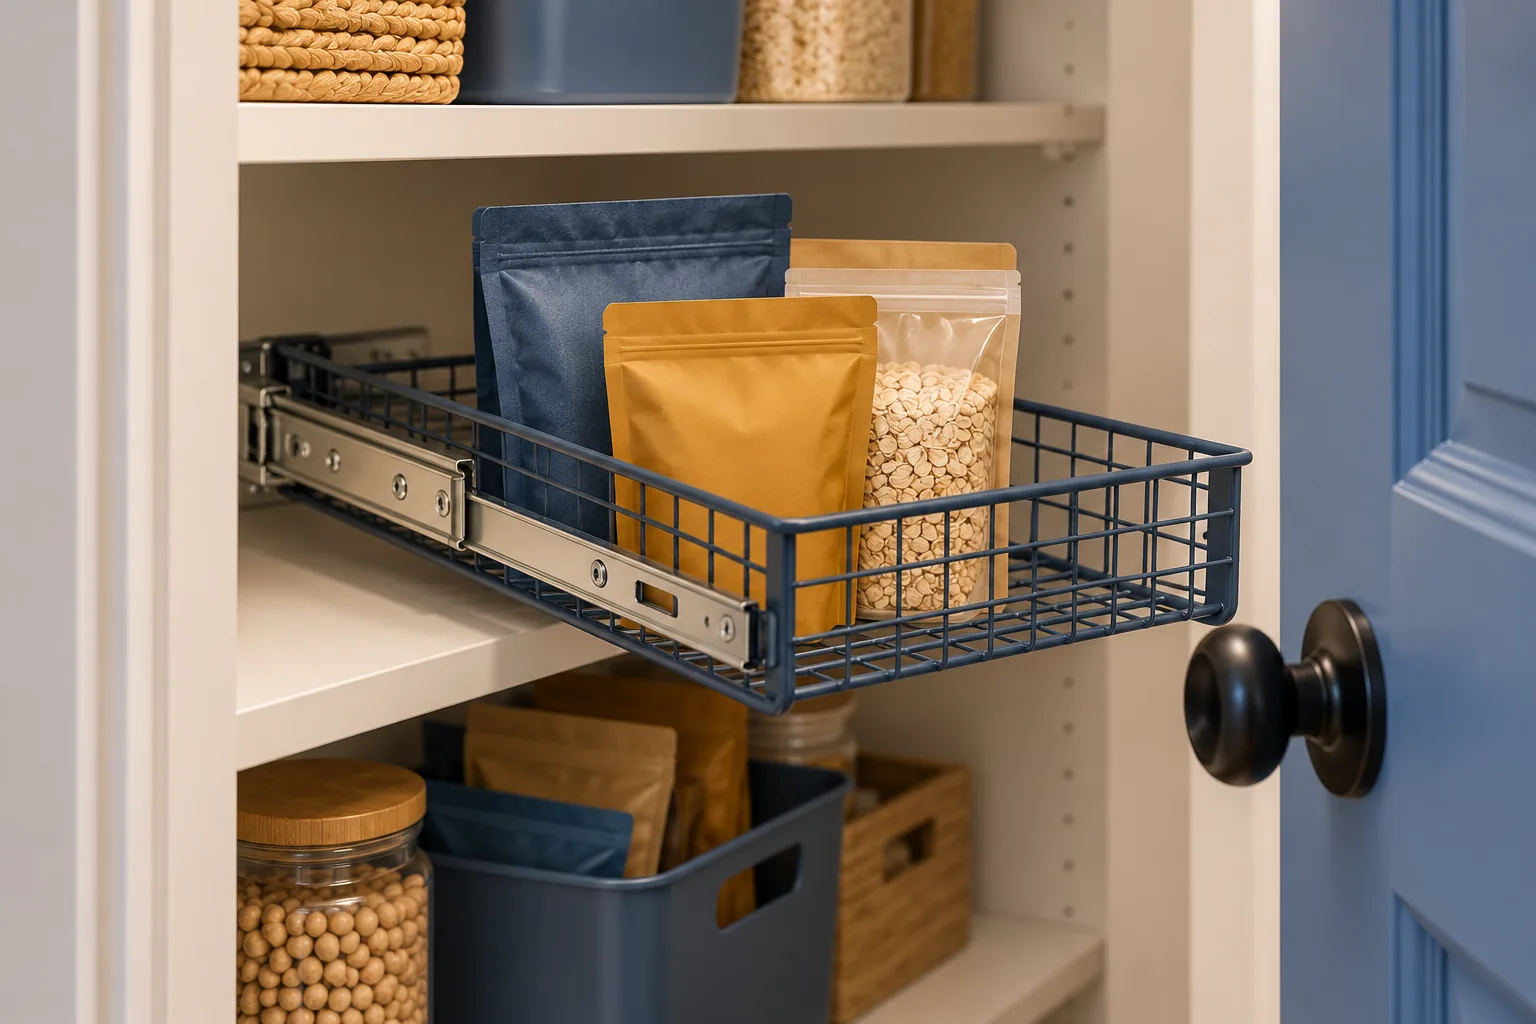
A pull-out can bring a group toward the doorway when reaching into the back is the main problem. First decide which kind you mean. A loose handled basket must be lifted or moved safely as a container. An installed basket runs on a mechanism that needs the right support, fixings and clearances. They have different requirements.
For an installed product, check the maker's cabinet dimensions, mounting instructions, load rating and permitted fitting surfaces. Allow for the runners, door hinges and the path of the basket as it extends. In a rental, obtain permission for mounting where needed. An appealing product photograph does not establish that it will fit your cupboard.
Keep the proposed contents modest during the first test. Open the door fully, move the loaded basket as intended and check that it stays supported. Watch for packets catching above it or a corner meeting the door. Follow the product instructions rather than pulling an ordinary loose bin beyond the supported shelf edge and expecting it to behave like a drawer.
If the arrangement needs too much force or feels cumbersome, make the group smaller or choose a shallower accessible zone. A pull-out is useful when it makes retrieval easier. It is optional when a short removable bin or a visible front row already does the job.
Keep backups separate from open items
Choose a defined home for unopened replacements. This might be a separate bin or a clearly visible section behind the daily group, provided you can reach it without an uncomfortable stretch. Keep the amount small enough that you can check it before shopping. The back of the cupboard should not become an uncounted second pantry.
Bring the next suitable replacement forward when an open packet is finished. Keep dates, ingredients, allergen information and storage directions available. Follow each product's instructions after opening; a convenient pantry position does not make every food suitable for that location. A storage bin can hold the original packaging, so decanting is not required.
Before writing the grocery list, look through the backup area as well as the front row. If you repeatedly discover duplicates, reduce the number of categories sharing that space or make their boundaries clearer. A small inventory note can help for items you otherwise forget, but a long list that never gets updated adds another job.
Use one color cue if it helps: a denim container for the daily group and an ochre one for backups, for example. Put labels where they can be seen from the doorway. If your kitchen has no dedicated food cupboard, our no-pantry storage guide covers other places to create suitable food zones.
Leave room to lift a bin out
The final check is a small rehearsal. Take out the least convenient item, use the intended bin or basket, then put everything back. Notice where your hand travels. You may need room above a handle, beside a container or between the front edge and a projecting hinge. A shelf can look tidy while every item is still trapped.
Have a landing place available if the group needs to come fully out of the cupboard. The loaded container should be comfortable to move there and back. If its contents make it awkward, reduce the load instead of depending on the handle alone. Keep any bins stacked only as their design permits; lifting one group should not unbalance another.
Repeat the check after a normal grocery shop. A taller replacement packet or an extra box often reveals a tight spot that was not obvious when the shelf was half empty. Leave a modest amount of flexibility so the arrangement accommodates ordinary changes without a full reorganization.
If the shelf still has too many jobs, move a suitable category elsewhere. Our small kitchen organization ideas can help you reconsider the surrounding cupboards and drawers. Free space is useful when it lets you see, grip and return what you keep.
Should I use the full depth of every pantry shelf?
Only when the contents remain manageable to retrieve. A reachable front group and a small, separately accessible backup area can be more useful than a tightly packed deep row. Leave an inaccessible rear patch empty if using it would make the rest of the shelf frustrating.
Are clear containers better than colored pantry bins?
Clear containers help you see what is inside; a low colored bin can make a category recognizable and hide some visual noise. Choose based on visibility, fit and loaded handling. You can mix the two and keep food in its original packaging where that works best.
Do deep pantry shelves need installed pull-outs?
No. Try shorter groups, visible packages and a small removable bin first. A compatible installed pull-out can help a particular cupboard, but its mounting and load requirements need checking. Keep the simplest arrangement that works comfortably for your household.
Make one shelf easy to use first
Choose the shelf that causes the most searching. Give it a few clear jobs, test the hardest item to remove and keep the arrangement through an ordinary week and a grocery shop. Then repeat the useful decisions elsewhere. Knowing what is there and reaching it comfortably is a better result than filling every inch.
Images are AI-generated styling illustrations, not measured cabinet plans or product installation instructions. Check your own cupboard, organizer and food-packaging requirements before copying an arrangement.
A beautiful small space is not about having more. It is about making what you have work better. — Spacelya